
Spring is historically the best time to sell a property – with properties selling fastest in March, according to home sellers advice group The Advisory.
And with stiff competition from other sellers, first impressions really do count. According to a survey by the HomeOwners Alliance, two-thirds (68%) of home buyers think that kerb appeal is important when they are searching for their dream home.
Here’s our guide to the small changes you can make that won’t make a huge dent in your wallet but will get full marks from prospective buyers.
Maintain your windows
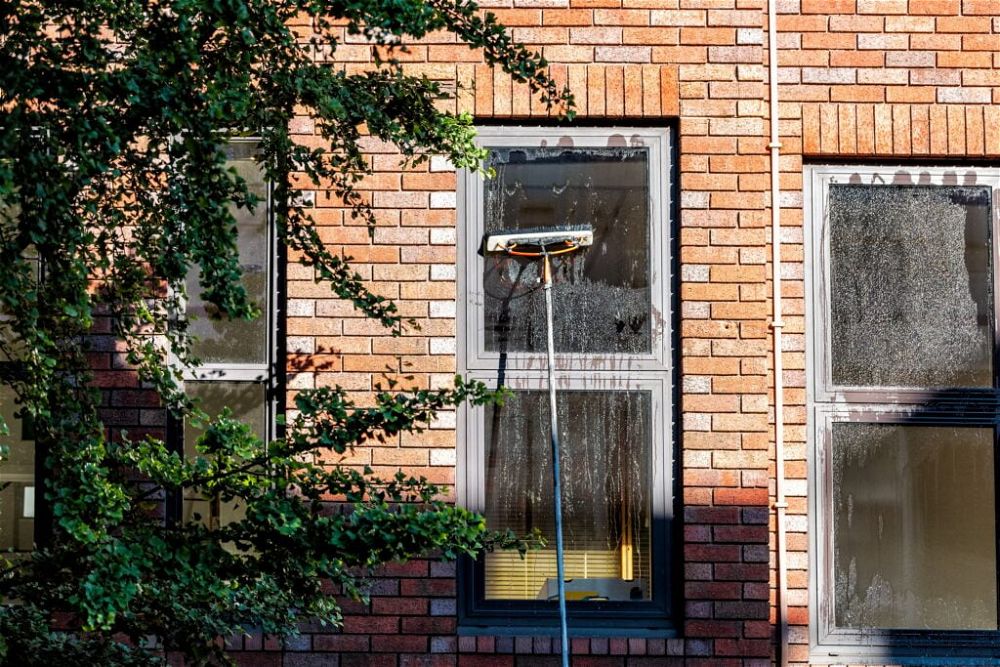
It may sound obvious but cleaning your windows will add instant kerb appeal, making it easier for potential buyers to take a peek inside. The HOA found that 71% of the 2,000 homeowners it polled said that it was important that windows were in good condition.
And don’t forget the frames – uPVC windows can just be wiped clean, but flaky wooden frames may need a fresh coat of paint, so you’ll need to weigh up the cost.
You can also improve a window’s appearance by adding window boxes; styling your windowsills with on-trend home accessories; and, if they are a standard size, replacing dated curtains with ready-made blinds.
Paint your front door
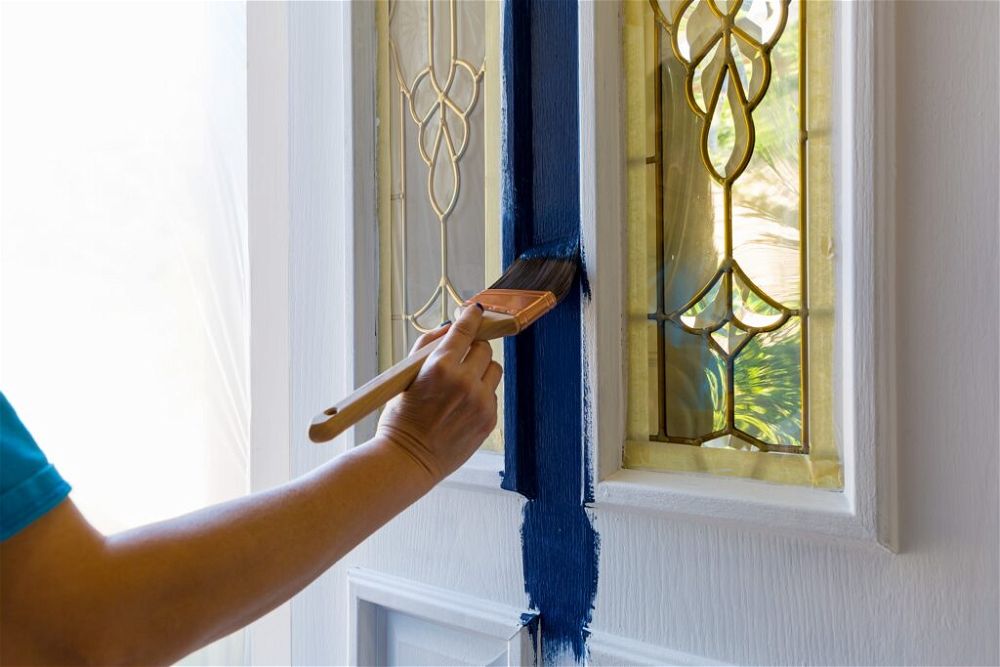
You need to inject a dash of 10 Downing Street to create your own shiny, blemish-free front door.
Before you choose a colour, take a look at neighbouring properties – you won’t want your door to stick out like a sore thumb. Dark blues, greens, reds and the ever-more popular greys are good choices for period homes, while white offers freshness to any property.
Check the weather forecast before you begin – you need several hours of dry weather.
Preparation is key here: whenever possible, remove the existing hardware (otherwise protect brassware with masking tape), and start sanding with an electric sander or sand by hand using a medium-grade sandpaper, switching to a fine grade as you progress. Use a filler where needed and wash and dry thoroughly to remove dust particles before you start painting.
Use a good quality external primer, followed by several thin layers of paint. The style of the door – panelled, flush or glazed – will dictate where to start and finish painting. Look online for handy DIY guides.
Give door handles, bells and letterboxes a good polish before you re-fix them or buy gleaming new hardware.
Wash your path and driveway
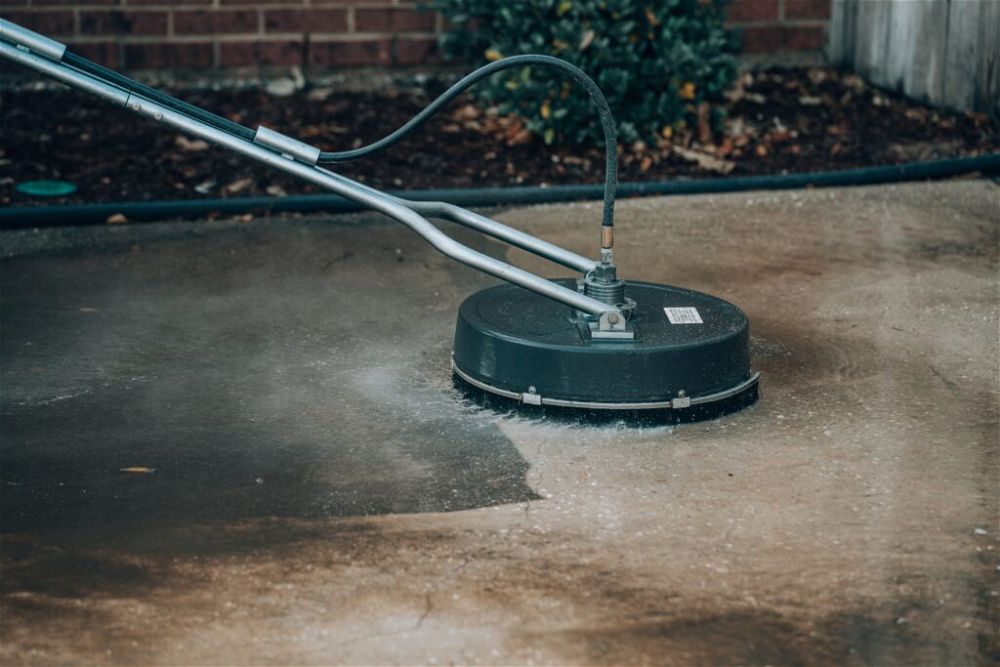
You’ll be surprised at the difference it will make when you clean years of grime and moss off your path or driveway.
Start by sweeping dirt, leaves and debris away – or use a leaf blower if you have one. You may need to apply a weed killer a few days before to give it time to work. Use a stiff brush and water to remove weeds and moss in between tiles or paving. Also have a scraper to hand to remove moss from awkward gaps in paving.
You may need to tackle unsightly oil spills on your driveway, and you can buy specialist cleaning products for this.
Once you’ve done the groundwork, then you can use a pressure washer for a really clean finish. A compact pressure washer can be hired for less than £40 a day.
Working your way from the house, starting on the top of a slope if there is one, gently wash your paving. Remember, it’s easy to get carried away but an overly strong jet may lift paving slabs.
Using a rotary head attachment will give you better control of the cleaning brush when working in small areas so you’ll avoid soaking your windows or neighbouring gardens.
Conceal those wheelie bins

Living in an apartment means there can easily be four or five bins outside, while separate bins for recycling, household and gardening waste can leave single home dwellers with three bins. There’s no doubt about it – they are unsightly and won’t add to your home’s kerb appeal.
An easy fix is to buy double wooden slatted wheelie bin stores, willow screening, slat-style wood fencing or trellis panels, which will cost around £100.
Tidy up your front garden
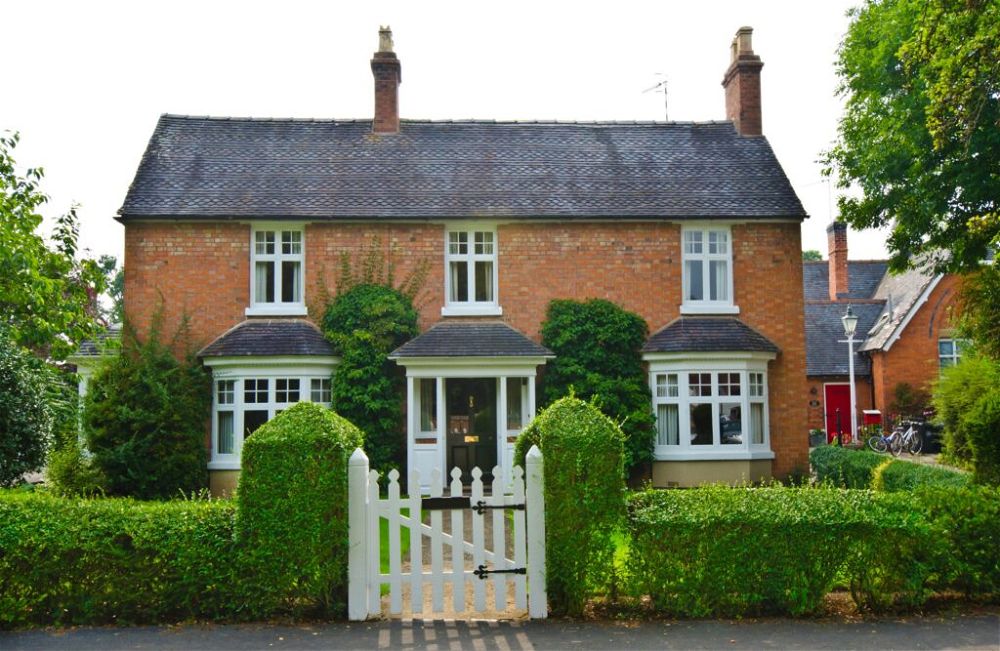
Whether you do it yourself or hire someone for a few hours, trimming the hedge and giving your gate and fences a fresh coat of paint or wood stain will help keep up appearances.
If you’re not a keen gardener and the front garden is a jungle of weeds, consider adding wood or slate chips, gravel or large pebbles. Slate chips come in blues, blacks and shades of green and plum that work well with both modern and traditional homes. Stones change colour when they are wet, adding interest.
Standard slate chippings should be laid to a depth of 40 to 50mm. A jumbo bag costs around £150 from DIY stores – enough to cover just under 11.5 square metres to a depth of 50mm.
Before you start, remove any weeds and carefully dig up any plants that can be re-planted once your chippings, gravel or pebbles are in place.
To lessen the chances of weeds growing back, lay a weed control fabric membrane underneath. Choose one that is strong enough to suppress weeds but porous enough for water to get through to plant roots.
Make an X-shaped cut in the membrane where you want to position a plant, dig a hole for the plant, pushing it into place, and then push the membrane flaps back in place.
Try to position a few plants in the border close to your front door. That way, you will have a splash of colour and floral scent as viewers approach the house. Or position container plants – then you can take them with you when you move.