Whether it may be vegetables, such as onion sets and garlic cloves, or spring flowers, from tulips to crocuses, planting bulbs can be time-consuming and painful on the back, especially if you have a large number of them to get in the ground. This is where a bulb planter can be a huge game-changer – pick a good one and you’ll be able to plant bulbs faster than ever before.
The Different Types of Bulb Planting Tools
The best bulb planting tools are available in a variety of different styles, but most work in similar ways. The main difference between many of the bulb planters out there is size; some will be small, hand-held tools that require you to get down on the ground when planting. On the other hand, others will have longer handles that enable you to stay standing while digging holes and planting bulbs. It all comes down to personal preference.
How to Use a Bulb Planter
Prepare Your Ground
It’s always helpful to prepare your ground (if possible) before using a bulb planter. For those of you planting bulbs into a lawn, you can skip this step. However, for everyone else, clear away any weeds from your planting area, and remove any large stones too.
Dig Your Holes
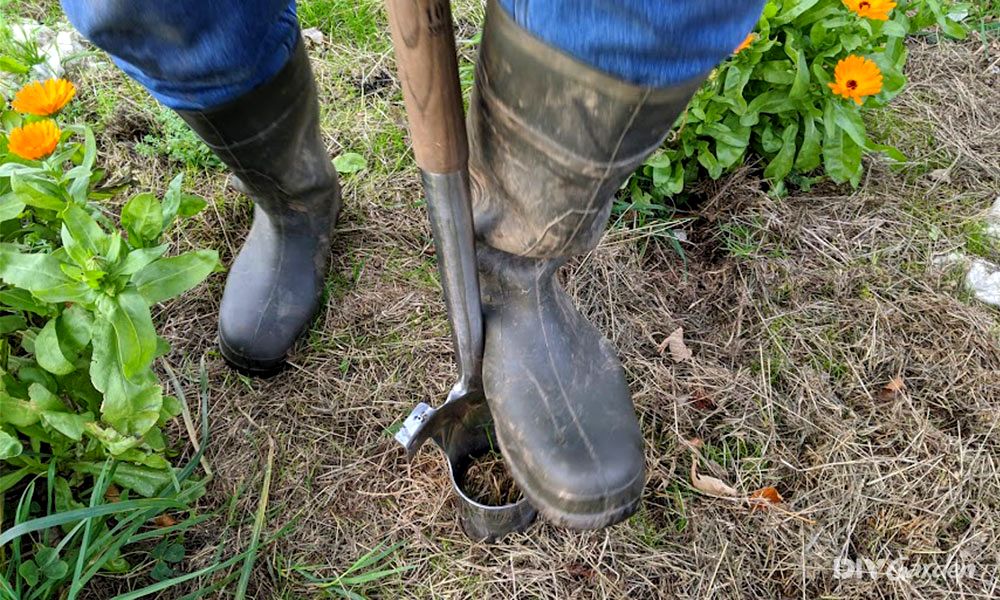
Now for the digging – something that most bulb planters excel at. Simply push your bulb planter into the ground, stopping at the appropriate depth. Some bulb planters will have measurements marked onto them, making it easy to work out how far you need to push the tool in to create a suitably-sized hole.
As you push your bulb planter into the ground, the soil from the hole that you’re digging will be collected and held by your bulb planter. Some designs will only store one lot of soil at a time, while the larger ones will allow you to dig multiple holes in succession, saving all of the soil within its handle.
Plant Your Bulbs
Once you have your hole/s, it’s time to drop your bulbs in. You’ll then need to cover them over with soil. Some bulb planters have a button that can be pushed to release the soil that it’s holding – do this over the top of your hole/bulb and the soil should drop directly inside.
If your bulb planter has collected soil from multiple holes, turn the tool upside down to release the soil. You can either release a small amount into each hole, or release it all at once into a pile and use your hands to divide the soil into the holes.
Firm Down and Water
Now that all of your bulbs have been covered over, you’ll need to firm their soil down to make sure that your bulbs are well packed in.
Then, give your bulbs a deep soak – the deeper you’ve planted your bulbs, the more water you’ll need to provide.
Summary
Most bulb planters are designed to make the bulb planting process as simple and as pain-free as possible. Even if you’ve never used one before, it won’t take you long to figure out how yours works. Once you do, you’ll end up using this tool year after year.