How to Grow Your Own Bay Leaves
Growing bay leaves, or more specifically, a bay tree (Laurus nobilis) in the UK, involves nurturing a plant that can add both culinary delight and aesthetic appeal to your garden.
Bay trees are hardy and can be grown both in the ground and in containers, making them suitable for a variety of garden sizes and types.
Here’s a step-by-step guide on how to grow bay leaves in the UK:
1. Choosing a Plant
- It’s best to start with a young bay tree from a nursery or garden centre. Bay trees can be slow to grow from seed and buying a plant can give you a head start.
2. Planting Location
- Bay trees prefer a sheltered spot that receives full sun or partial shade. They are hardy in most parts of the UK but thrive best in warmer, more sheltered areas.
- If planting in the ground, choose a well-drained site as bay trees do not like waterlogged roots.
3. Soil Preparation
- Bay trees prefer well-drained soil with a neutral to slightly acidic pH. If planting in a container, use a good-quality multi-purpose compost mixed with some horticultural grit to improve drainage.
4. Planting
- If planting in the ground, dig a hole as deep and twice as wide as the root ball. Mix in some well-rotted compost or manure to the excavated soil and plant your bay tree at the same depth it was in the pot. Backfill the hole, firming the soil gently.
- For container planting, choose a pot large enough to accommodate the root ball with extra room for growth. Ensure the pot has adequate drainage holes.
5. Watering
- Water your bay tree regularly to keep the soil moist but not waterlogged, especially during dry periods. Container-grown trees will need more frequent watering than those planted in the ground.
6. Feeding
- Feed container-grown bay trees with a balanced, slow-release fertilizer in spring and again in mid-summer to support growth. Trees in the ground generally do not need frequent fertilizing if the soil is rich.
7. Pruning
- Bay trees can be pruned to maintain a desired shape and size, usually done in the spring or summer. They respond well to pruning and can even be shaped into topiary forms.
- Regularly remove any dead, damaged, or diseased leaves and branches to keep the tree healthy.
8. Overwintering
- Bay trees are fairly hardy but may need protection in harsh UK winters, especially if in containers. Move pots to a sheltered spot or wrap them in horticultural fleece during cold snaps.
- In-ground trees in very cold areas may also benefit from a protective fleece wrap around the main trunk.
9. Pests and Diseases
- Bay trees are relatively low-maintenance but can be susceptible to bay sucker pests and fungal diseases like powdery mildew. Keep an eye out and treat with appropriate organic or chemical controls if necessary.
10. Harvesting Bay Leaves
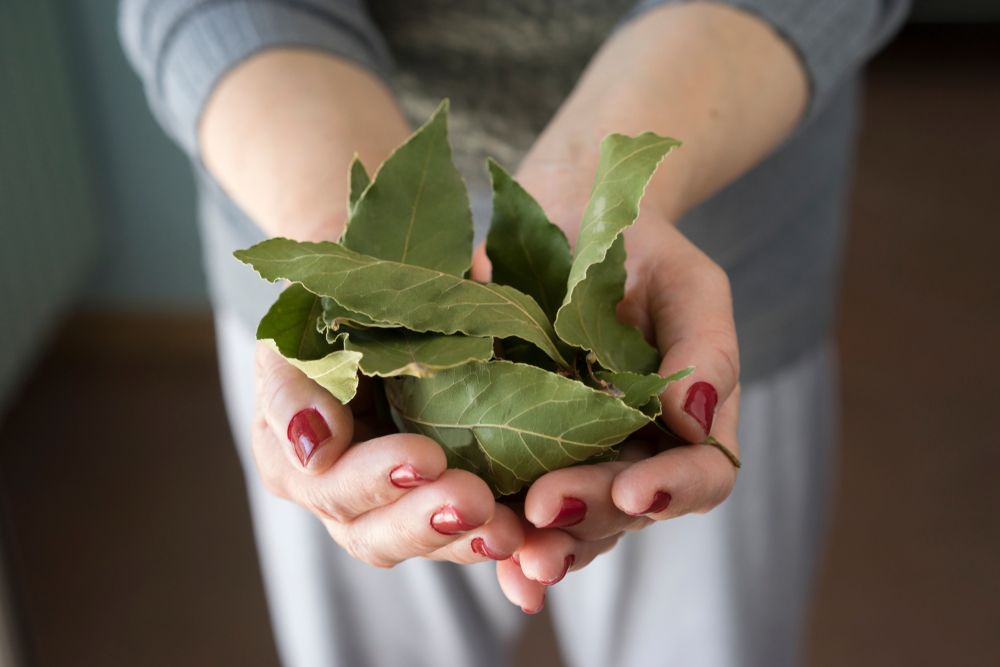
- Leaves can be picked as needed throughout the year. For the best flavor, harvest mature leaves rather than new, soft growth. Leaves can be used fresh or dried for later use.
11. Propagation
- Bay trees can be propagated from cuttings taken in summer. Choose healthy, non-flowering shoots and plant in a mix of compost and grit. Keep moist until roots develop.
Growing Bay: A Quick Snapshot
When to Sow – Apr-Sep
When to Plant – Apr-Aug
When to Harvest – Jan-Dec
Average Yield per Plant – 10-30kg/year (once mature)
Spacing – 2m
Depth – 1cm
How to Grow Bay Leaves at Home
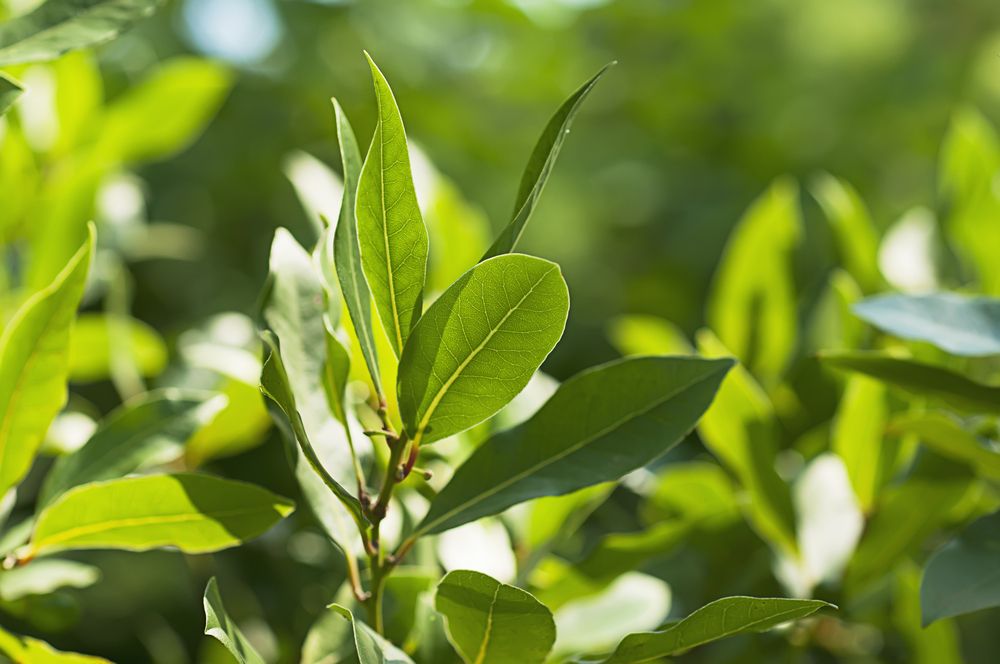
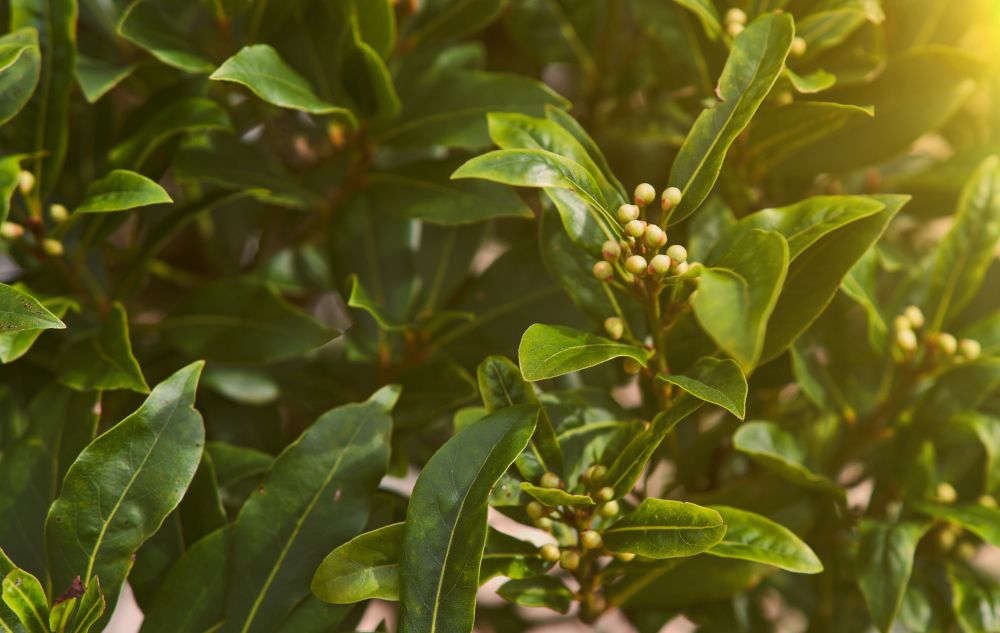
Native to the Mediterranean, the bay laurel is technically a small tree. Left unpruned, it will grow to a height of around 6m after about 20 years. However, it’s also very adaptable – whether grown as a hedge (like other laurels), a shrub, or even a houseplant, bay will thrive so long as you give it the right growing conditions.
Growing Requirements for Bay
Since this is a tree that has evolved in a Mediterranean climate, bay does best in full sun, but will tolerate partial shade too.
When it comes to hardiness, this depends on how exposed your garden is. Plant your bay in a protected and sheltered spot and it could tolerate temperatures down to -15ºC. However, expose it to freezing winds and it will start to suffer once temperatures dip below -5ºC. For this reason, gardeners in cold climates that don’t have access to a greenhouse will often grow their bay in pots – this allows them to bring the plants indoors once the cold season hits.
Ideally, give your bay tree fertile and well-draining soil. Adding some compost or well-rotted animal manure to your soil can help to improve its quality.
How to Grow Bay Leaves from Seed
Bay plants are easy enough to buy. This tends to be the easiest option if you only need one or two trees, since growing bay from seed can be a little tedious. This doesn’t mean that it can’t be done, but be prepared for low germination rates and seedlings that love to die.
If you would still like to give this a go, aim to sow double the number of seeds than what you actually need.
How to Sow Bay Seeds:
In order for bay seeds to germinate, they need a cool and moist dormancy period, just like a Mediterranean winter. You can replicate those conditions at home by placing your seeds into an airtight bag, along with some sand or perlite, plus enough water to moisten your growing medium.
Leave a small opening in the corner of the bag and place this into your fridge. Check the seeds every few days, giving them a mist of water if the sand starts to dry out.
After about eight or nine weeks, your seeds will germinate. Leave them in the bag for a couple more weeks before carefully removing them. Place them into small pots that are filled with a sterile seed-starting mix.
Place your pots somewhere warm and protected, making sure that you keep the soil moist. Your seedlings will need to stay indoors until they’re about 15-20cm tall. This means that you probably won’t be able to plant them out until the following year.
How to Plant Bay Outside
Once your plants are at least 15-20cm tall and you’ve had your last frost, you can start thinking about planting your bay outside.
However, before you do so, you’ll need to harden your plants off. This is extremely important – your bay seedlings will have been growing indoors for several months, meaning that outdoor conditions will be a huge shock to the system. Gradually acclimatise them to this over a period of ten days or so. The slower you take it, the faster your plants will establish once they’re in the ground.
Once you’re ready to get planting, make sure that your chosen growing area is weed-free. Then, dig a hole in the soil that’s just slightly larger than the size of the pot that your bay is currently in. Gently remove your plants from their pots and place them into their new homes. Cover their roots over with soil and firm the soil down, before watering well.
If you’re planting more than one bay tree, the spacing that you choose will depend on how you intend to grow your plants. An average of two metres in between each plant is recommended. However, you could go for a little less if you plan on keeping them as small shrubs, or increase this if you’ll be allowing your trees to grow wild and free.
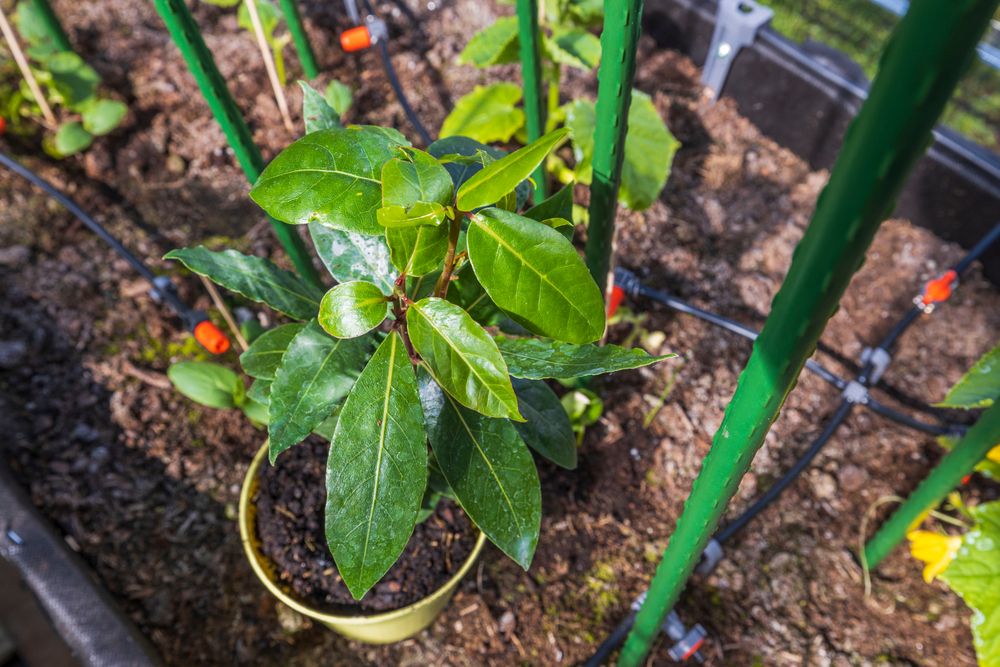
How to Plant Bay in a Greenhouse
Since bay isn’t fully hardy in some climates, it’s commonly grown in a greenhouse. That said, most gardeners choose to keep it in a pot – not only does this help to prevent the tree from growing too large in terms of size (after all, that greenhouse bed space is precious!), but it also allows them to move the plant outdoors during the summer months, when their greenhouse is packed with other seasonal crops.
If you decide to grow your bay in pots, use a potting mix consisting of compost, soil, and sand. Keep in mind that you’ll need to repot your bay trees into larger containers every couple of years.
How to Care for Bay
So far, it may seem as though bay is quite a high-maintenance plant. However, once it’s established, it requires very little attention. How do you help your bay to establish faster? By following these care tips:
Watering Bay
With bay being a Mediterranean plant, it prefers to be kept on the drier side. That said, you’ll still need to water your bay regularly until your plants have set their roots. Once they have, water sparingly whenever the top 5cm of soil feels dry. Don’t be tempted to over-water your bay – they hate to have soggy feet and are easily susceptible to root rot.
Feeding Bay
Although bay trees are not heavy feeders, a few applications of a slow-release granular fertiliser can help to give their growth a boost. Feed your bay once every six weeks during the spring and summer, but stop once autumn arrives. Feeding your bay trees too late in the season will prevent them from entering dormancy once winter hits.
Weeding and Mulching Bay
Weeds can quickly smother out bay seedlings, making it important to keep your growing area weed-free while your plants are still young. Even once they’re established and look to be taller than most of the weeds in your garden, any weeds that pop up around your trees will still be stealing vital nutrients and moisture, meaning that regular weeding will still be helpful for promoting growth.
To cut back on the amount of weeding that you’ll need to do, keep your bay trees well-mulched. If you go with an organic mulch, then this will also feed your trees as it breaks down, doing away with the need for a fertiliser.
Pruning Bay
There’s nothing wrong with leaving your bay tree to grow naturally, without any pruning. However, if you would like to keep your plants under control, then feel free to give your bay a haircut from late spring to mid-summer. A light pruning won’t affect your tree too much, whereas it may need a year to recover from a heavy pruning.
Either way, simply cut away any dead or damaged stems and leaves. Bay trees take very well to being shaped – they’re often used as topiaries. So, don’t be afraid to get a little creative with your secateurs, so long as you don’t cut away too much of your tree in one season.
One thing to remember when pruning – don’t throw those trimmings out. Instead, pick the leaves off and dry them (more on this later) for use in the kitchen.
How to Harvest Bay Leaves
Bay is one of the few plants out there that can be harvested year-round. That said, mid-summer tends to be the best time for harvesting bay leaves – the heat stimulates them into producing more of their essential oils, which not only makes them easier to pick, but also so much more fragrant.
To harvest your bay, all you need to do is pick off leaves as and when you need them. You can do this in large quantities too if you’re looking for a big stash of leaves to dry.
However, avoid harvesting your bay until your plants are at least two years old.
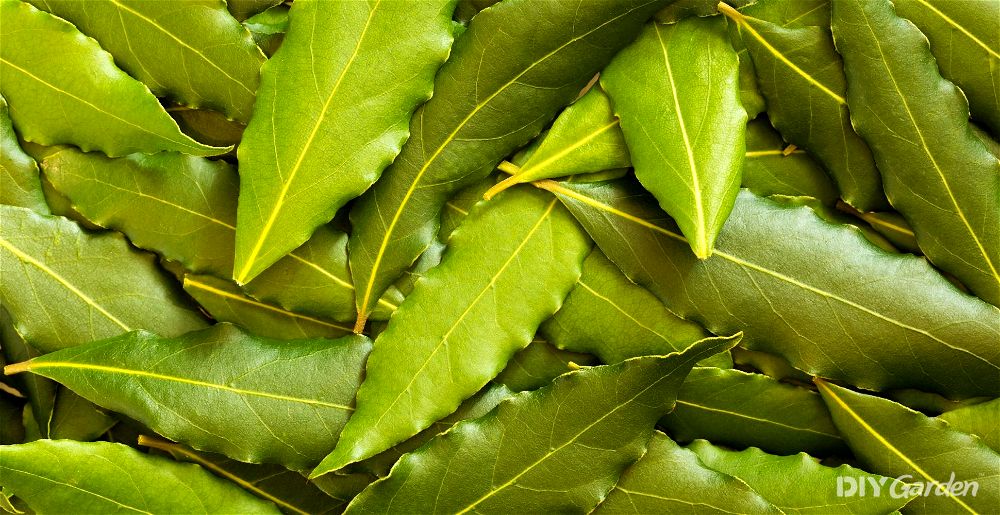
How to Store Bay Leaves
Fresh bay leaves can be kept in the fridge for about a week.
To dry your bay leaves, you have a couple of options. You can either air-dry them, which takes a couple of weeks, or you can dry them in a dehydrator, which takes a couple of hours. If you’re looking to make a bay leaf powder, you’ll need to dry the leaves first before grinding them up.
Once dried, store your bay leaves (or powder) in an airtight container in a cool, dark, and dry place. They’ll be good to use for a couple of years. Alternatively, you could also place your freshly-dried leaves into the freezer. This helps them to better retain their floral flavour.
How to Prepare & Cook Bay Leaves
Bay leaves don’t require much preparation. Simply give fresh leaves a rinse under running water and they’re ready to be used.
Bay is most commonly added as a flavouring to slow-cooked dishes, from sauces to stews to soups. After the cooking process, the leaves are usually removed, since they don’t have a very pleasant flavour or texture when eaten on their own. This applies to both fresh and dried leaves. However, keep in mind that if you’re substituting dried for fresh in a recipe, you’ll need to use two fresh leaves for every dried leaf. This is because the dried leaves have a more intense flavour.
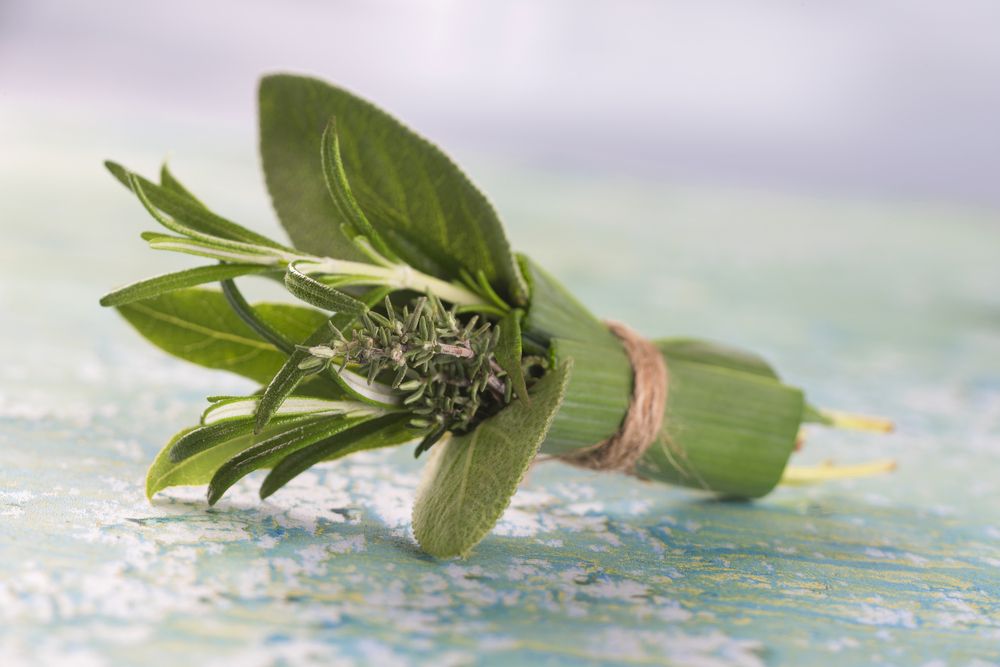
One popular way to use bay leaves is in a traditional French bouquet garni. This consists of tying together a bundle featuring bay leaves, parsley, and thyme, which you can then add to whatever you happen to be cooking. There are plenty of variations you could experiment with too – try adding rosemary, basil, or tarragon into your bundle as well.
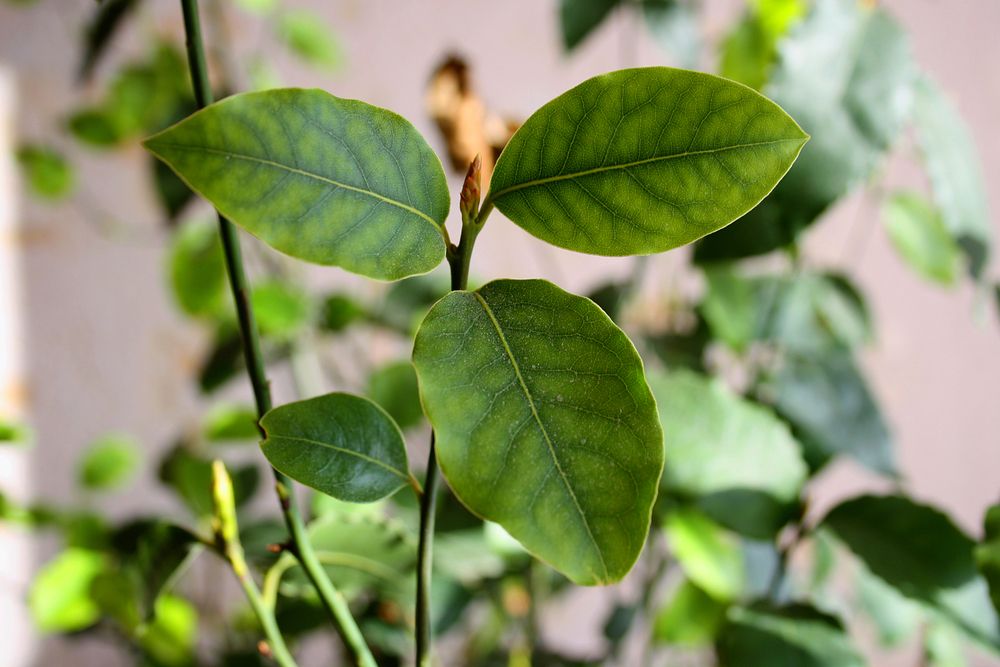
Common Bay Problems
There are a few pests and diseases that affect bay trees, with the most common being:
- Bay sucker – this lice-like pest sucks the sap from bay trees, causing the leaves to distort and discolour. Although their damage is usually just cosmetic, it does leave the tree vulnerable to other pests and diseases. Treat the problem by picking off and burning infected leaves. Organic sprays can also be applied to leaves to control an infestation
- Leaf spot – if you notice spots appearing on your bay leaves, then this is a sign that your plant is too wet. Granted, you can’t control rainfall, but improving soil drainage will help to prevent water from pooling around the roots of your tree
- Yellowing leaves – this is another issue that’s often caused by too much water, although a nutrient deficiency can be the reason for yellowing leaves too. If drainage is good and the soil isn’t too soggy, look into giving your plants a feed to increase their nutrient intake
Popular Bay Leaf Varieties to Grow
The most popular bay leaf varieties to grow are:
- Mediterranean/Turkish Bay Leaf – this is the most common and easily available variety
- California Bay Leaf – stronger-scented than the Mediterranean variety, with longer leaves too
- Indian Bay Leaf – short leaves that have a cinnamon-like flavour. This means that they can’t really be substituted for Mediterranean bay leaves in a recipe, but they’re still worth growing for their unique taste
- Mexican Bay Leaf – a popular ingredient in Mexican cuisine, this variety isn’t quite as strongly scented as the others
Conclusion
Although bay leaves aren’t an ingredient that people use in big quantities, they can still make a huge difference to the flavour of the dishes that you cook. As an added bonus, bay leaves are rich in several vitamins and digestive enzymes, and can be harvested year-round, making this ornamental herb worthy of growing in any vegetable garden.