How to Grow Your Own Brussel Sprouts
Growing Brussels sprouts in the UK can be very rewarding, as this vegetable thrives in cooler climates.
Brussels sprouts require a long growing season and are harvested in the late autumn and winter, providing a fresh vegetable during a time when few others are available.
Here’s how to grow Brussels sprouts successfully in the UK:
1. Choose the Right Variety
- Select varieties that are suited to your local climate and the length of the growing season. Popular choices include ‘Trafalgar’, ‘Doric’, and ‘Crispus’ for their good disease resistance and flavour.
2. Timing
- Sow seeds from late February to early April in a greenhouse or under cloches for an early start, or directly outdoors from March to April. Brussels sprouts need a long growing season to mature.
3. Sowing Seeds
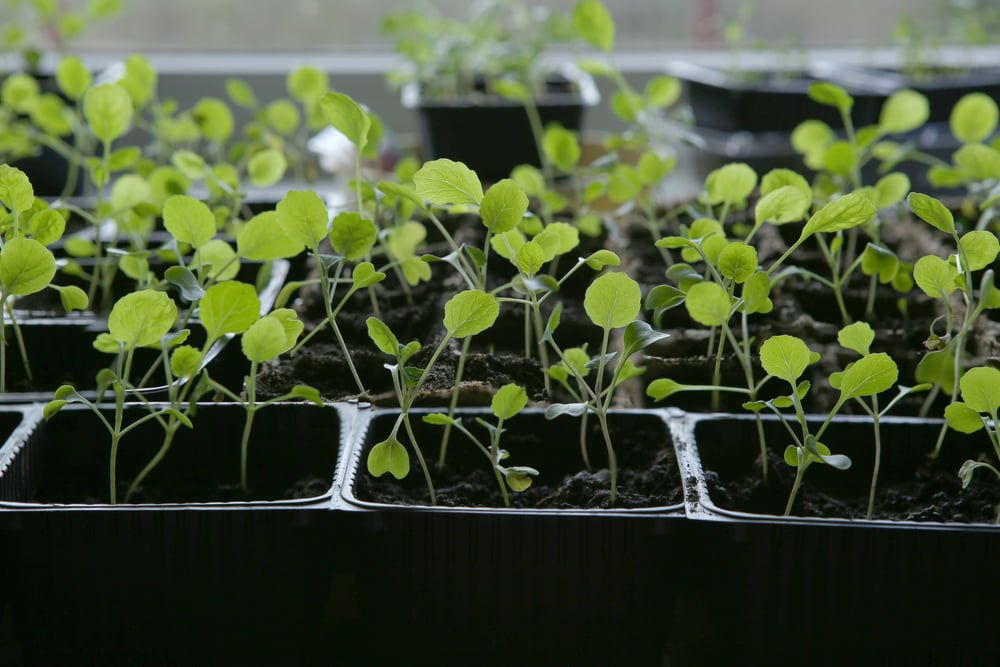
- If starting seeds indoors, use small pots or trays filled with seed starting mix. Sow seeds about 1.5cm deep, covering lightly with soil. Keep the soil moist but not waterlogged.
- For direct sowing outdoors, sow seeds in a well-prepared seedbed, thinning seedlings to about 7cm apart once they have their first true leaves.
4. Transplanting
- Transplant seedlings to their final growing positions when they are 10-15cm tall, typically around 5-6 weeks after sowing. Space plants about 60-75cm apart in rows that are 75cm apart. This spacing allows for adequate air circulation and growth.
5. Soil Preparation
- Brussels sprouts prefer a firm, fertile, well-drained soil with a pH of 6.5 to 7.5. Prepare the soil in autumn before planting by incorporating well-rotted manure or compost and applying a general-purpose fertilizer.
6. Watering
- Water plants regularly to keep the soil moist, especially during dry periods. Consistent watering is crucial for the development of tight, firm sprouts.
7. Staking
- As they grow, Brussels sprouts plants can become top-heavy and may require staking to prevent them from blowing over in strong winds.
8. Feeding
- Apply a nitrogen-rich fertilizer when plants are about 30cm tall to encourage leaf growth. Later in the season, switch to a potassium-rich feed to promote the development of the sprouts.
9. Pest and Disease Control
- Keep an eye out for common pests such as cabbage root fly, aphids, and caterpillars. Use protective netting to guard against birds and butterflies that lay eggs on the plants. Practice crop rotation to prevent soil-borne diseases.
10. Harvesting
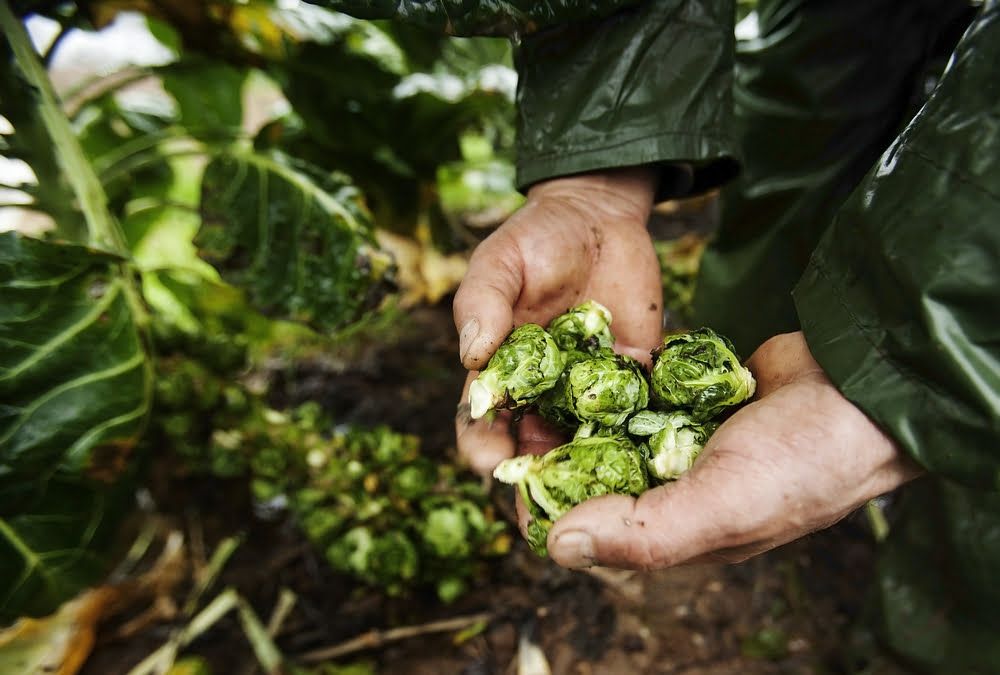
- Brussels sprouts are ready to harvest from autumn through to early spring, depending on the sowing time and variety. Pick sprouts from the bottom of the stalk upwards, as they mature.
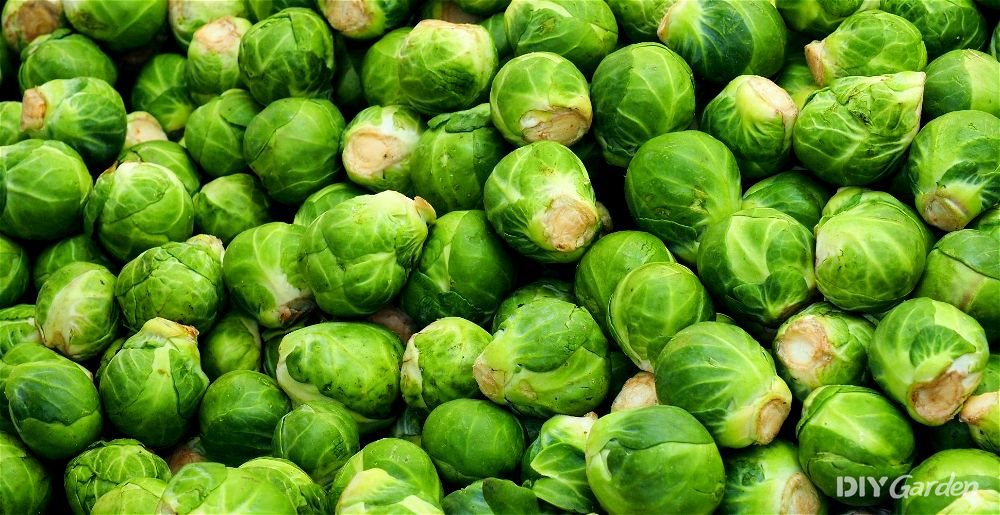
- Sprouts should be firm and green when harvested. The flavour of Brussels sprouts improves after the first frost, becoming sweeter.
11. Aftercare
- After harvesting the sprouts, you can leave the plants in the ground until spring. The leafy tops can be harvested and eaten like spring greens.
12. Succession Planting
- For a continuous harvest, consider planting early, mid-season, and late varieties. This will extend the harvesting period from autumn through to early spring.
Growing Brussel Sprouts: A Quick Snapshot
When to Sow – Mar-May
When to Plant – May-Jun
When to Harvest – Sep-Feb
Average Yield per Plant – 1.3kg
Spacing – 60-90cm
Depth – 2cm
How to Grow Brussel Sprouts at Home
Just like other brassicas, Brussel sprouts are a cool-weather crop. However, they’re slower to mature than most other brassicas, requiring a growing season of around 30 weeks. Fortunately, Brussel sprouts are hardy and easy to care for – get them off to a good start and your plants won’t need much maintenance after that.
Growing Requirements for Brussel Sprouts
In addition to a long growing season, Brussel sprouts also need plenty of sunlight. At least six hours a day is essential, although the more sun that your plants get, the better they’ll grow.
A fertile soil with plenty of organic matter is important for Brussel sprouts. A soil pH of around 6.8 is also beneficial for preventing certain diseases.
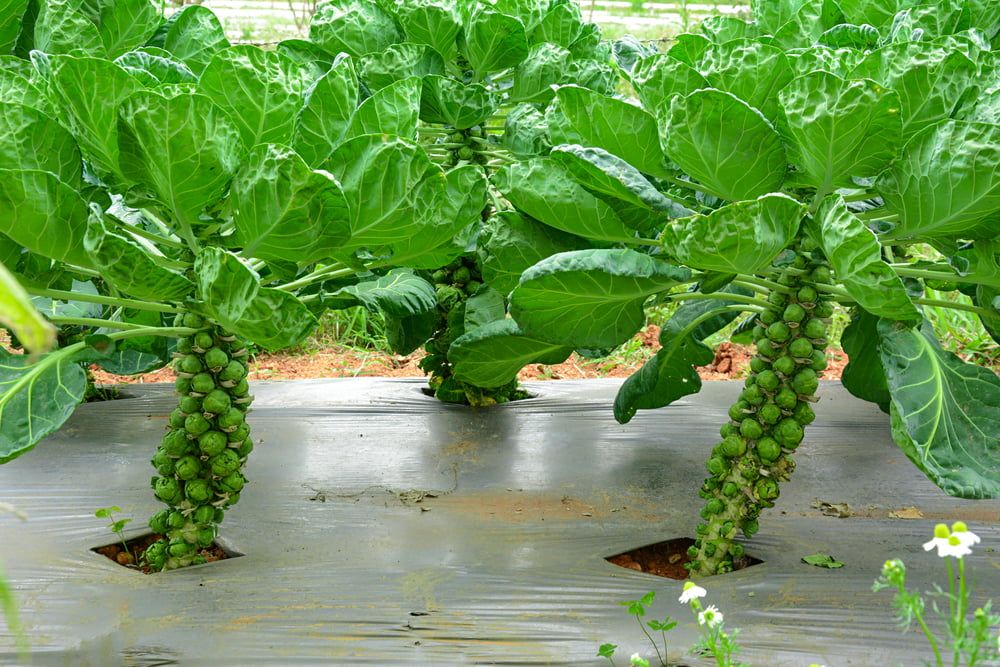
Although a hardy plant, many new gardeners are often surprised at how tall some varieties can grow. Those thick stalks can often reach 70cm in height, meaning that they’ll need to either be staked or protected in some way if you’re planting them in an exposed and windy location. Of course, you could always save yourself this extra work by opting for dwarf varieties instead. While these don’t look quite as visually impressive, they’re still very productive.
How to Grow Brussel Sprouts from Seed
Although a little tricky to time, you ideally want to sow your Brussel sprout seeds about 4-5 weeks before your last spring frost. Here’s how to do that:
- Fill module trays with multi-purpose compost
- Water the compost well, making sure that excess water is draining from the bottom of each module
- Make small indentations about 2cm deep in the centre of each module
- Place a seed into each indentation. If your seeds are old, then go ahead and place two seeds into each module. You’ll then need to thin out the weaker seedling from each once they’ve germinated
- Cover your seeds back over and then water lightly again
- Place your modules somewhere warm – a temperature of around 25°C ensures the best germination rates, making a heated propagator useful
It usually takes about 6-12 days for Brussel sprout seeds to germinate. Once they do, move your trays somewhere bright and make sure that your seedlings never dry out. They’ll be able to move outside in about a month. If their roots start emerging through the bottom of your modules before this, then transplant them into larger pots.
How to Plant Brussel Sprouts Outside
Once you’ve had your last frost of the spring, you can start to harden your Brussel sprout seedlings off. Do this over ten days or so, taking them outside for an hour or two on the first day and then slowly building this up.
Use this time to prepare your planting area. If your soil is poor, add in plenty of compost, and make sure that you thoroughly weed the area too.
Then, dig holes that are just slightly deeper than the size of each seedling rootball. Space each hole between 60-90cm apart, depending on the size of the variety you’re growing. Then, place each seedling into a hole, cover the roots back over with soil, and firm down. Brussel sprouts do best in firm, but not compacted, soil.
Water well after planting. If your soil isn’t the best quality, you may also want to give your seedlings a diluted feed of liquid seaweed to help them get started.
How to Plant Brussel Sprouts in a Greenhouse
Since Brussel sprouts are a cool-weather crop, most gardeners grow them outside, rather than in a greenhouse. The plants don’t do well when subjected to too much heat – anything over 21°C can cause them to bolt.
However, if you live in a very cold region and your greenhouse struggles to reach that temperature in the summer, then your Brussel sprouts will likely do just fine. The protection provided by your greenhouse will also help to extend your harvesting period come winter.
Follow the steps above for planting Brussel sprouts outside. If you don’t have enough room in your greenhouse bed, you can also try growing your Brussel sprouts in pots. You’ll need a container that’s at least 30cm in depth. Choose a lightweight container to give you the option of moving your plants in and out of your greenhouse depending on the weather.
How to Care for Brussel Sprouts
Brussel sprouts don’t require too much in terms of maintenance. However, there are a few basic care points that you’ll need to follow:
Watering Brussel Sprouts
Although Brussel sprouts prefer moist soil, you don’t want to leave their roots constantly soggy either. Aim to provide about 2-4cm of water a week. Rainfall will usually take care of this for you, but you will probably need to manually water your plants during dry spells in the summer.
Feeding Brussel Sprouts
Since Brussel sprouts take so long to grow, they’ll need some extra nutrients. Start feeding your plants about a month after planting them out. Nitrogen-rich fertilisers are best, but go for something organic – overdoing it with nitrogen can lead to lots of foliage but few sprouts.
An application every few weeks of blood meal or well-rotted manure should give them everything that they need!
Weeding and Mulching Brussel Sprouts
Brussel sprouts don’t do well when they have to compete with weeds. This means fewer nutrients, less moisture, less sunlight, and less space, all of which impact growth and yield.
Regularly weeding around your plants is important, but consider laying a mulch to help cut back on the amount of weeding you need to do. Choose an organic mulch and your plants will also benefit from extra nutrients as the mulch slowly breaks down.
Staking Brussel Sprouts
Unless you’ve gone for a dwarf variety, then your Brussel sprout plants will likely need to be staked as they grow. This will help to prevent them from being knocked over or damaged in strong winds.
Wooden stakes are the best option. Insert a stake a few inches away from the base of each plant, and then use some string to loosely tie the stem of each plant to the stake. Don’t tie them too tightly – they should still be allowed to sway about with the wind, just not too much!
How to Harvest Brussel Sprouts
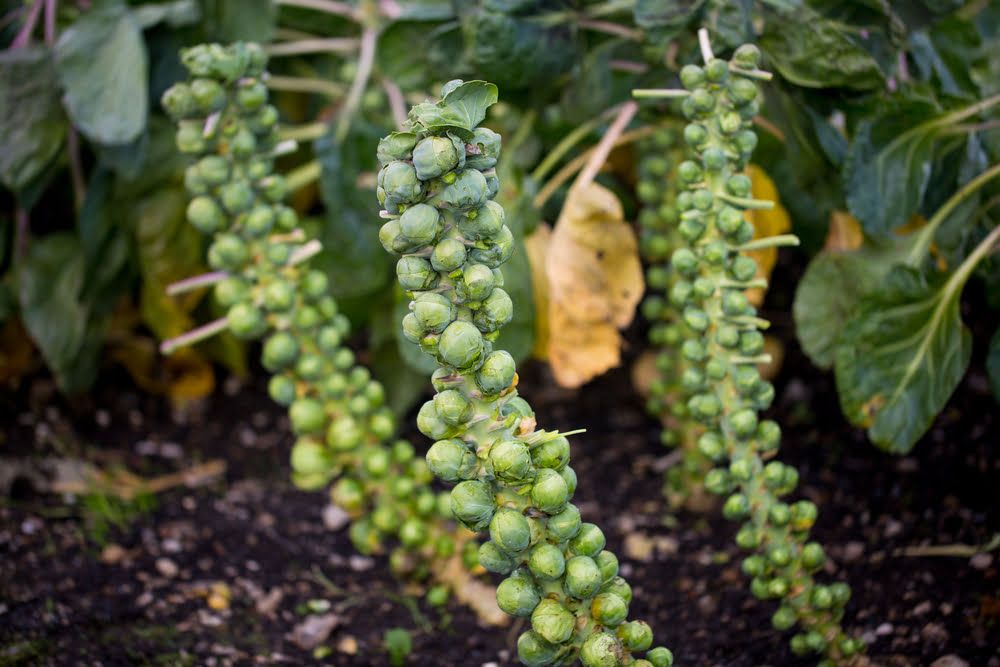
You’ll notice that your plants start producing their first sprouts on the lower part of their stems, with newer sprouts appearing above. This means that the lower sprouts will be ready for harvesting sooner than the upper sprouts. While they’ll be happy to hang about on the plant for a few weeks before they start to open, larger Brussel sprouts aren’t quite as tasty.
Ideally, you want to harvest your sprouts while they’re still tightly closed. They should be firm and about 2.5cm in diameter.
Simply twist and pull at a sprout to harvest it. If the leaves around it have yellowed, remove these too – this will help to maintain good ventilation around your plants.
The more you harvest your Brussel sprouts, the more sprouts they’ll produce. Some gardeners end up with over 100 sprouts from just one plant!
Of course, rather than picking your sprouts as they mature, you could also just harvest the plant as a whole. Wait until the lower sprouts are about 1-1.5cm in diameter, and then cut off the top of the plant. Wait two weeks to give the remaining sprouts enough time to mature, before digging up the plant.
Once your plants near the end of the growing season, treat yourself to some foliage too! Brussel sprout leaves are edible and taste very much like cabbage.
How to Store Brussel Sprouts
You can store washed Brussel sprouts in the fridge for up to a week. If you leave them unwashed and wrap them in some damp paper towels, then they could even last for up to five weeks.
If you have a root cellar, or even a cold frame, then entire plants can be dug up and stored as they are. You can then simply pick off sprouts as and when you need them for a good few months.
How to Prepare & Cook Brussel Sprouts
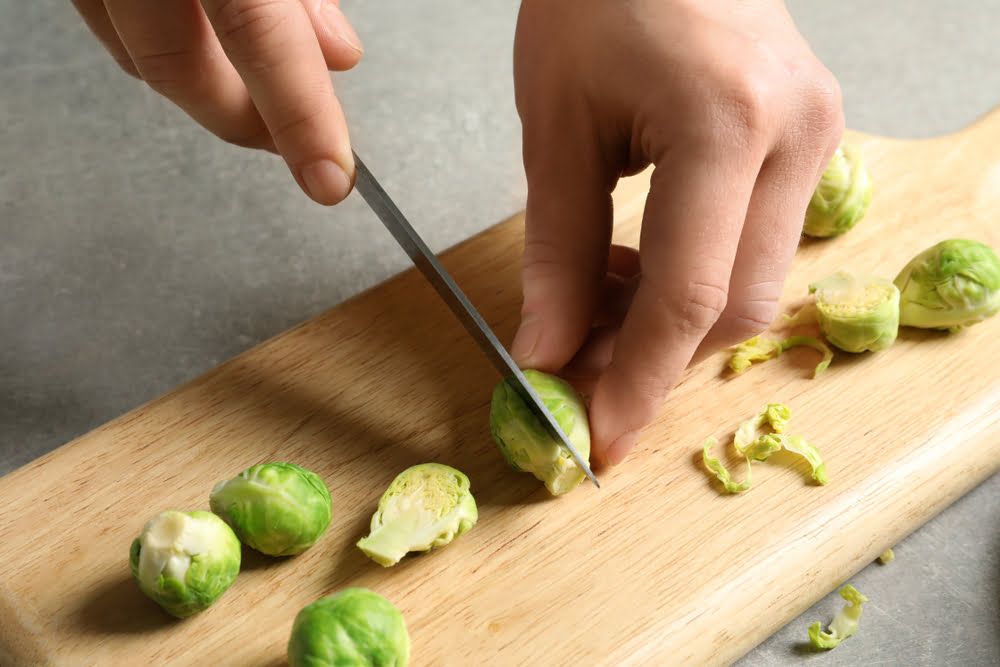
Once you’re ready to eat some of your sprouts, trim off the ends and remove any discoloured leaves. Then, give them a quick soak in a bowl of water to flood out any dirt or trapped insects.
Brussel sprouts can be cooked whole, but, ideally, you want all the sprouts to be a similar size so that they’ll cook at the same time. So, if you do have any super-sized sprouts, you may want to cut them in half or quarters.
Now onto the cooking – the part that fills many with dread. However, don’t worry, you’re already at an advantage since you’re using homegrown Brussel sprouts. They’ll be naturally sweeter and more tender than anything you could buy!
The secret to cooking delicious sprouts is easy – don’t overcook them! Brussel sprouts don’t need to be cooked for long, with many enjoying their taste when raw. If this isn’t an ingredient that you’ve experimented with much in the kitchen, here are a few dishes to try:
- Roasted Brussel sprouts with garlic
- Sautéed sprouts with pancetta
- A raw Brussel sprout coleslaw
- Creamed sprouts
- Stir-fried with a Chinese-style sauce
Common Brussel Sprout Problems
Some of the pests and diseases that you may encounter when growing Brussel sprouts are:
- Cabbage root fly – the first sign of this pest will be wilted leaves that look almost blue in colour. If you dig the plant up, you’ll notice white maggots around the roots. You’ll need to cover your plants with a mesh or fleece to protect them, or make use of cabbage collars
- Cabbage caterpillars – this is another pest that you can prevent with mesh, although pesticides can help too. These pests are most prevalent in the summer – you’ll easily see the caterpillars munching away at the leaves, and you may also notice white butterflies fluttering nearby
- Clubroot – sadly, there’s not much that you can do if your plants develop clubroot, which is a soil-borne disease. You’ll notice that the leaves yellow and wilt, the roots swell and distort, and the plants soon die. The disease thrives in acidic soil, so while making your soil more alkaline will help to prevent it from spreading through your garden, you should also avoid growing any brassicas in that area for at least seven years
Popular Brussel Sprout Varieties to Grow
There are several Brussel sprout varieties that you can choose from, with the tastiest being:
- Nelson – an early variety that produces very sweet sprouts
- Falstaff – this variety produces beautiful purple/red sprouts, with their colour intensifying after a frost
- Bubbles – this hardy variety is both drought and heat tolerant, and is also resistant to a few diseases
- Long Island Improved – a semi-dwarf variety that’s quite thick and stocky, making it great for windier spots
- Clodius – another disease-resistant variety that produces its sprouts mid-season
Conclusion
Not only are Brussel sprout plants stunning to look at, but the sheer number of varieties available makes this vegetable all the more exciting. If this isn’t a plant that you’ve attempted to grow yet, it’s definitely one worth trying – Brussel sprouts are easy to care for, extremely productive, and add a fantastic visual focal point to any vegetable garden.