The Ultimate Guide to Growing Chickpeas
Otherwise known as garbanzo beans, chickpeas have been cultivated for centuries around the world. They’re a cool-season crop commonly grown in the Mediterranean and Asia, but gardeners in temperate climates rarely consider it for their vegetable plots.
While it’s true that garbanzo beans aren’t frost-hardy and need about 100 days from sowing to harvest, they’re also easy to care for and are resistant to drought and most garden pests.
If chickpeas regularly feature in your meals, then learning how to grow them at home is definitely worthwhile.
Growing Chickpeas: A Brief Overview
When to Sow Chickpeas
From March – June
When to Plant Chickpeas
From April – June
When to Harvest Chickpeas
From July to September
Average Yield per Plant
Approximately 200g of chickpeas
Spacing Between Chickpea Plants
Leave around 7 – 15cm
Depth For Planting Chickpeas
Approximately 3cm deep
Growing Conditions For Chickpeas
A delicious and versatile plant-based protein, it’s surprisingly easy to grow chickpeas at home. The garbanzo bean seeds germinate easily and the plants don’t ask for much – meet their basic growing requirements and you’ll be good to go!
Light Requirements
Chickpeas do best when grown in full sun. While the chickpea plants will tolerate partial shade too, this will significantly affect your yields.
Soil Requirements
In terms of soil, go for something well-draining, but not too rich. Surprisingly, chickpeas tend to do better on poorer soils. This doesn’t mean heavy clay (clay soil is actually very fertile and high in nutrients), just roughly cultivated garden soil. Simply pick a growing area, make sure that it’s well-draining, add a few centimetres of compost over the top, and you’re ready to plant!
How to Grow Chickpeas from Seed
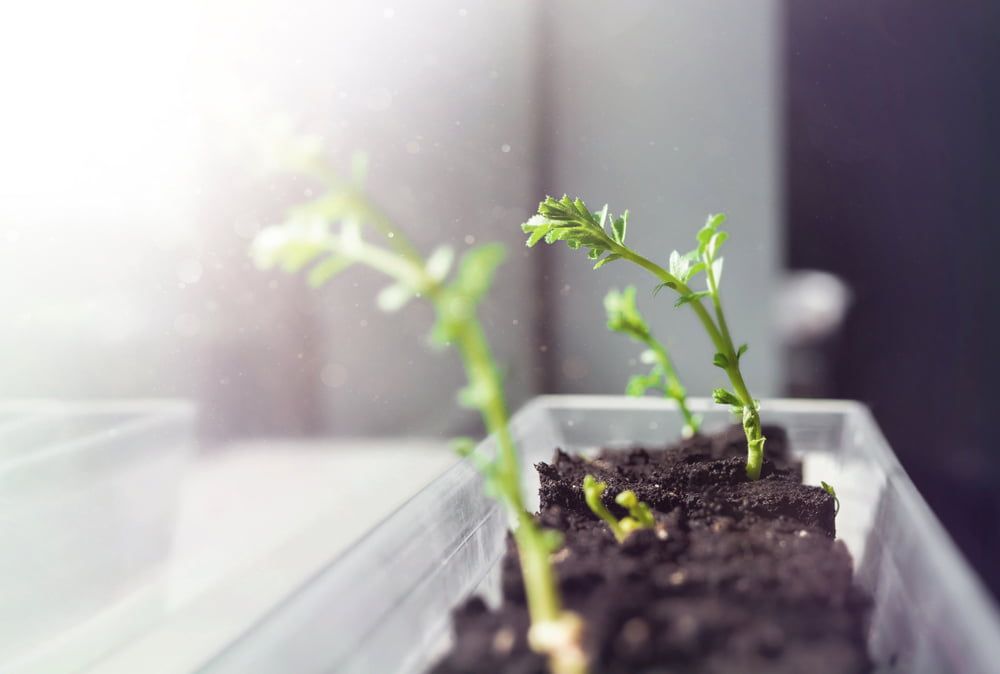
Chickpeas can be started off in modules indoors or direct sown outside.
Starting garbanzo bean seeds indoors gives you a head start on the growing season, making this the better option for those in colder regions. Do this about a month before your last spring frost.
However, if warm summers are the norm for you, then wait until your last spring frost has passed before sowing outdoors. That said, don’t wait too late in the season – temperatures above 29°C will affect your yields. Chickpeas don’t usually like being transplanted, so direct sowing could give you healthier plants.
Successional sowing is also worth considering with chickpeas. This gives you a much longer harvesting period, so aim to sow some seeds every two weeks.
How to Sow Chickpea Seeds in Modules:
- Fill module trays with a multi-purpose compost
- Water the compost well, making sure that excess water drains away from the bottom. Waterlogged soil will cause your chickpea plants to quickly rot, making good drainage important
- Make a small indentation in the centre of each module, about 3cm deep
- Plant chickpea seeds into each indentation and then cover back over with soil. While you can sow two seeds per module and then thin out the weaker chickpea seedlings, chickpeas usually germinate well, meaning that this isn’t necessary
- Water lightly again and then place your seeds somewhere warm, but not hot. Chickpeas germinate best at temperatures between 10-15°C
Chickpea seeds germinate quickly – you’ll notice seedlings appearing in just two to three days. At this point, move your trays somewhere bright and sunny and keep the soil in each module consistently damp. Continue growing your chickpeas on indoors until you’ve had your last spring frost.
How to Direct-Sow Chickpea Seeds:
- Prepare your growing area by thoroughly weeding it and removing any large rocks
- Create furrows in the ground that are about 3cm deep. Space each row about 25cm apart. There have been several studies done on chickpea row spacing – while some commercial farms opt for wider gaps of around 75cm, going for 25cm row spacings makes no difference to yield, but allows home gardeners to maximise their space
- Sow your seeds thinly, aiming for a distance of 7-15cm between each one (depending on variety). Don’t worry if you over-sow, as you can always thin out the extra seedlings later on
- Cover your seeds back over with soil
- If your ground is dry, water your seeds well after sowing
How to Plant Young Chickpeas Outside
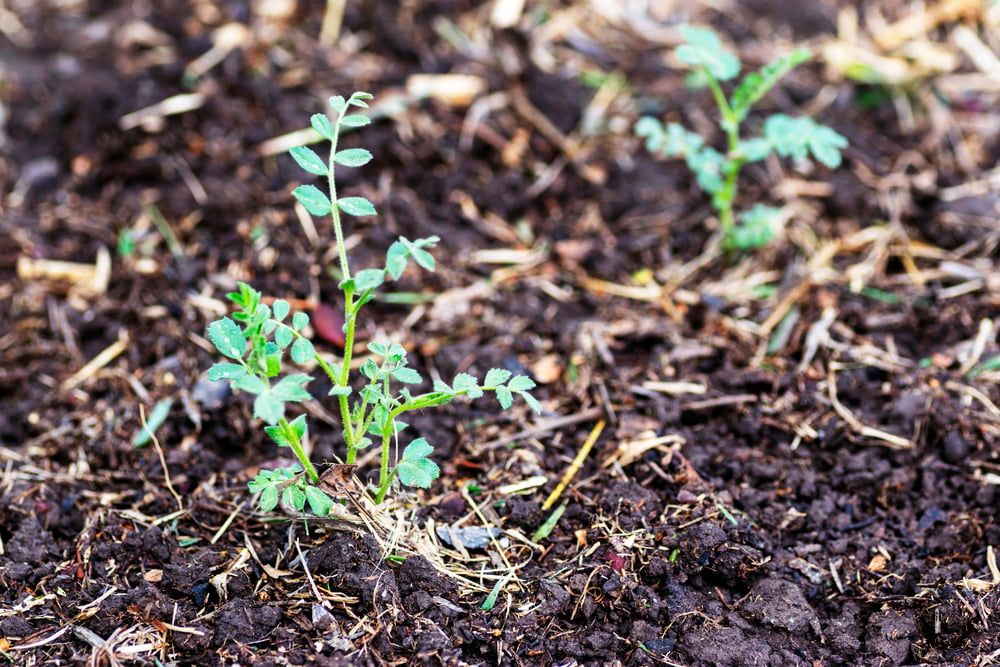
Once your indoor-sown plants are about a month old and your last spring frost has passed, you can plant your seedlings outside.
Prepare your growing area and then dig holes that are just slightly larger than the root ball of your seedlings. If you’re planting in rows, space each hole about 10cm apart, and space each row about 25cm apart. If your planting style is more sporadic, then aim for somewhere in the middle – giving each chickpea plant about 20cm of space all around should be sufficient.
Water your seedlings well and then remove them from their pots. Place a seedling into each hole, cover the roots over with soil, and then gently firm down. Even though you’ve already watered your seedlings, water them again after planting. This helps to eliminate excess air pockets in the soil, enabling your plants to establish faster.
Avoid planting chickpeas next to:
- Garlic – this secretes a chemical that can stunt the growth of legumes like chickpeas
- Potatoes and soy beans – you should avoid planting chickpeas next to any plants that are susceptible to the same diseases
How to Plant Young Chickpeas in a Greenhouse
Being a cool-season crop, chickpeas aren’t commonly grown in a greenhouse. As mentioned, excessively hot temperatures will affect your yields.
However, for those of you in colder climates, this might not be such an issue. If you know that your greenhouse will stay below 29°C, then your garbanzo beans will likely do just fine.
Use the same methods as when planting outside. However, if you don’t have much space in your greenhouse beds, you could also try growing your chickpeas in containers. Keep in mind that yields won’t be high, but you’ll still be able to harvest a few beans, while also benefiting from the ornamental qualities of this plant!
How to Care for Chickpeas
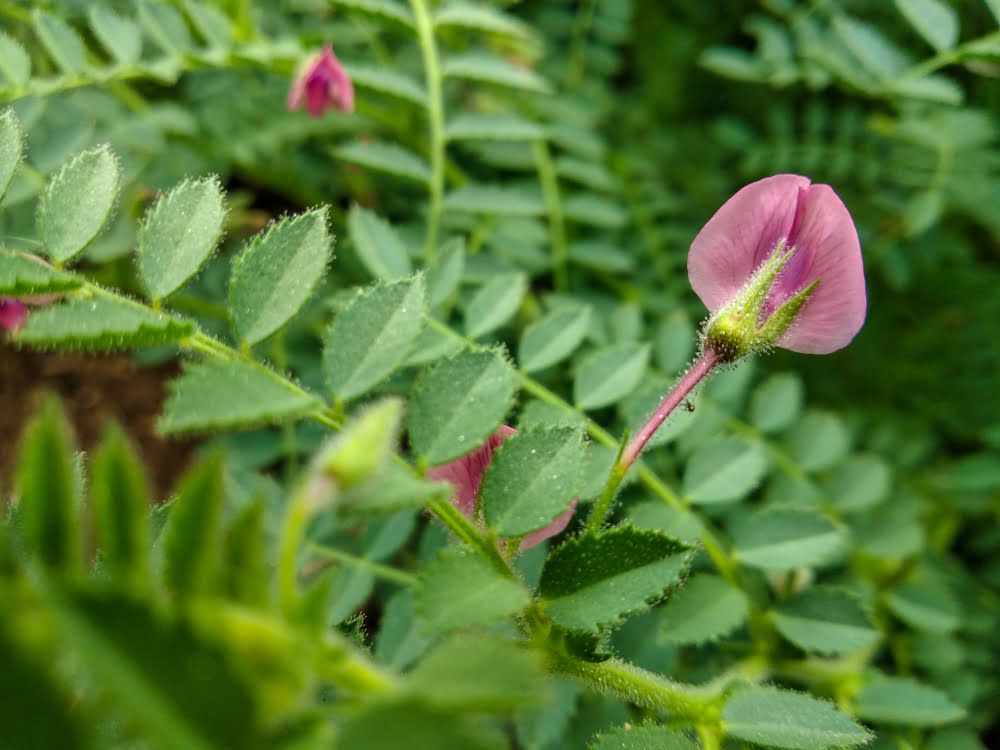
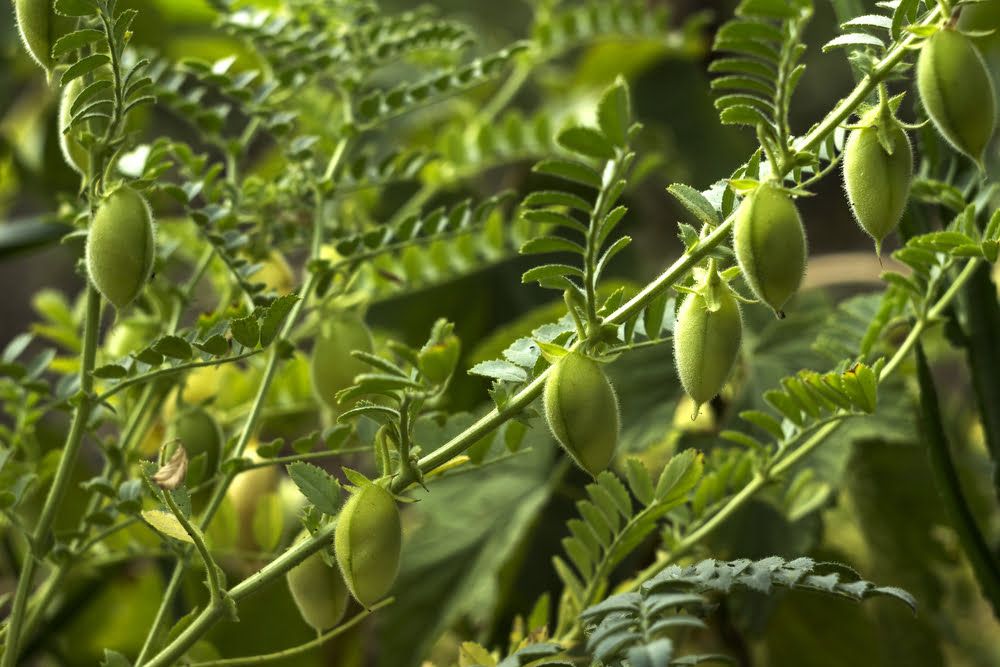
If you’ve never seen a chickpea plant before, here’s what to expect. They’re a legume with small leaves and they grow to about knee-high. The pods (which each contain just one or two chickpeas) form on the upper portion of each plant, following on from attractive flowers in mid-summer.
Although they’re low-maintenance, there are a few things that you’ll need to do to ensure maximum yields:
Watering Chickpeas
Although drought-tolerant once established, you should still aim to provide your chickpea plants with consistent levels of moisture in order to maximise yield. In cooler climates, garbanzo beans require about 2.5cm of water a week. However, in warmer regions, or if you’re growing your chickpeas in a greenhouse, you’ll need to double that number.
When watering your chickpeas, aim the water at the soil around your plants, rather than onto the stems and leaves. This will help to prevent rot, along with several other diseases.
Feeding Chickpeas
When growing in balanced soil, chickpeas don’t need to be fertilised. However, if you live in an area with a shorter growing season and you want to speed up the rate at which your chickpeas mature, a fertiliser may be worth considering.
Studies have found that applying a nitrogen-rich fertiliser to chickpea plants boosts their vegetative growth earlier on in the season. This means that they’ll run through all of the nutrients in the soil faster, which then triggers them into maturing earlier.
So, while fertilising your chickpeas won’t make any difference to your final yield, it’s a useful trick for ensuring that your chickpeas mature before the first autumn frost.
Weeding and Mulching Chickpeas
Chickpeas don’t do well when they have to deal with competition from weeds. However, after about three or four weeks, the plants will thicken up and form their own canopy. This is usually enough to smother out any weeds growing below.
So, although weeding around your plants is important, you won’t need to do this for the entire growing season. Alternatively, if you want to skip weeding altogether, lay a mulch around your chickpea plants after planting them out.
Staking Chickpeas
Chickpea plants don’t usually need to be staked. They may start to slightly flop over as they grow, but, if you’ve given them enough space, then this shouldn’t be a problem.
The issue lies with chickpeas that have been interplanted with other crops. Since chickpeas are a nitrogen fixer, they make for a great companion plant. However, this means that when they start to flop, they could end up blocking light from the other plants around them. In these cases, staking your plants would be beneficial.
How to Harvest Chickpeas

You have a couple of options when it comes to harvesting garbanzo beans. You can either wait until they’ve dried on the plant, which is what gardeners in warmer climates do, or you can harvest them while they’re still green and fresh.
To harvest chickpeas that are fresh, act while the green pods are still small. Break one open to taste a chickpea – it should have a flavour that lies somewhere between a pea and a bean. If they’re ready to be harvested, cut the plants off at ground level, leaving the roots in the soil.
Green garbanzo beans can be eaten fresh. However, if you’re hoping for long-term storage, then you’ll need to dry them, which is why leaving them to dry on the plant itself can be a big time-saver. That said, if you live in a cool and damp climate, the pods may not end up drying properly when left on the plant. Leave them too long and the frost could end up damaging them.
If you would like to try harvesting dried chickpeas, wait until the plants have turned yellow and brittle. Then, again, cut them off at ground level, leaving the roots behind.
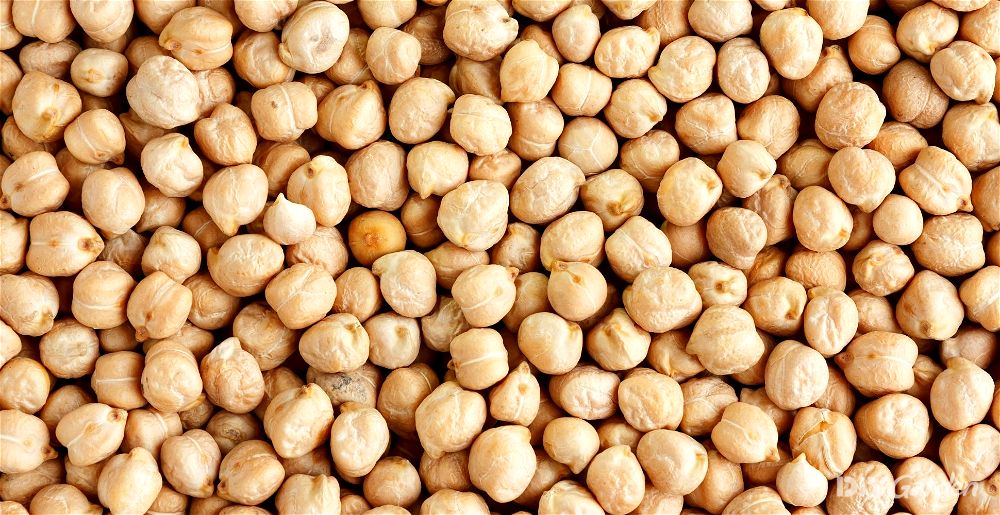
How to Store Chickpeas
Green chickpeas don’t store well – they’re tastiest when eaten fresh. However, you also have the option of either cooking or processing your green chickpeas in some way, before storing your final product. Hummus is a great example – simply blend your fresh chickpeas into a hummus and then freeze this in portions.
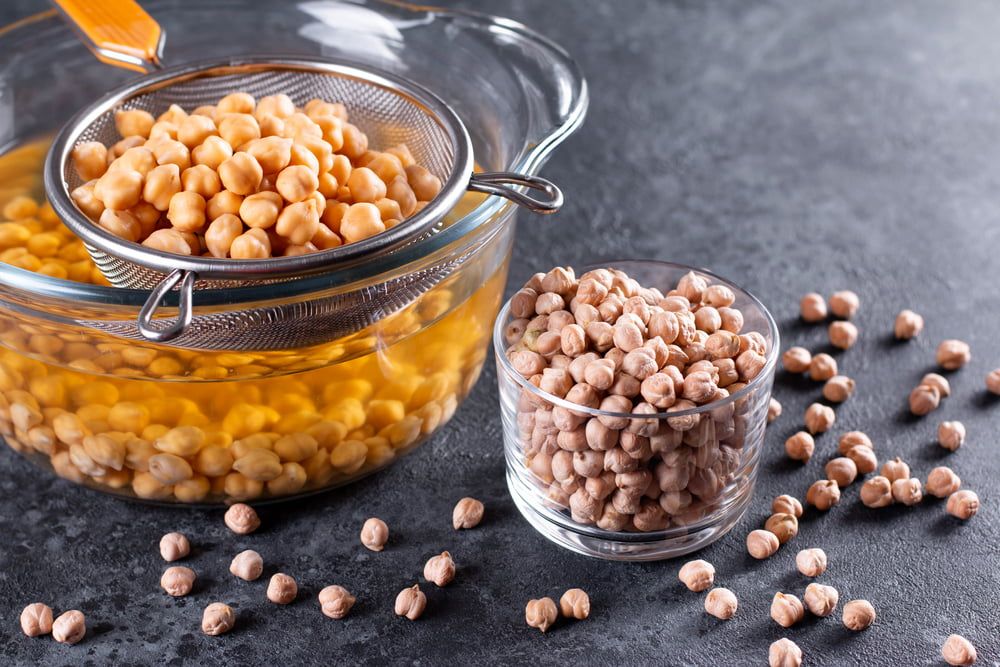
Alternatively, you can store dried chickpeas. They’ll store for longer this way, although you’ll need to soak them before you cook with them. Create dried chickpeas by placing your harvested plants somewhere cool, dry, and well-ventilated. Once dry, the pods will easily split open, allowing you to collect each chickpea within. Store dried chickpeas in an airtight container.
How to Prepare & Cook Chickpeas
Fresh green chickpeas don’t require much preparation. Simply shell them and eat them raw. As mentioned, turning them into hummus is popular, or you could simply add them into salads, stews, or any dish that you’re making.
Dried chickpeas require a little more preparation. You’ll need to soak them in water overnight, until they swell up. After this, they can be cooked. While the soaking process isn’t strictly necessary, cooking chickpeas that haven’t been soaked will take a lot longer.
Now onto the fun part – cooking up some delicious chickpea dishes. Some of the tastiest ways to showcase your harvest are:
- Chickpea mash
- Chickpea fritters
- Middle Eastern-inspired tacos
- Chickpea and tomato curry
- Chickpea soup
Common Chickpea Problems
One of the reasons why chickpeas do so well commercially is because they’re generally quite resistant to most pests. That said, they could still pick up diseases, with the most common being:
Fusarium Wilt
If you’ve noticed drooping/yellowing leaves and stunted growth, then a fungal disease called fusarium wilt could be the cause. Unfortunately, there’s no treatment – you’ll need to remove infected plants and soil and replace this with fresh compost. Don’t compost affected soil, as this will spread the disease
Powdery Mildew
This disease shows up as a powdery white coating on the surface of leaves. Fortunately, there are plenty of organic treatments that you can make at home, which can then be sprayed onto your plants
Popular Chickpea Varieties to Grow
Chickpeas come in a plethora of different colours, and some are known for being much more flavourful than others. These are some of the best varieties to grow.
Principe
A white-skinned Italian variety that has a beautiful flavour and texture.
Kyabra
One of the highest yielding varieties.
Amethyst
Tall and erect plants with smaller-than-average chickpeas.
Eshete
A high-yielding variety that’s commonly used by commercial growers.
Conclusion
There aren’t many crops that can compare to chickpeas when it comes to protein content, making garbanzo beans a very worthwhile vegetable to grow. Not only are the plants very productive and easy to care for, but they also have a beautiful ornamental quality that makes them a gorgeous addition to any garden.