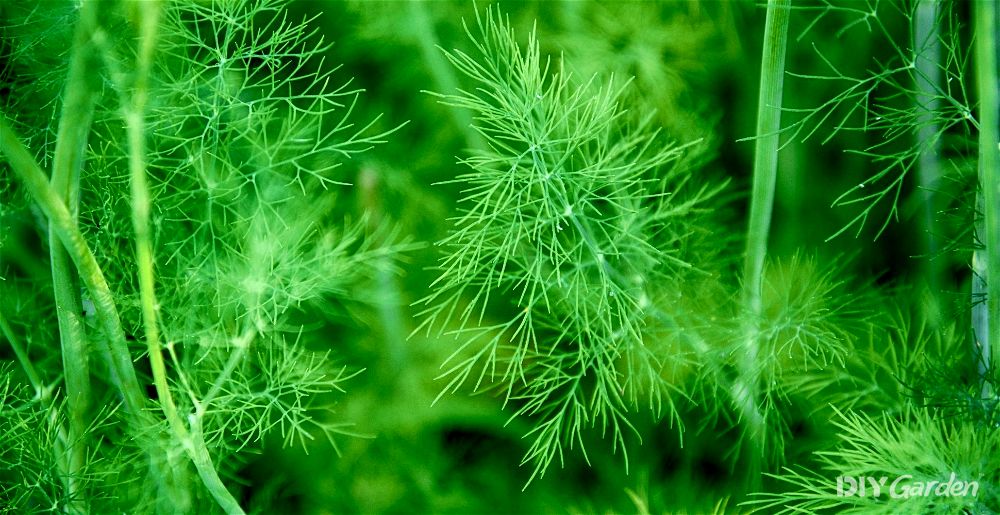
Native to Western Asia and the Mediterranean, dill may look wispy and delicate, but it really packs a punch when it comes to flavour. It’s an ancient herb that has been used for culinary purposes for over 5000 years, with many cultures revering it for its medicinal properties too. Whether you love it for its aromatic leaves or its aniseed-tasting seeds, this biennual is an easy plant to care for.
Growing Dill: A Quick Snapshot
When to Sow – Apr-Jul
When to Plant – May-Jul
When to Harvest – May-Oct
Average Yield per Plant – 20g
Spacing – 15cm
Depth – 0.25cm
How to Grow Dill at Home
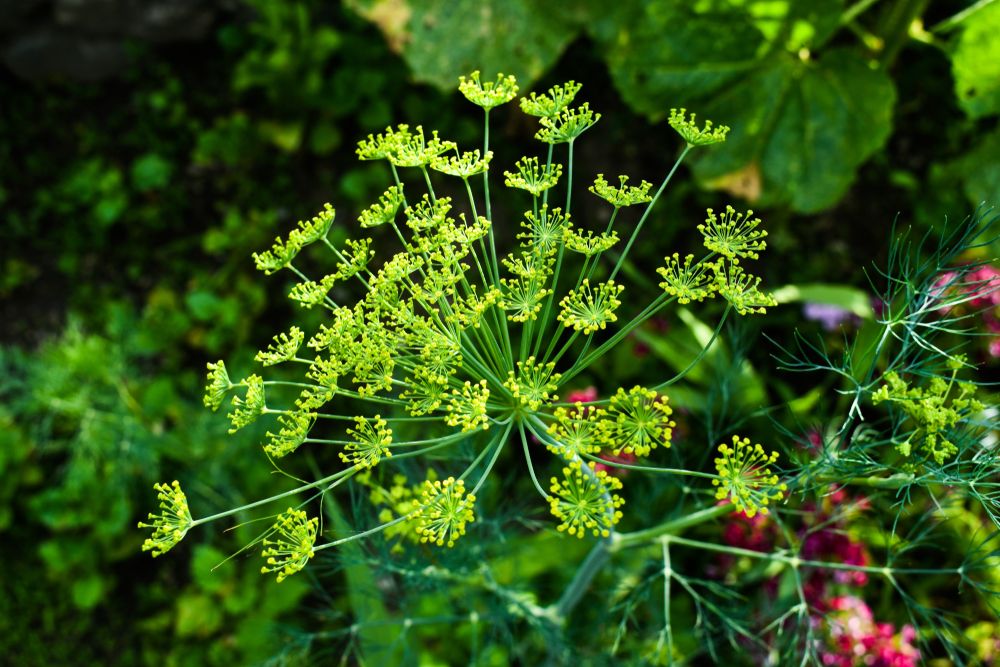
Not only is dill a fantastic accompaniment to so many dishes, but the plants themselves are beautifully ornamental too. Those tall stems, feathery leaves, and yellow flowers attract so much wildlife – just a few of these plants can really make a garden feel so alive. Even better, dill isn’t a fussy plant – meet its basic needs and you could be harvesting that foliage just a couple of months after sowing.
Growing Requirements for Dill
Dill plants do best when given full sun, meaning 6-8 hours of sun a day. That said, they’ll still grow in partial shade. However, they’ll be leggy rather than sturdy, meaning that you may need to stake them.
To avoid staking, most gardeners also try to pick a growing area that isn’t exposed to strong winds. Since the stems can grow up to 1m in height, a few strong gusts could easily break them. Of course, you could always take advantage of that height and plant them towards the back of an existing bed, so that the other crops in that bed would provide the dill with some extra protection. Dill is a fantastic companion to cabbages (it will improve their growth), as well as onions and leeks – just avoid planting them near any carrots.
In terms of soil, go for something well-draining. If the soil in your chosen growing area is heavy clay or compacted for other reasons, mix in some compost or well-rotted animal manure prior to planting your dill. Fertile soil will give you the best yields, but dill will tolerate poorer quality soils too.
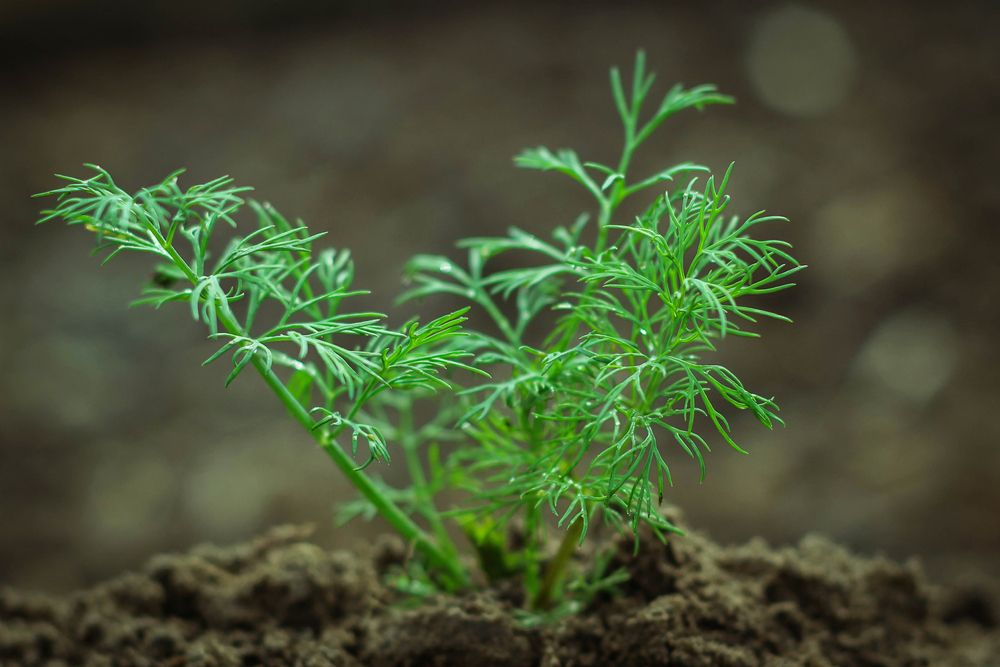
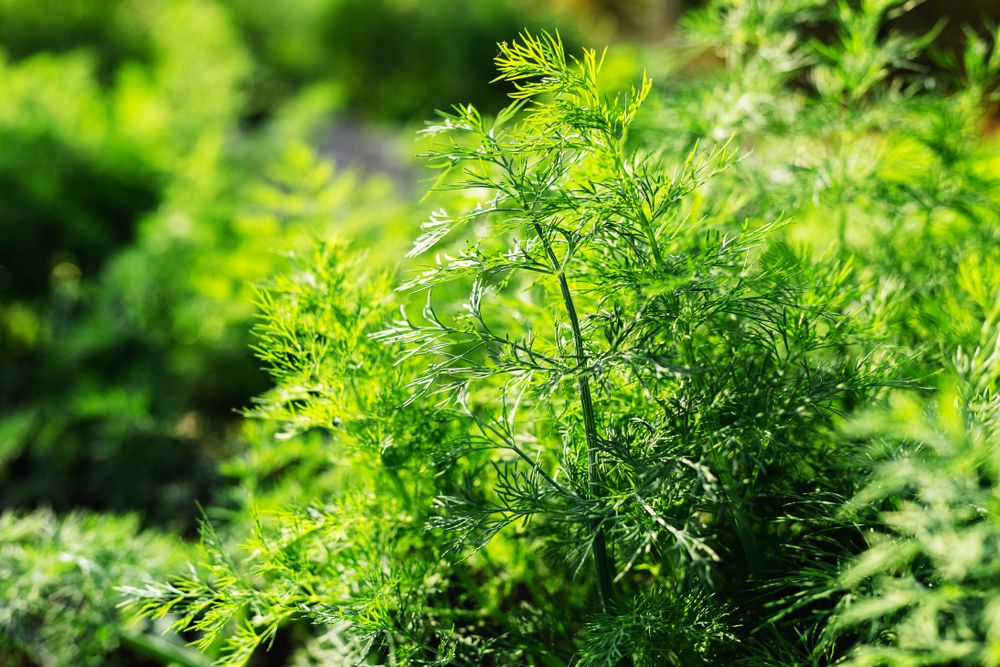
How to Grow Dill from Seed
Being a cool-season crop, dill is best planted in the spring. It will tolerate temperatures down to -3°C, so you can get sowing as soon as the soil is workable. Starting your dill seeds indoors and then transplanting your seedlings outside will give you an earlier harvest, but you’ll likely end up with stronger plants if you simply direct sow your seeds.
For regular harvests, sow your seeds successionally every three weeks. You’ll probably only need to do this for one season because dill readily self-seeds. Leave some of your plants to flower and die back naturally and you’ll have new dill seedlings growing in your garden in no time at all.
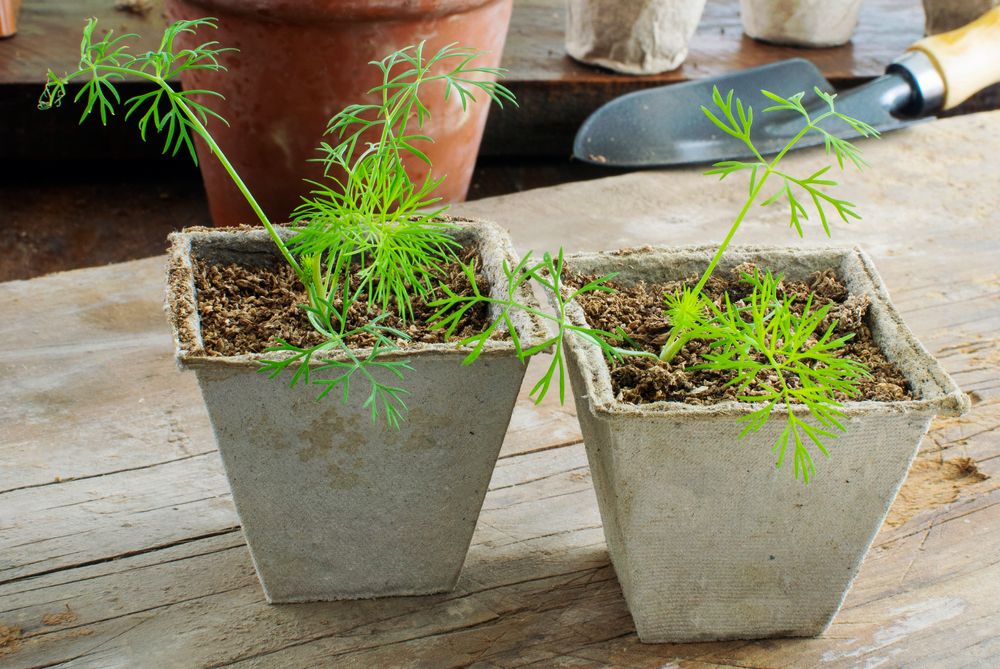
How to Sow Dill Seeds in Pots:
- Fill small but deep pots (dill has a very long taproot) with multi-purpose compost
- Water the compost well
- Press 5-7 dill seeds onto the surface of the compost. Dill seeds need light to germinate, so don’t bury them too deeply
- Place your pots somewhere warm and protected. Dill seeds germinate best in temperatures between 15-21°C
It takes about two weeks for dill seeds to sprout. Once they do, move them to a brighter spot and keep them moist. After a couple of weeks, thin your seedlings out, leaving 3-5 of the healthiest seedlings to continue growing.
How to Direct Sow Dill Seeds:
- Remove any weeds from your growing area and then water the soil
- Press your dill seeds onto the surface. Aim for about 5 seeds for every 10-15cm of soil. Dill is usually grown in clumps, rather than rows. However, if you’d prefer to grow your plants in rows, keep each row 30cm apart
A few weeks after your seeds germinate, thin them out to leave 3-5 seedlings in each clump.
How to Plant Dill Outside
Once you’ve had your last spring frost, you can move your indoor-sown seedlings outside. Don’t wait too long – remember that dill does better in cooler temperatures. That said, it’s still important to spend 7-10 days hardening your seedlings off before permanently moving them outside, as this minimises transplant shock.
Before planting your dill outside, make sure that your growing area is weed-free. Then, dig small holes in the ground that are just slightly larger than the root balls of your seedlings. Space each hole 10-15cm apart.
Be very gentle when removing your seedlings from their pots – you don’t want to risk damaging those long taproots. Place your seedlings into the holes that you’ve dug and cover the roots over with soil. Firm the soil down around each plant and then give them some water.
How to Plant Dill in a Greenhouse
Since dill is a cool-season crop, it isn’t commonly grown in a greenhouse in the earlier part of the year. However, sowing your seeds directly into your greenhouse beds in mid-summer should help to extend your harvest well into the winter.
Whether you’re starting your seeds directly in your greenhouse or planting seedlings, use the methods above for growing dill outside.
If you don’t have enough space in your greenhouse beds for these tall plants, consider growing your dill in containers instead. This is a herb that does very well in containers, so long as you pick one that’s at least 30cm deep.
How to Care for Dill
Dill is a very low-maintenance plant that doesn’t ask for much, which is just one of the reasons why gardeners love it. Here’s what you’ll need to do to keep your dill plants healthy and happy:
Watering Dill
Dill does best when it is given a regular supply of moisture, ideally around 2.5cm a week. Rainfall will usually provide this in the spring, but manual watering will likely be needed during the summer. Never allow the soil to dry out – this not only affects flavour and texture, but will also cause your plants to bolt.
Feeding Dill
Dill doesn’t need much fertiliser. In fact, too much will cause your plants to turn yellow and die back. If your soil is already rich, then you won’t need to fertilise your dill. However, if your soil was of poor quality and you feel that your plants aren’t thriving, give them one application of a nitrogen-rich fertiliser in late spring. Research shows that extra nitrogen can help to increase the plant’s essential oil content, making it even more fragrant.
Weeding and Mulching Dill
Although dill will often happily self-seed around a garden, to the point where some may find it a little invasive, it isn’t actually an aggressive grower. When surrounded by weeds, dill struggles to compete, which inhibits growth. This makes it essential to regularly weed around your plants, especially while they’re still young and small.
If you’d prefer to avoid weeding as much as possible, lay a mulch around your plants instead. This not only suppresses weeds, but will also help to retain moisture and protect your plants when the winter frosts hit. Plus, if you go for an organic mulch, then this will feed your soil too. It’s a win-win!
How to Harvest Dill
Dill is harvested for both its leaves and its seeds. However, the more you harvest the leaves, the longer your plants will take to produce seeds.
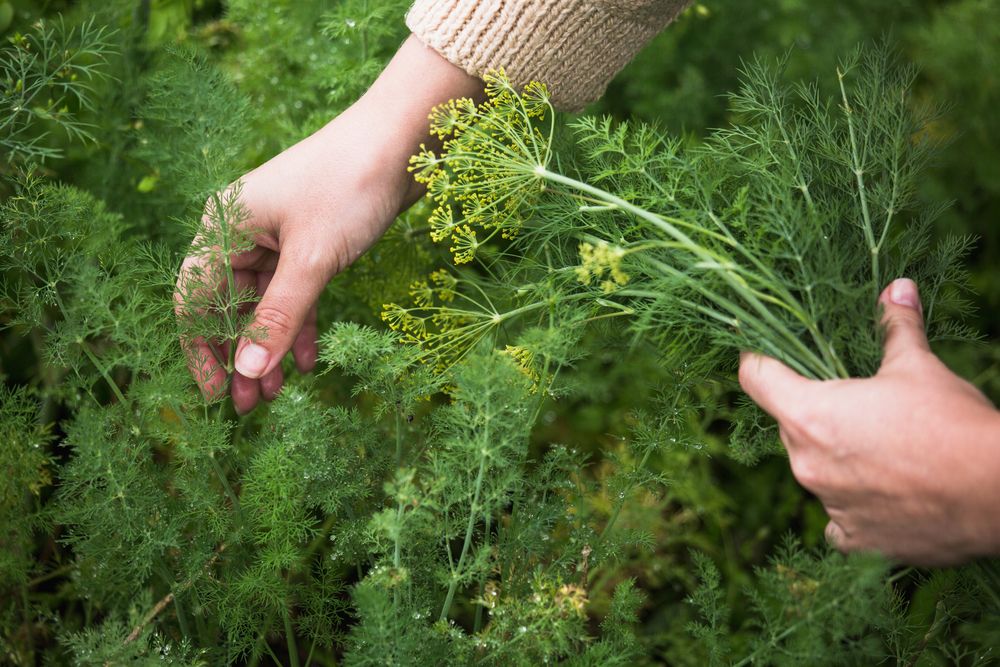
Harvesting Dill Leaves
The younger a dill leaf is, the more fragrant it will be, making it best to start harvesting your plants while they’re still small. All you need to do is pinch or snip off your chosen stems as and when needed. However, don’t harvest more than a third of each plant at a time – it will need to retain some leaves in order to continue growing.
If your dill plants start to flower but you would still like to harvest more leaves, simply cut off the flower heads and wait for the plants to produce new foliage. It will happen quickly, and those new leaves will be extremely aromatic.
Harvesting Dill Seeds
To harvest dill seeds, you’ll need to wait for your plants to flower, and then for those flowers to die back. After this, you’ll start to see seeds forming on those flower stalks. Once the seeds have turned light brown in colour, cut off the entire flower head and place this into a paper bag.
Place the bag in a cool, dry, and well-ventilated spot for a week or so. This will allow the seeds to fully dry, after which they’ll drop off into the bag. Remove any plant debris from the bags before storing them.
How to Store Dill
Just like with every other leafy herb, storage options are limited for fresh dill. Dehydrating the leaves is one option, but dill leaves also freeze surprisingly well. You’ll need to place the leaves on a tray in a single layer and flash freeze them, before placing the frozen leaves into an airtight bag or container. This prevents them from all clumping together when frozen. Frozen dill leaves will be good to use for about six months.
Dill seeds should only be stored if they’ve been properly dried. To test how dry your seeds are, take a few of them in your hand and then press your fingernail into them. If they snap, then this means that they’re ready to be stored. However, if they simply bend, then this is a sign that they still contain moisture. Leave them in a cool and well-ventilated spot until they have dried.
Dill seeds can be stored in an airtight container, where they’ll keep for about four years.
How to Prepare & Cook Dill
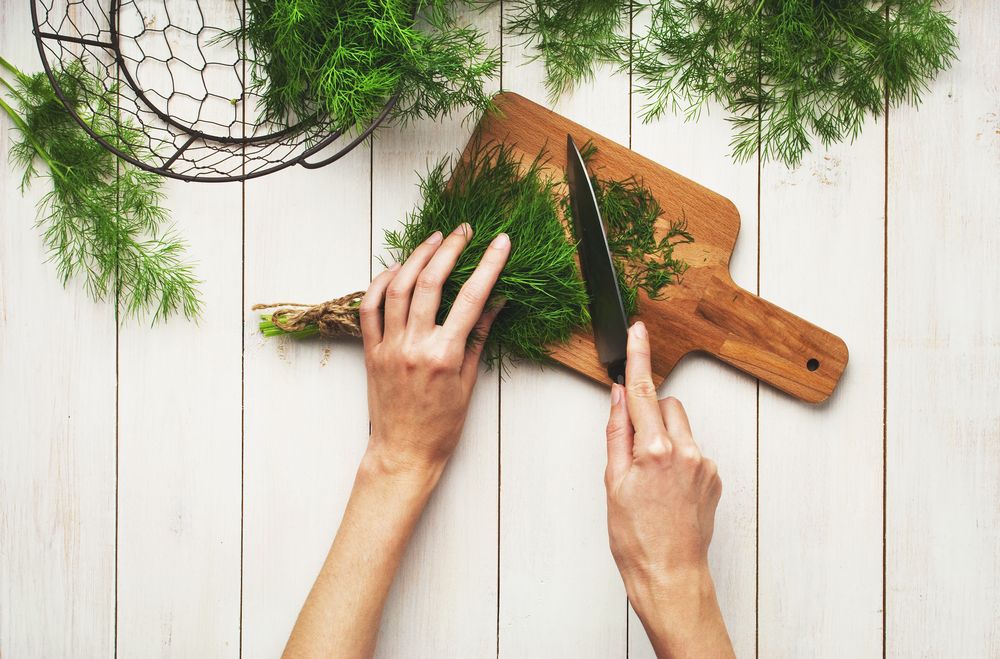
Before using your dill leaves, give them a wash under some running water and then dry them. Then, chop them up as per the recipe you’re following.
Dill is a popular garnish, especially for fish dishes. However, its bold flavours work well in so many other ways too. Here’s some inspiration if you’d like to get more creative with dill in the kitchen:
- Dill potato salad
- Classic dill pickles
- A versatile dill sauce made from dill, Greek yoghurt, and lemon
- Cucumber and dill salad
- Dill devilled eggs
When it comes to dill seeds, these are used as a spice. They can be used either whole or crushed. Try adding them to soups, salad dressings, vegetable dishes, and breads for a beautiful flavour.
Common Dill Problems
Although not susceptible to too many problems, here are a few issues to keep an eye out for when growing dill:
- Aphids – these tiny bugs will suck the sap from your plant, distorting and inhibiting growth while encouraging the spread of diseases. You’ll notice them clustering together in small groups on the undersides of leaves. Fortunately, there are plenty of organic aphid remedies out there, including a few that you can easily make at home
- Slugs and snails – if you notice that holes have been munched through your leaves and your plants have a silvery slime snaking around them, then chances are that slugs and snails are the culprits. Again, there are plenty of organic deterrents to choose from, such as beer traps, copper tape, and sheep fleece mulches
- Powdery mildew – this disease causes a white powder mould to grow on the surface of the leaves. It spreads in damp and warm conditions, making it more of an issue during the summer months. Improve ventilation around your plants and make sure that they’re not over-crowded
Popular Dill Varieties to Grow
There are several dill varieties to choose from. Some have been bred for heavy leaf production, at the expense of seed quantity and size. Others will have been bred for their seeds, meaning that their leaves may not be quite as plentiful and flavourful. So, pick varieties that best suit your needs:
- Bouquet – as you can tell from its name, this variety is grown for its flowers, and therefore its seeds. It flowers early and seed production is heavy, with seeds ready for harvesting just two months after sowing
- Mammoth – many chefs would say that this tall variety produces the best dill for pickling
- Herkules – this variety, which usually grows to about 1.2m in height, produces a heavy crop of leaves that last well into the season
- Dukat – this variety has been bred to be slow-bolting. Its vigorous leaf growth and adaptable nature makes it a favourite among gardeners
- Hera – a compact yet productive variety, making it a great choice for small spaces and containers
Conclusion
If you don’t already eat a lot of dill, it’s time to start. It contains a number of essential vitamins and minerals, and truly has the potential to give your health a good boost. Even better, it’s easy to grow and, so long as you’ve provided your plants with the right conditions, will self-seed each year, giving you an endless supply of the herb in your garden.