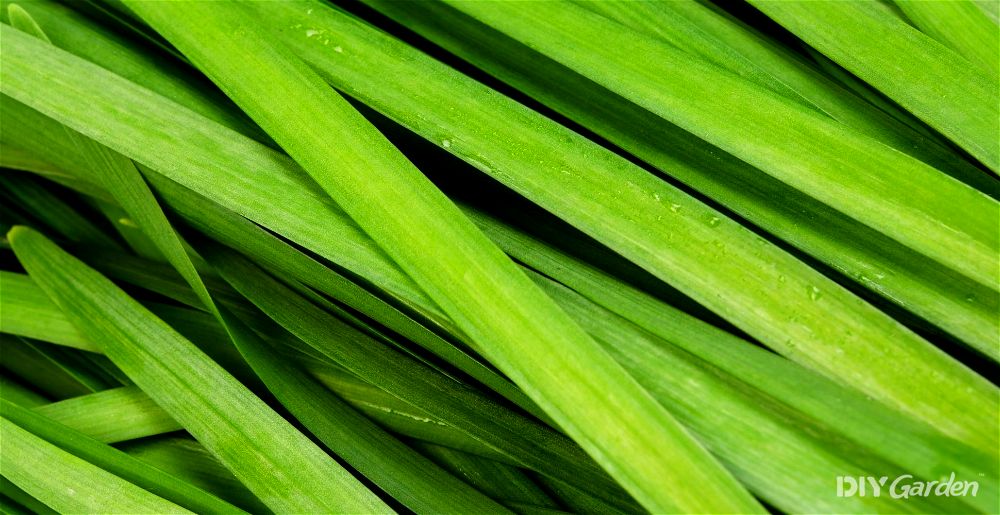
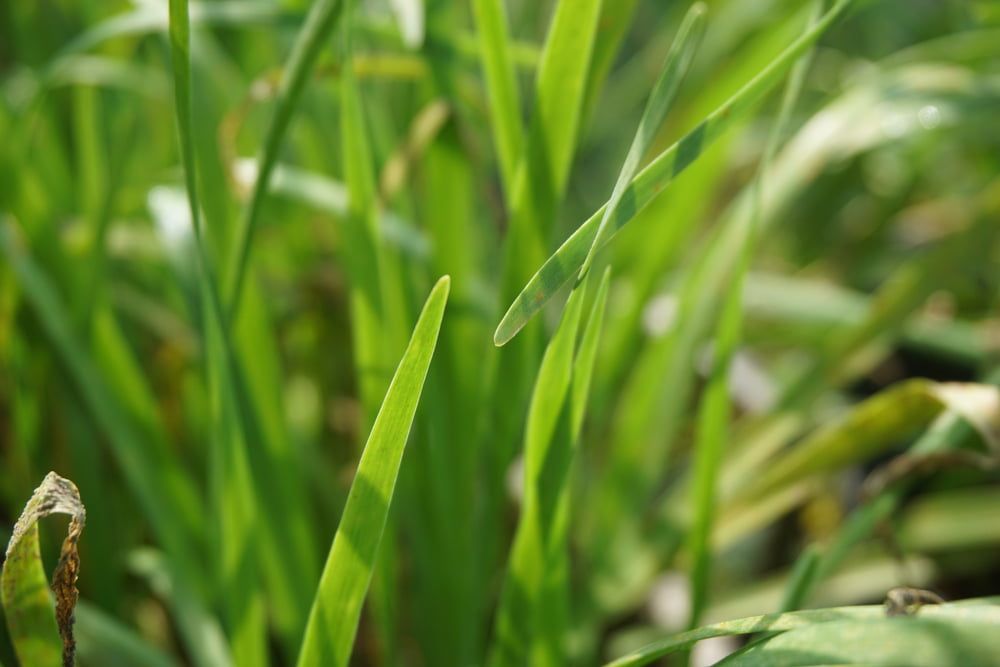
A hardy perennial herb, garlic chives, which are also referred to as Chinese chives, are an easy and reliable addition to any garden. They may look very similar to regular chives, but take a bite of one of those leaves and you’ll immediately see why they’re worthy of your time. Their flavour hits the perfect balance between onion and garlic, yet with a deliciously sweet aftertaste that makes this herb so incredibly versatile.
Growing Garlic Chives: A Quick Snapshot
When to Sow – Apr-Jul
When to Plant – May-Aug
When to Harvest – Jun-Oct
Average Yield per Plant – 50g/year
Spacing – 15cm
Depth – 0.5cm
How to Grow Garlic Chives at Home

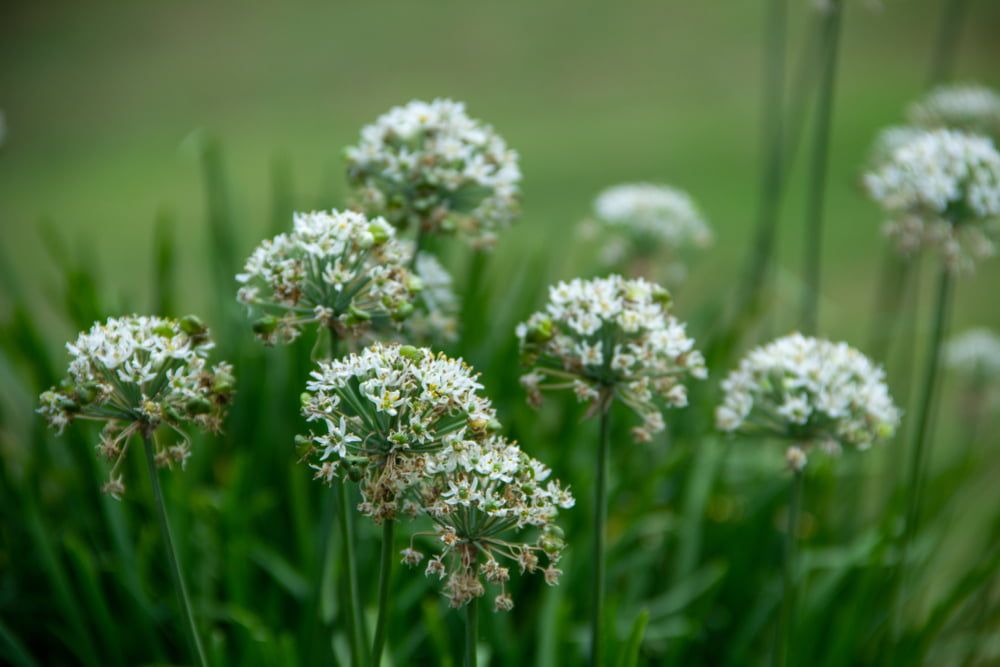
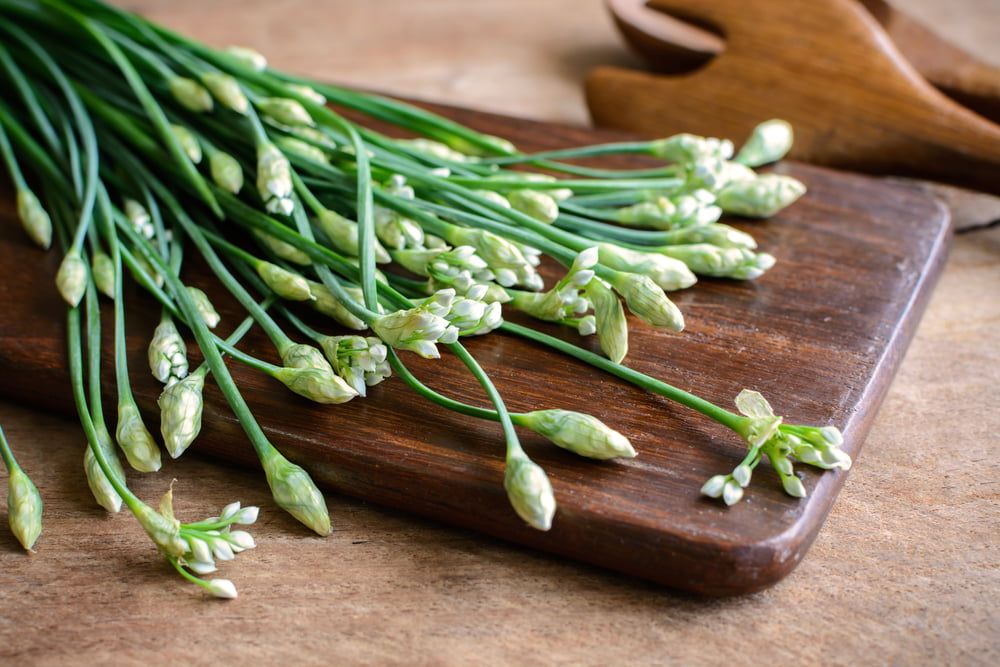
Just like regular chives, garlic chives are a very low-maintenance herb. They’re grown for both their leaves and flowers, with the flowers loved for their distinct sweetness. Give your plant optimum conditions and it’ll grow bigger and better each year, giving you higher yields as time goes on.
Growing Conditions for Garlic Chives
Garlic chives do best in either full sun or partial shade. Afternoon shade is useful if you live in a very hot climate, as it will keep your plants going for longer.
If you want your plants to thrive, plant them in fertile, well-draining soil. A mix that’s rich in organic matter is ideal – add some well-rotted animal manure into your soil if your soil quality is lacking. This will improve both fertility and drainage.
Companion Planting with Garlic Chives
You may be tempted to grow all of your garlic chive plants in just one section of your garden, but don’t neglect its companion plant qualities either. It’s a popular neighbour to plants such as carrots, roses, tomatoes, and strawberries because of how its strong smell repels a number of different pests.
How to Grow Garlic Chives from Seed
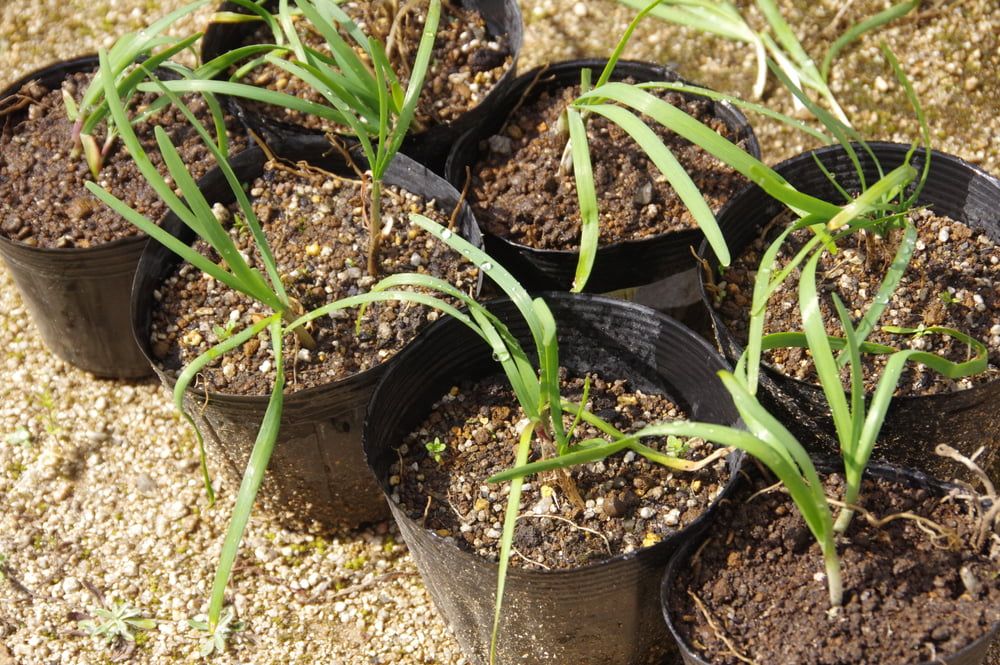
If you’re looking for a quick harvest, then starting your plants from seed isn’t a good idea. Germination can be quite erratic, and seed-grown plants shouldn’t be harvested from until they’re in their second year. In this case, purchasing established plants, or even dividing a mature plant and then planting those divisions, would be a better option.
However, for those who don’t mind waiting, starting your garlic chives from seed is a great way to add multiple plants into your garden for a low cost. Seeds are much cheaper than purchasing divisions or established plants.
When growing wild garlic chives from seed, you have two options; start your seeds off indoors or sow them directly outside. Those in colder climates usually go for the indoor option when sowing seeds for other herbs, as getting a head start on the growing season tends to mean earlier harvests. However, since you won’t be able to harvest your garlic chives until the following year anyway, waiting until the weather warms up in the spring before direct sowing your seeds could save you a bit of time.
How to Sow Garlic Chive Seeds in Pots Under Cover:
- Fill small pots with multi-purpose compost
- Water the compost well. Make sure that excess water is able to freely drain from the bottom of your pots
- Sow about 6-8 garlic chive seeds into each pot, burying them about 0.5cm deep
- Place your pots somewhere warm. A heated propagator is ideal since garlic chives need temperatures of around 20°C to germinate
Germination can take anywhere between 20 days to three months. During this time, keep your seeds moist – don’t allow them to dry out. Once your seeds start sprouting, move them to an area that receives plenty of light. Give them a couple of weeks to grow before thinning your seedlings out, leaving just three or four seedlings in each pot.
How to Direct Sow Garlic Chive Seeds:
- Prepare your growing area by amending the soil if necessary and clearing any weeds
- Sow your seeds quite thickly, about 0.5cm deep
- Water your growing area if the soil was dry
Once your garlic chive seeds germinate, thin them out to leave a group of three to four seedlings every 15cm.
How to Plant Garlic Chives Outside
Once you’ve had your last spring frost, you can move your indoor-sown seedlings outside. Make sure that you harden them off for 7-10 days first – this will help to prevent transplant shock.
Prepare your growing area and then dig holes that are just slightly larger than each of your pots. Space each hole 15cm apart.
Gently remove your seedlings from their pots, keeping them in clumps that each have three or four seedlings. Place each clump into its new home, cover the roots back over with soil, and then firm the soil down around your plants. Water well after planting.
How to Plant Garlic Chives in a Greenhouse
Although they’re hardy enough to be grown outside, even in cold areas, garlic chives also do well in a greenhouse. Growing them in a greenhouse will give you an earlier harvest in the spring, as well as a later harvest in the autumn/winter. Your other greenhouse plants will also benefit from the pest deterring properties that garlic chives have, along with how garlic chive flowers are great for attracting beneficial insects.
When planting garlic chives in a greenhouse, use the same methods as when planting outside. If you don’t have room in your greenhouse beds, consider growing your garlic chives in pots instead. Use a container that’s at least 15cm deep.
How to Care for Garlic Chives
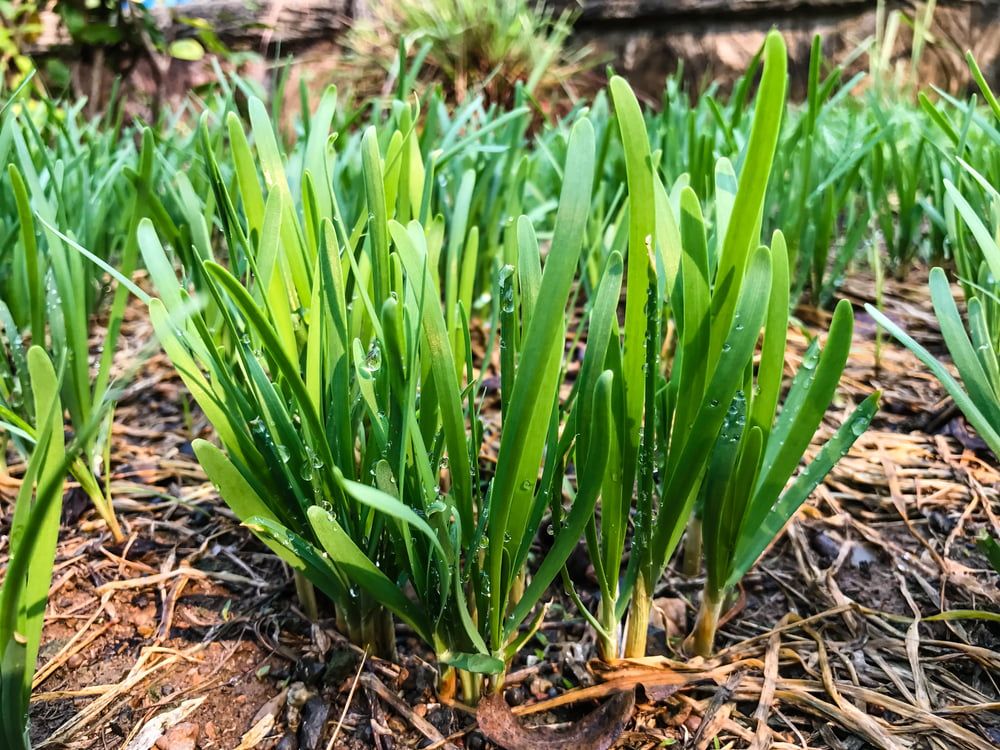
Garlic chives require a very basic level of care. Give them the minimum and they’ll be happy to return year after year, with each clump steadily growing in size each time. Don’t be alarmed if you notice the foliage dying back each winter – this happens in colder climates, but your plants will produce plenty of fresh new growth come spring.
Watering Garlic Chives
Garlic chives are drought-tolerant, but their soil should never be allowed to fully dry out. In fact, for maximum yields, regular and consistent moisture is what they need. Keep your plants well-watered, giving them a deep watering every time the top 3cm of soil feels dry. If you notice that the tips of your garlic chives are turning brown, then this means that they aren’t getting enough moisture.
That said, don’t over-water your plants – dropping leaves, along with soil that feels very wet to the touch, are signs that your plants are receiving too much water. If it’s excess rainfall that’s causing this, try to improve soil drainage.
Feeding Garlic Chives
Garlic chives are light feeders, but would still benefit from a granular, nitrogen-rich fertiliser applied once in late spring and again in mid-summer. This will help to encourage plenty of leafy growth.
Weeding and Mulching Garlic Chives
Once established, garlic chives are fast-growing enough to fight past any weeds that pop up around each clump. However, even then, weeds will still inhibit growth, making it worth keeping their growing area as weed-free as possible.
To save you from having to spend countless hours weeding, lay a mulch around your garlic chive plants. If you go with an organic mulch, this will also feed your soil as it slowly breaks down, saving you from having to fertilise your plants.
Blanching Garlic Chives
Garlic chives are a popular ingredient in Asian countries. However, in addition to the regular green version, many recipes call for blanched garlic chives. These are leaves that haven’t had access to sunlight – they contain fewer nutrients, but they also have such a tender texture and delicate taste, making them a culinary delicacy.
If you would like to try this for yourself, wait until your plants are at least a couple of years old. The blanching process does take a lot from a plant, so you shouldn’t repeat it with the same plant the following year either.
To blanch your garlic chives, simply wait until they start to produce new growth in the spring. Then, place a bucket over the top of that clump. Less than a week later, you’ll find long and light yellow-coloured stems that can be immediately harvested.
How to Harvest Garlic Chives
As mentioned, avoid harvesting garlic chives grown from seed in their first season. They need to spend their first year developing and establishing those roots, rather than being distracted by the need to produce new foliage.
Garlic chives taste best when harvested in the spring. Although their leaves are still delicious in the summer too, they do turn a little tougher.
To harvest garlic chives, snip off individual leaves as and when you need them. Alternatively, cut the entire plant back to the ground, but leave about 5cm behind. This will encourage the plant to produce its new growth even faster.
How to Store Garlic Chives
Blanched garlic chives need to be used pretty much immediately after being harvested – they don’t keep very well. However, garlic chives grown in sunlight can be stored in a bag in the fridge for a few days. Unlike other herbs, which lose their flavour the longer they’re stored, the intensity of garlic chives increases after being refrigerated.
Garlic chives can be frozen too. You can either chop them up and freeze them in olive oil in ice cube trays for easy access, or place them in a freezer bag, removing as much air as possible before sealing. Try to use them within a year.
Drying the leaves is another option. You can either air-dry them or dry them in an oven or food dehydrator. When properly dried, garlic chives will last for two to three years.
How to Prepare & Cook Garlic Chives
Give your garlic chives a quick rinse under some running water and they’ll be ready to be used. You can either chop them up or leave them whole – it all depends on how you plan on using them.
While young leaves are delicious raw, garlic chives hold up well to being cooked too. You can treat them just like other green vegetables, although they shouldn’t be cooked for more than a minute or so. Always add them in towards the end of the cooking process.
A few dishes to try are:
- Niratama – a Japanese staple featuring scrambled eggs and garlic chives
- Stir-fried garlic chive flowers
- Garlic chive dumplings
- Garlic chive pesto
- Garlic chive butter
Garlic chives can also be used as a garnish on just about everything. They’re worth adding into meals because they’re chock full of vitamin C and carotene, giving your food a fantastic nutritional boost.
Common Garlic Chive Problems
There aren’t many pests or diseases that bother garlic chives. Chances are, your plants will grow healthily each year, without any issues. However, to be on the safe side, keep an eye out for the following:
- Thrips – these pests cause distorted and discoloured leaves, with plants often taking on a silvery sheen. Regularly cutting your plants back can help, as can watering them from above. For large infestations, consider an organic insecticide
- Allium white rot – you can only really identify this disease by looking at the roots of your plants, which will display a white and fluffy mould. Above-ground symptoms include wilting and yellowing foliage. Sadly, there isn’t a treatment. You’ll need to remove and dispose of infected plants, and you won’t be able to grow anything from the onion family in that area for eight years
Popular Garlic Chive Varieties to Grow
There’s only one variety of garlic chives, but there are a few other similar plants that you could grow if you just can’t get enough of that garlicky/onion flavour:
- Giant Siberian Chives – this plant also has a garlic/onion flavour, but is much larger than garlic chives
- Common Chives – these taste more like onion than garlic, but are better than garlic chives for using raw
- Blue Chives/Siberian Garlic Chives – this variety is loved for its blue/green foliage, making this a very striking plant to have in the garden
Conclusion
Even if you’re already growing regular chives in your garden, garlic chives are still worth adding in. They offer a different flavour and nutritional profile when used in the kitchen, and are fantastic for repelling pests while attracting pollinators. Once they flower in the summer, the plants also take on a beautiful ornamental quality, making them a great multi-tasker!