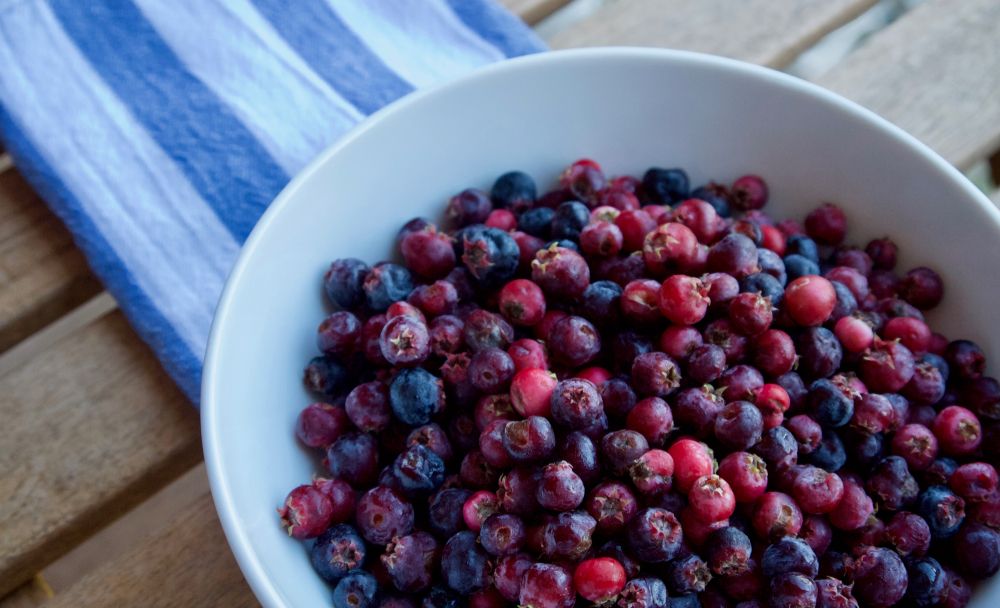
Native to the western regions of North America, from icy Alaska to balmy California, the juneberry, which is also known as the Saskatoon or serviceberry, is now being increasingly grown in other parts of the world too. It’s easy to see why more and more people are seeking this plant out – not only is the fruit loaded with antioxidants and protein, but its sweet and nutty flavour makes it incredibly versatile.
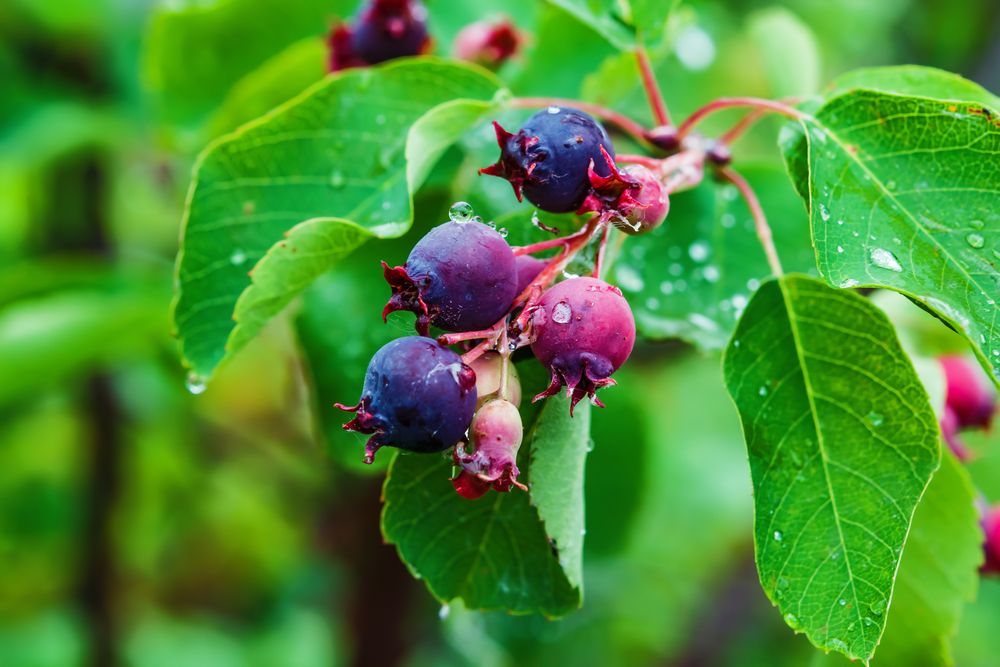
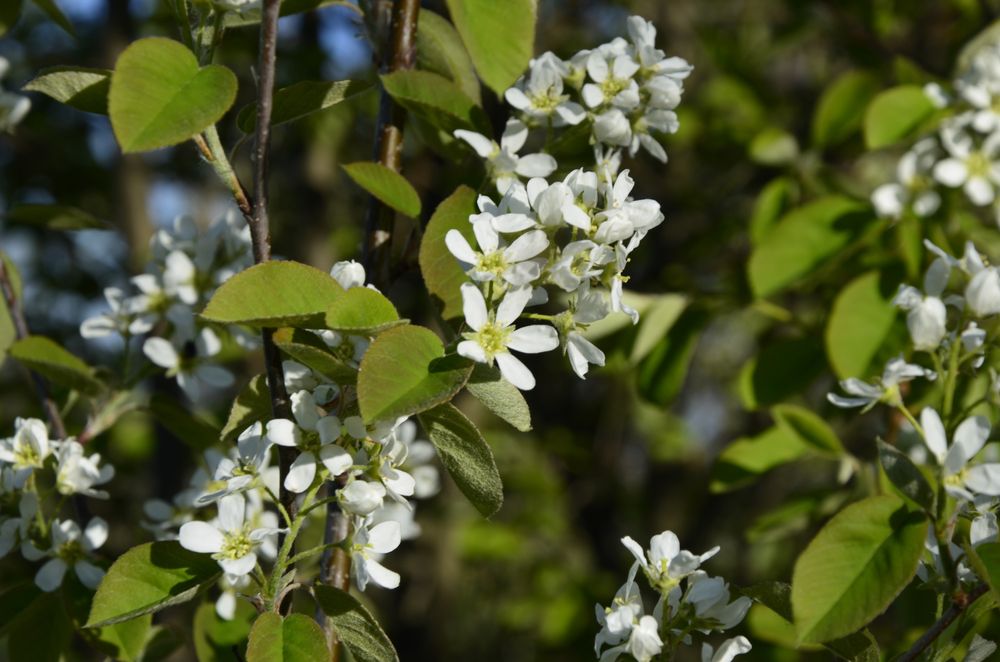
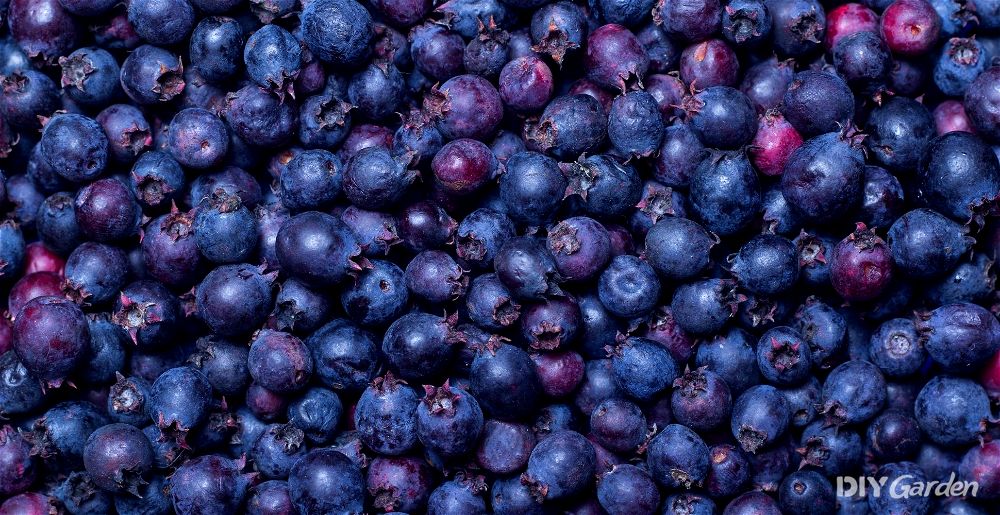
Even better, juneberry plants are hardy, highly productive, and visually stunning. Their white, star-shaped flowers are followed by purple, blueberry-sized fruits, making this edible ornamental a must-have.
Growing Juneberries: A Quick Snapshot
When to Sow – Jun-Jul/Oct-Dec
When to Plant – Sep-Oct/Feb-Mar
When to Harvest – Jun-Jul
Average Yield per Plant – 2-4kg/year
Spacing – 1.5-3m
Depth – 1cm
How to Grow Juneberries at Home
High-yielding yet low-maintenance, juneberry plants really are every gardener’s dream. Meet their basic requirements, which isn’t too difficult, and your plants should grow bigger and stronger as each year passes.
Growing Requirements for Juneberries
Although Juneberry plants love a bit of heat, they adapt well to colder climates too, capable of tolerating winter temperatures down to -40°C. Ideally, give your juneberry plants full sun, especially if you live in a chillier region. That said, they’ll be happy in partial shade as well, although growth may not be quite as vigorous.
Juneberry plants aren’t fussy when it comes to soil either. They’ll grow in just about any soil pH and type, even heavy clay. Their only issue would be in boggy areas – they don’t like to have constantly wet feet.
While this could mean that juneberry plants may be happy in several different parts of your garden, don’t forget to keep their size in mind when picking a spot. Although they’re usually shrubby in nature, they’re tall too, with a minimum height of around 1.8m. Leave your bushes to grow into a tree and they could soar up to 9m tall!
How to Grow Juneberries from Seed
While a single juneberry tree grown as a focal point is definitely attention-grabbing, those who are looking for yields that are as high as possible would be better off growing multiple plants in a group. Harvests tend to be larger when they’re grown like this.
While you can plant cuttings, runners, and crowns, starting your juneberries from seed is the most cost-effective way to amass a large number of plants. You have two main options for doing this; sowing fresh seeds in the summer or sowing stored seeds in the autumn/winter.
Sowing Fresh Juneberry Seeds in the Summer
Sowing fresh juneberry seeds will give you the best germination rates. However, this means that you’ll need access to juneberry plants, as the seeds need to be harvested from the fruit while the seeds are still green.
Once you’ve done this, you’ll be able to sow the seeds directly outdoors, without drying them first. Make sure that your growing area is weed-free, and then sow the seeds about 1cm deep. Layer an organic mulch over the top and keep the area moist – your seeds should germinate the following spring.
Alternatively, you could start your fresh seeds in pots of compost, instead of in the ground. However, you should still leave them outside – they need the cold temperatures of winter to trigger the germination process.
Sowing Stored Juneberry Seeds in the Autumn
The sowing process for stored juneberry seeds is a little more complicated. It takes about five months before you’ll see any seedlings. This is because the seeds need to be both warm and cold stratified – they need a period of heat, followed by temperatures that replicate winter, before they can germinate.
How to Stratify Juneberry Seeds:
- Mix some multipurpose compost with either sand or perlite, at a 50/50 ratio
- Moisten the mixture and place it into a zip-lock bag, leaving a small gap in the seal
- Place your bag somewhere warm – temperatures of around 20°C will be needed for about four weeks. Make sure that the soil never dries out, otherwise the seeds will fail to germinate
- After four weeks, place the bag into your fridge, ideally, at 4°C. It’ll take about 16 weeks before the germination process kicks in
How to Sow Stratified Juneberry Seeds:
- Fill small pots with multi-purpose compost
- Remove your seeds from the bag and sow one seed per pot, 1cm deep. If some of the seeds have already germinated in the bag, then plant those seedlings in pots too
- Give your seeds some water and then keep them somewhere protected. They can be placed either inside or outside
It’s recommended that juneberry plants grown from seed in a pot aren’t transplanted into their final location until they’re 2-3 years old. However, you’ll still probably need to pot your plants up – they can grow up to 30cm tall in their first year, so long as you keep them moist and weed-free.
How to Plant Juneberries Outside
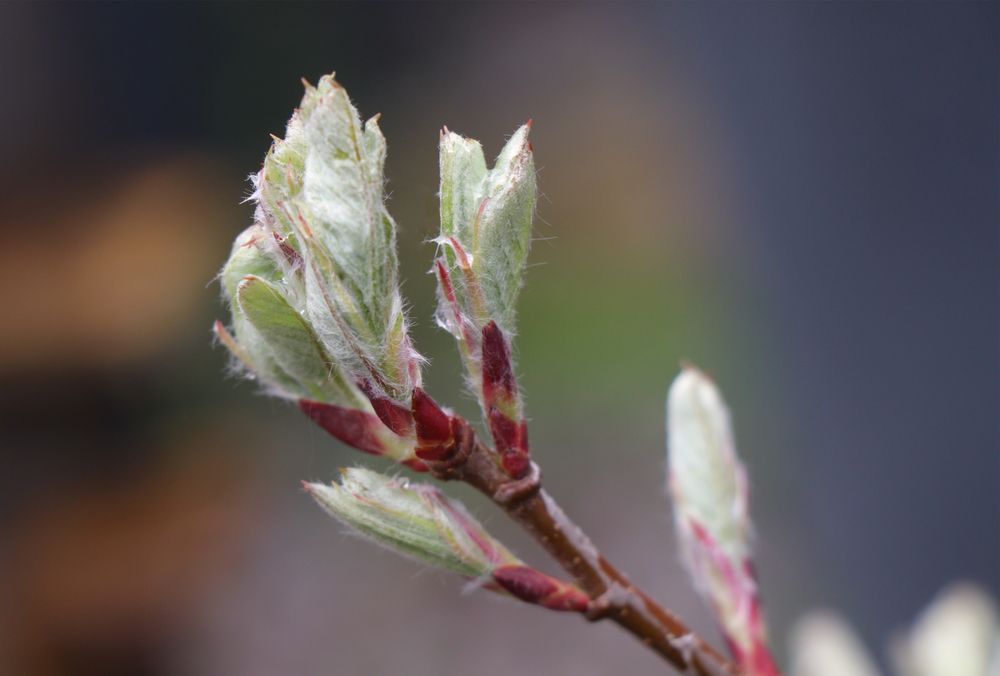
Ideally, plant your juneberry plants outside in early spring, while they’re still dormant.
Dig holes in your growing area that are about 5-8cm deeper than the pots that your plants are currently in. Space each hole about 1.5-3m apart. The spacing that you choose depends on how you’d like to grow your plants – smaller gaps will give you a dense hedge, while extra space will allow each plant to grow taller and wider, more like a tree. If the former is what you’re after, you may also want to snip off about a third of each plant’s top growth after planting. This helps to encourage a thicker growing habit.
Be very gentle when removing your juneberry plants from their pots. Their fibrous root systems are so easy to damage!
Place each plant into its new home and then backfill each hole with soil. Firm the soil down around each plant and then give them some water.
How to Plant Juneberries in a Greenhouse
Due to the fact that they’re cold-hardy and can grow quite large, juneberries are usually grown outside, rather than in a greenhouse.
That said, if you live in a very cold region, greenhouse growing can be beneficial in providing regular harvests. A greenhouse will protect your plants from early spring frosts, which can sometimes wipe out a whole year’s crop of flowers.
If you decide to try growing juneberries in a greenhouse, give your plants plenty of space and lots of water. They’ll do better in greenhouse beds that are in the ground, rather than in pots or raised beds.
How to Care for Juneberries
Juneberry plants don’t require much care. In fact, they happily grow in the wild in many parts of the USA. However, leaving your plants to their own devices means that yields won’t be consistent. So, if you want to ensure maximum harvests, you’ll need to do the following:
Watering Juneberries
Juneberries require around 15-25mm of water a week. This is usually provided by rainfall, although manual watering will be needed during particularly dry spells.
Once your plants have established, they’ll be drought-tolerant to an extent. However, never allow newly planted juneberries to dry out.
Feeding Juneberries
Although not strictly necessary, fertilising your juneberry plants once a year will help to promote growth. Use a granular, slow-release fertiliser, applying this to the soil around your plants just after the plants have started flowering.
Weeding and Mulching Juneberries
Juneberries don’t do well when they have to deal with lots of weed competition, especially while they’re still young. One easy way to keep your growing area weed-free is to mulch your plants. Using an organic mulch will enable you to feed your plants at the same time, doing away with the need for a fertiliser.
Pruning Juneberries
While you may want to occasionally prune your juneberry plants to keep their height in check (2m is usually tall enough for the plant to thrive, but low enough for the fruit to be reached), don’t carry out any major pruning until your plants are around 6-7 years old.
At this stage, you should then cut off any lower branches and thin out the centre of your plants. Once your juneberry shrubs are really old and production starts to decline, you may want to also consider cutting them right back down to the ground. Don’t worry, they’ll produce lots of healthy new shoots – it’ll be like having a brand new plant!
How to Harvest Juneberries
Your juneberry plants will start to produce fruit once they’re about three or four years old. However, don’t expect big harvests to begin with. This will only happen once they start to mature, which is usually when they’re about 6-7 years old.
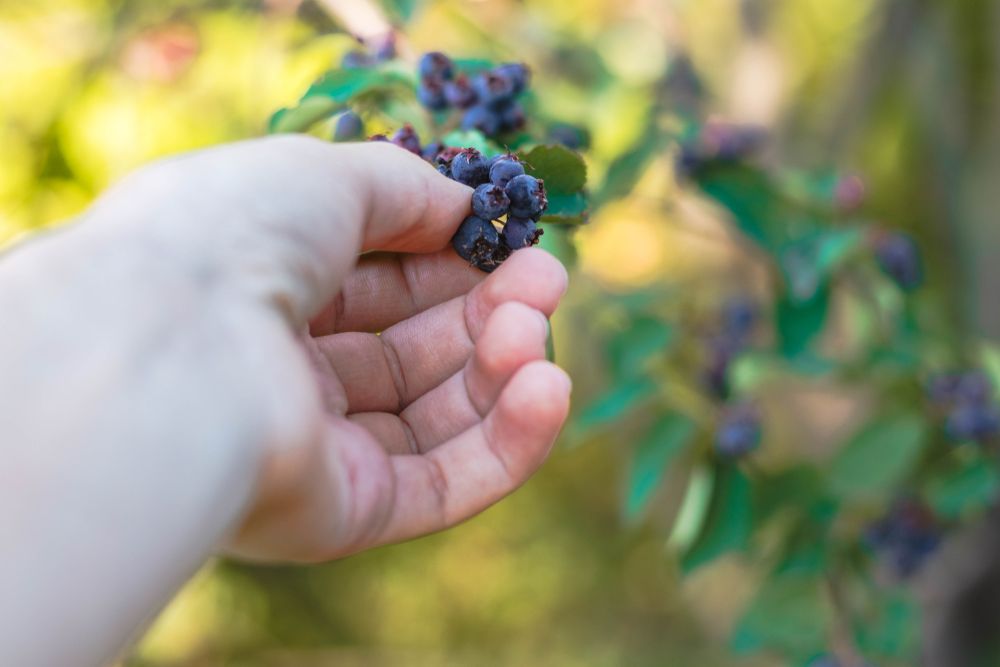
Unlike many other fruits, juneberries tend to all harvest at around the same time. Wait for your berries to turn pink, and then to a deep purple, before you pluck them off.
How to Store Juneberries
Although juneberries taste best when they’re eaten fresh, you can store freshly-picked juneberries in the fridge for up to two weeks.
For a longer-term option, consider freezing your harvest. If you have enough space, flash freeze the berries in a single layer first, before placing them all into a bag together. This will prevent them from clumping up in the freezer, allowing you to use as many berries as you need. Frozen juneberries will be good to use for about 12 months.
Juneberries can also be dehydrated, resulting in a delicious and healthy dried fruit snack.
How to Prepare & Cook Juneberries
Juneberries don’t require much preparation – they’re ready to be used as soon as they have been picked, although you may want to briefly rinse them under some running water first.
After that, give one of these dishes a try:
- Juneberry jam
- Juneberry crumble
- Juneberry and rhubarb pie
- Juneberry muffins
- Juneberry sauce
- Juneberry glaze for meats
Although the fruit may look like blueberries, they’re actually more closely related to the apple family. Their sweetness is reminiscent of a strawberry or a grape, but the seeds within the flesh have an almond/marzipan taste, giving the fruit a complex and versatile flavour.
Common Juneberry Problems
There are very few pests and diseases that affect juneberries – this is partly what makes them such an easy plant to grow.
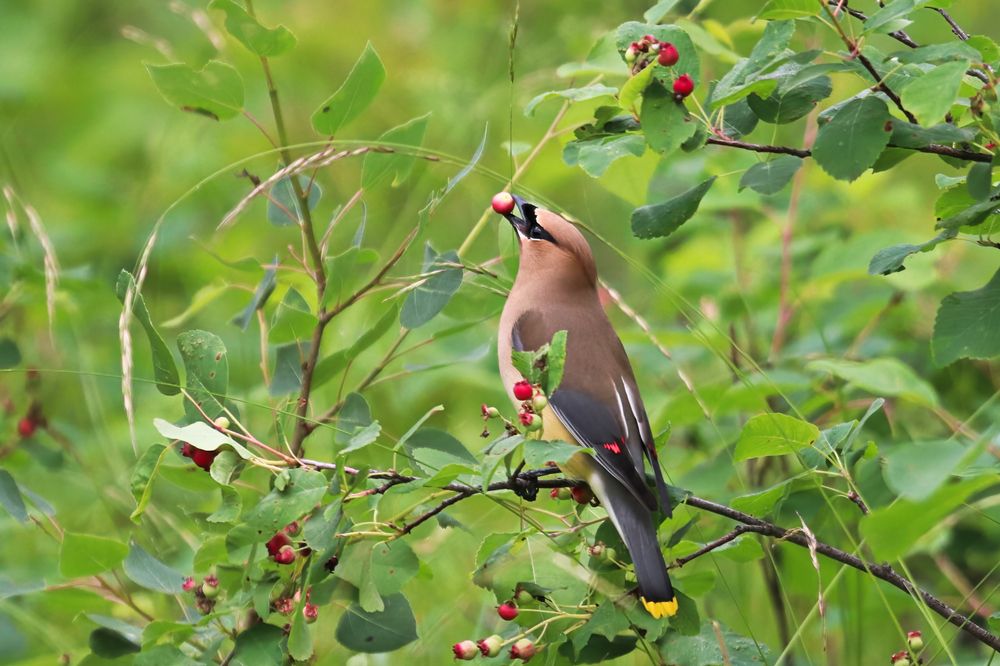
Your main issue will be birds – they’ll be eyeing up the ripening berries, waiting until the perfect moment before swooping down and completely clearing your plants. Since juneberries usually ripen at the same time, bird raids can leave you with absolutely nothing to harvest.
The only way to prevent birds from feasting on your crop is by netting your plants. Lay the net once the berries start to turn from pink to purple. You can then harvest what you need, before removing the net to allow the birds to enjoy the rest.
Popular Juneberry Varieties to Grow
There are several juneberry varieties to choose from, with the most productive being:
- Honeywood – a late-flowering variety that produces large fruits with very few seeds
- Smoky – although the fruit from this variety is smaller, it’s high in pectin, making it great for jam-making
- Pembina – produces intensely sweet, oval-shaped berries that grow in long clusters. This is also the tallest variety – give it the right care and it could reach 4.5m in height!
- Atlaglow – a very ornamental variety that produces white fruits. It can be pollinated by blue-fruited varieties, making it a good one to mix into your other juneberry shrubs for a colour contrast
Conclusion
In a way, it’s a shame that juneberries aren’t commercially grown on a wider scale – the fact that these fruits don’t appear on supermarket shelves mean that so many will miss out on their truly unique flavour and nutrient profile. However, this does also make the berries feel that extra bit special for home gardeners that grow their own. With juneberries offering both edible and ornamental qualities, this is definitely a plant worth looking into if you’d like to increase the diversity and productivity of your garden.
