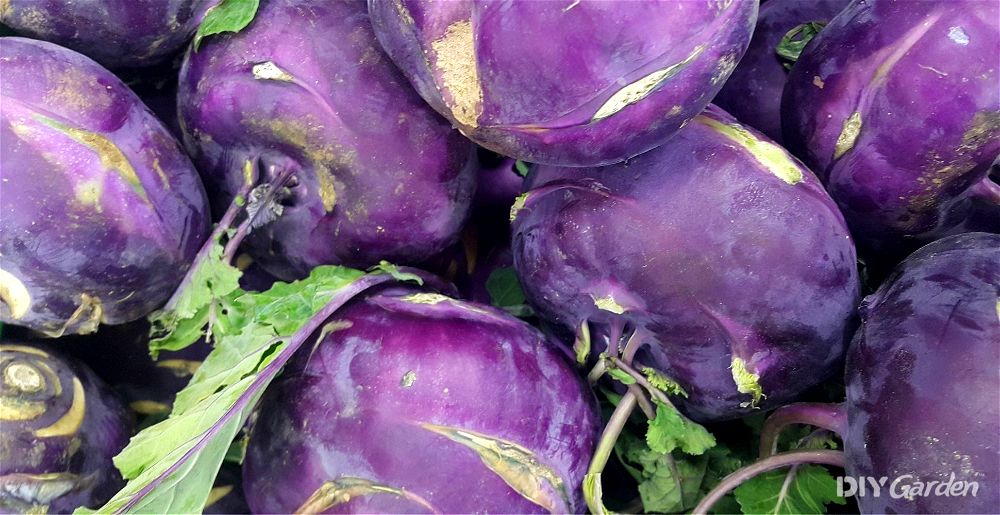
A member of the brassica family, kohlrabi is a seriously underrated crop. Granted, it may look a little strange to those who aren’t familiar with it, but this delicious vegetable, which tastes like a cross between a cabbage and a turnip, is hardy, adaptable, and extremely easy to grow.
Growing Kohlrabi: A Quick Snapshot
When to Sow – Mar-Aug
When to Plant – Apr-Aug
When to Harvest – Jun-Dec
Average Yield per Plant – 150g
Spacing – 15cm
Depth – 1cm
How to Grow Kohlrabi at Home
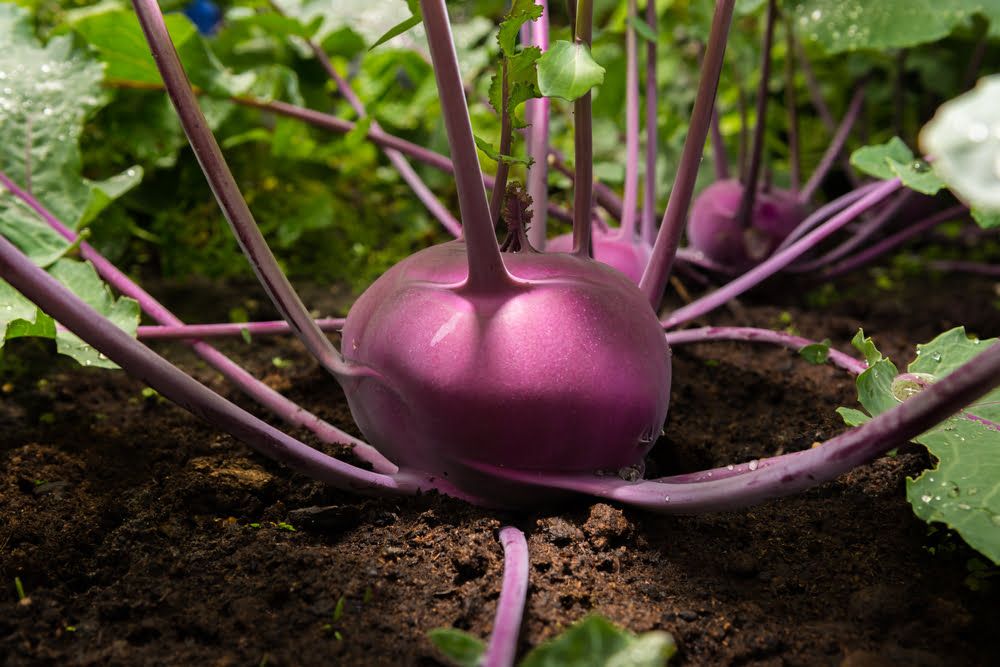
Many mistake kohlrabi for a root crop, but it’s actually a swollen part of the stem that’s eaten. It’s not a demanding plant to cultivate – meet its basic requirements and your plants will need very little maintenance throughout the growing season.
Growing Requirements for Kohlrabi
Being a hardy, cool-weather crop, kohlrabi does best when it matures in the spring or the autumn. Temperatures between 5-24°C are what you need for optimum growth. If temperatures get much hotter, the flavour of your harvest will be affected.
In terms of sun, kohlrabi does best when it receives around six hours of sun a day. That said, it will grow well in partial shade too, although it may take longer to mature.
When it comes to soil, kohlrabi isn’t fussy. Unlike other brassicas, it will happily tolerate poorer quality soil. Depth isn’t too important either, since it’s the stem, rather than the root, that’s harvested. While that may be the case, try to make sure that the soil you grow your kohlrabi in is well-draining.
How to Grow Kohlrabi from Seed
The easiest way to grow kohlrabi from seed is by direct sowing outside. You can start to do this about three weeks before your last spring frost. Of course, if you want to extend your growing season, then starting them indoors a little earlier will give you a harvest sooner.
Successional sowing is another thing to consider when growing kohlrabi. Since the plants mature relatively quickly, aim to sow some seeds every 2-3 weeks to ensure regular harvests.
How to Sow Kohlrabi in Modules Indoors:
- Fill module trays with a multi-purpose compost
- Water the compost well, making sure that excess water is able to drain freely from the bottom of your modules
- Make an indentation in the centre of each module, about 1cm deep
- Sow one kohlrabi seed into each indentation and then cover back over with compost
- Place your trays somewhere warm. While kohlrabi seeds will germinate in temperatures as low as 4.5°C, germination rates are best at around 21°C
It will take about ten days for your kohlrabi seeds to germinate. Once they do, move them somewhere bright and keep them well-watered. They’ll need to stay indoors for about three to four weeks before you can plant them out, and they most likely won’t need to be potted up during this time.
How to Direct Sow Kohlrabi Seeds:
- Prepare your growing area by thoroughly weeding it
- Sow your seeds thinly about 1cm deep, keeping each row 25-30cm apart
- Water your growing area to settle the seeds into the soil
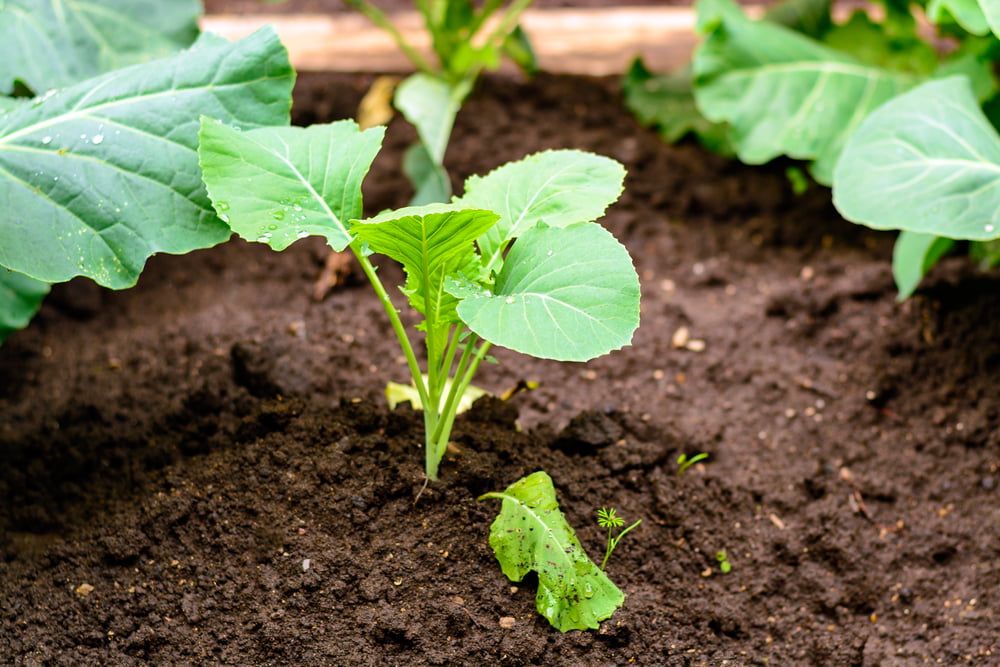
Once your kohlrabi seedlings are about 2.5cm tall, thin them out so that there’s about 15cm of space between each one.
How to Plant Kohlrabi Outside
Once your indoor-sown kohlrabi plants are about 3-4 weeks old, you can plant them out. You’ll need to harden them off first to acclimatize them to outdoor conditions, but they should adapt pretty quickly. Don’t worry if you’re still expecting a few spring frosts – your plants should tolerate these just fine, so long as they’re light frosts.
Prepare your growing area by making sure that it’s weed-free. Then, dig small holes in the soil that are just slightly larger than the root balls of your seedlings. Keep each hole at least 15cm apart. Place your seedlings into their new homes. Make sure that you plant them at the same depth as they were in their modules. Since it’s the stem that’s harvested, burying this too deeply will cause it to rot.
Once planted, cover the roots over with soil. Firm the soil down and then water well.
How to Plant Kohlrabi in a Greenhouse
Although kohlrabi is a cool-weather crop, the slower-maturing varieties, which are sown later in the year, do well in a greenhouse. That said, you’ll need to time things right – you don’t want your plants maturing in a greenhouse in the middle of the intense summer heat.
You have two main options. The first is to sow your kohlrabi seeds into your greenhouse beds in early spring, before transplanting the seedlings outside. Alternatively, wait until mid-summer before sowing some autumn/winter varieties in your greenhouse beds. The extra warmth and protection provided by your greenhouse will extend your growing season, enabling you to harvest your crops well into the winter.
Additionally, you could also consider growing kohlrabi in pots. This allows you to move them in and out of your greenhouse as needed, which is especially useful for those who don’t have much greenhouse space. A container that’s around 40cm deep and wide should be sufficient. When growing kohlrabi in pots, you can keep the plants a little closer together to maximize space, but be aware that this will result in smaller bulbs.
How to Care for Kohlrabi
As mentioned, kohlrabi is generally an easy plant to care for. Here’s what you need to do:
Watering Kohlrabi
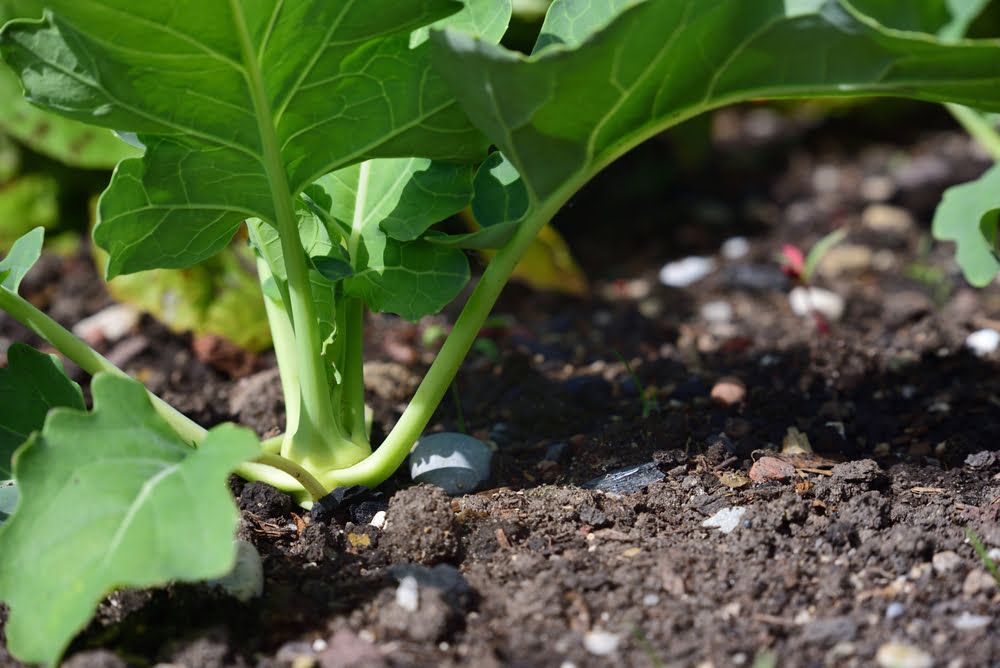
Although drought-tolerant to an extent, kohlrabi does best when given a regular supply of water throughout its growing season. Never allow the soil to dry out – if it does, your kohlrabi stems will turn woody and bitter.
Another point worth mentioning is that you should never water the actual stems of your kohlrabi plants. This can cause them to rot, while also encouraging other diseases. Instead, always aim your water at the soil around your plants, trying to prevent any water from splashing up as much as possible.
Feeding Kohlrabi
Kohlrabi is quite a heavy feeder. Even if your soil was of a good quality to start with, regular fertiliser applications will still help to boost growth. This is even more important if you planted your kohlrabi in poor soil – a lack of nutrients will prevent those stems from swelling.
A general-purpose liquid fertiliser is all that you need for your kohlrabi plants. Apply this every two to three weeks after planting out. If your seeds were direct sown, then start fertilising a month after they’ve germinated.
Weeding and Mulching Kohlrabi
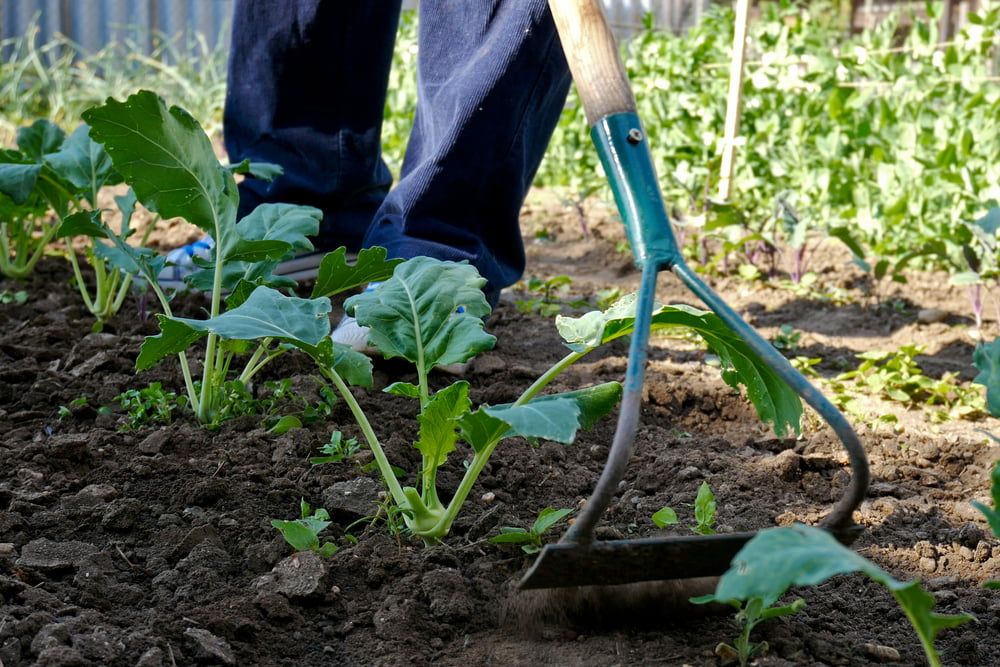
Kohlrabi grows very quickly, meaning that weed control is most essential while the plants are still young and small. After this, they should manage to outgrow any weeds that pop up around them.
Mulching your kohlrabi plants would also be beneficial. Not only will this help to prevent weed growth, but it will also keep your kohlrabi roots cool and moist, which is exactly what you want for maximum growth. Ideally, use an organic mulch, such as grass clippings or compost. As this breaks down, it will also feed your soil, and therefore your plants too.
How to Harvest Kohlrabi
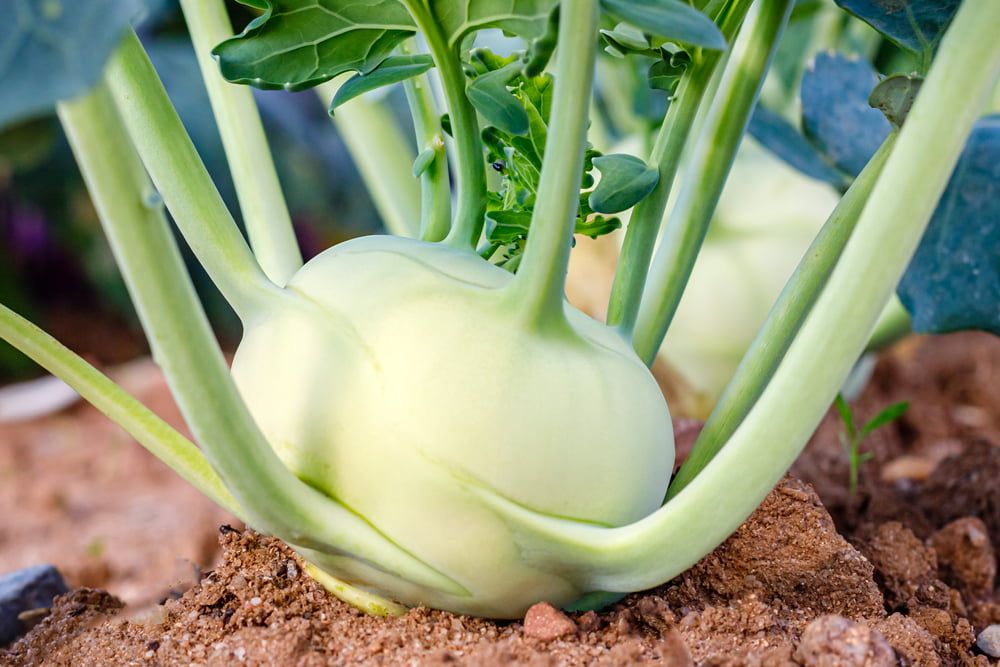
The secret to growing kohlrabi plants that are tender, nutty, and sweet is to harvest them at the right time. They taste best when they’re about the size of a golf ball, meaning just 3-5cm in diameter. The larger they grow, the tougher they’ll get – once those stems are more than 7-8cm in diameter, your kohlrabi won’t be very palatable, no matter how well you cook it.
Harvesting kohlrabi is easy – simply grab hold of a swollen stem and gently ease/lift the entire plant out of the ground. Be careful not to disturb the roots of any other kohlrabi plants growing nearby.
While you can trim the roots off after harvesting, don’t be too hasty in throwing those leaves out. Just like other brassicas, the leaves are edible and can be cooked in the same way as kale.
How to Store Kohlrabi
Successionally sowing your kohlrabi seeds means that you shouldn’t end up with a glut that needs long-term storage. Your plants will happily remain in the ground until the end of the year – the cold will stop them from growing, which will prevent them from turning woody.
Freshly-picked kohlrabi can be stored in the fridge for a few weeks. The best way to do this is by trimming off the roots and leaves, and then wrapping the bulb in some damp paper towels before placing everything into an air-tight bag or container.
Alternatively, if long-term storage is what you’re after, your kohlrabi harvest can be frozen. You’ll need to first slice off the roots and tops. Then, slice or dice the bulb, before blanching and freezing. It will be good to use for about one year.
How to Prepare & Cook Kohlrabi
If you’ve never cooked with kohlrabi before, it can seem a little alien at first. However, give it a try once and it will soon become your new favourite vegetable.
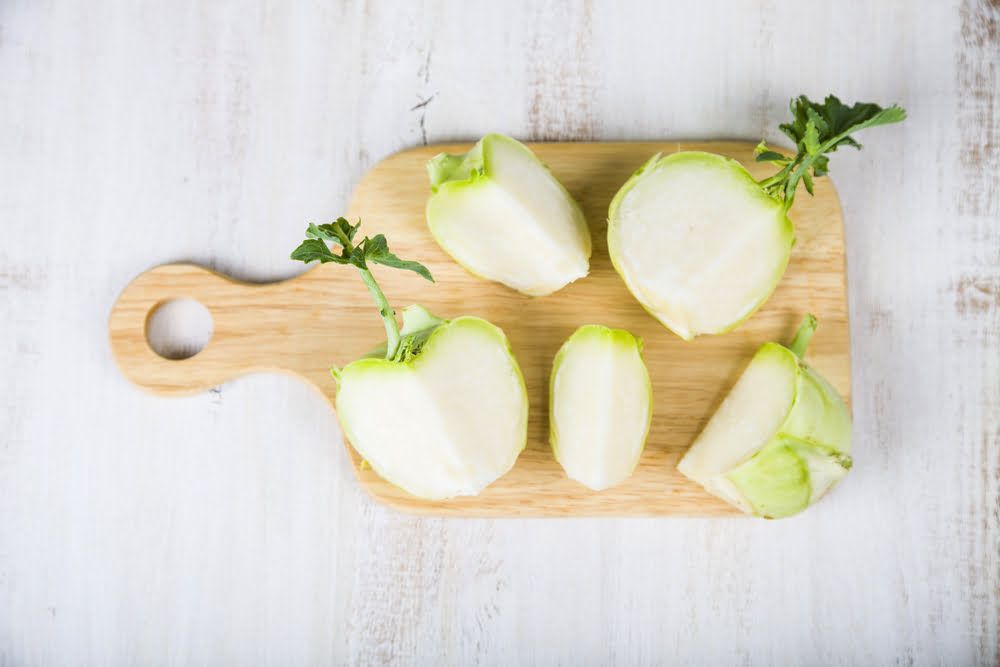
The first step is to trim off the roots and leaves. Then, slice it in half, and then once more into quarters. The centre of each bulb contains a tough core, so use a sharp knife to cut this out.
After this, use a vegetable peeler to peel off the tough skin from your quarters. You can do this with larger pieces too, but quarters tend to be the easiest to handle. Then, either slice, dice, or grate your kohlrabi, depending on how you plan to eat it.
Many don’t realise that kohlrabi can be eaten raw. Simply slice it thinly or grate it up and then add it to a salad or coleslaw. Alternatively, if you would prefer to cook it, some tasty dishes to try are:
- Roasted kohlrabi with olive oil and garlic
- Kohlrabi soup
- Kohlrabi fritters
- Steamed kohlrabi (this can be added to pretty much anything)
- Stir-fried kohlrabi
- Pickled kohlrabi
Common Kohlrabi Problems
Brassicas are known for being plagued with pests and diseases. In a way, this applies to kohlrabi too, However, the plant doesn’t tend to be affected quite as much as other brassicas, such as cabbages. Some of the main issues to keep an eye out for include:
- Cabbage white butterfly – the larvae of these butterflies love to feast on kohlrabi plants. You’ll notice holes in the leaves, especially inner leaves, and you’ll likely see the butterflies flitting around nearby. Pick off any caterpillars that you see and consider netting your plants to prevent the butterflies from laying eggs on them
- Flea beetle – this pest can devastate kohlrabi seedlings, leaving tiny holes in the leaves that inhibit growth. A fleece covering can help to protect your plants, while a nitrogen-rich fertiliser will give them a boost in growth, enabling them to better protect themselves in the future
- Club root – this disease will distort plant roots, turning the leaves yellow. Amending the soil to make it more alkaline can help, as can improving drainage. In the future, don’t plant any brassicas in that growing area again
Popular Kohlrabi Varieties to Grow
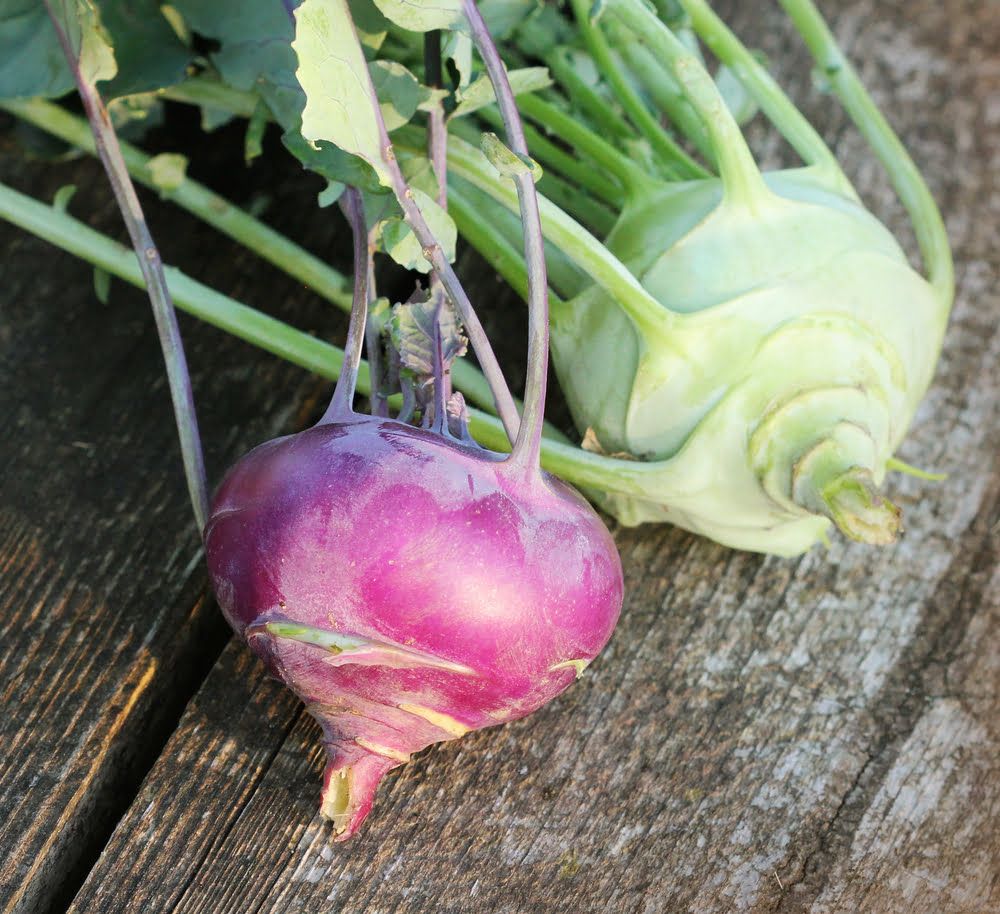
There are two main types of kohlrabi. Early varieties, which tend to be green in colour, are usually ready to harvest about 15 weeks after sowing. On the other hand, slower-maturing varieties, which are purple in colour, take a couple of months, but can be stored in the ground over the winter. Ideally, choose a mix of both to stretch your growing season out for as long as possible.
Some of the best varieties to consider are:
- Korfu – a fast-maturing and beautifully succulent spring variety
- Kossak – one of the largest available varieties with bulbs that swell to 20cm in diameter, while still being tasty to eat
- Olivia – green-skinned and white-fleshed, with this variety being highly resistant to a number of diseases
- Gigante – a large, disease-resistant heirloom variety that stores well
- Early White Vienna – maturing in just 55 days, this dwarf variety is great for smaller spaces
- Kohlibri – another fast-maturing variety with vibrant purple skin
Conclusion
Considering how adaptable and fast-growing these plants are, it’s surprising that kohlrabi isn’t more widely grown. If this is a vegetable that doesn’t yet feature in your diet, it’s time to make a change – if you enjoy eating brassicas, then chances are that you’ll love kohlrabi. Plus, in addition to being delicious both raw and cooked, this vegetable is also packed with a high concentration of key nutrients, making it a very worthwhile plant to have around.