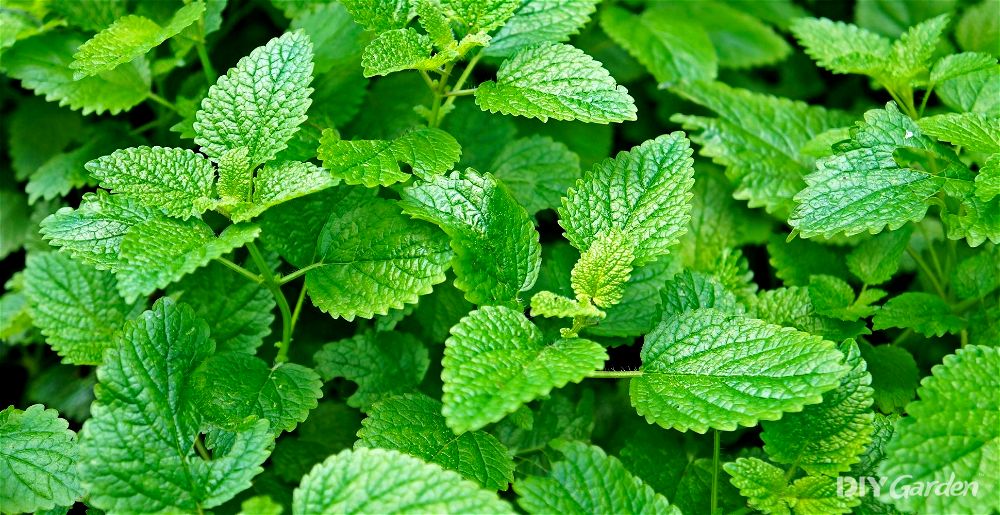
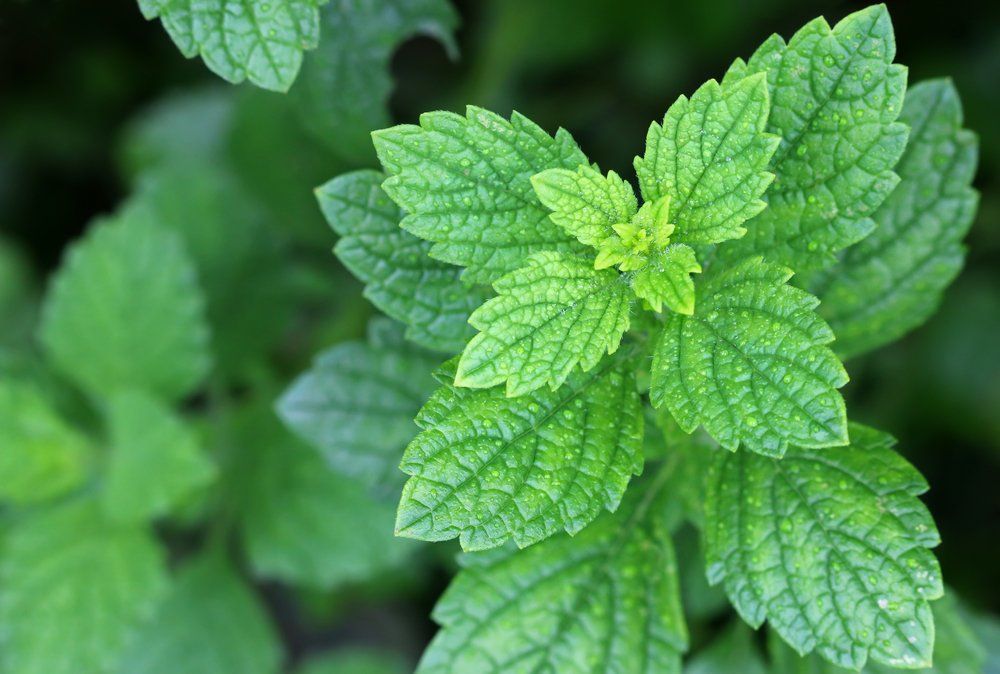
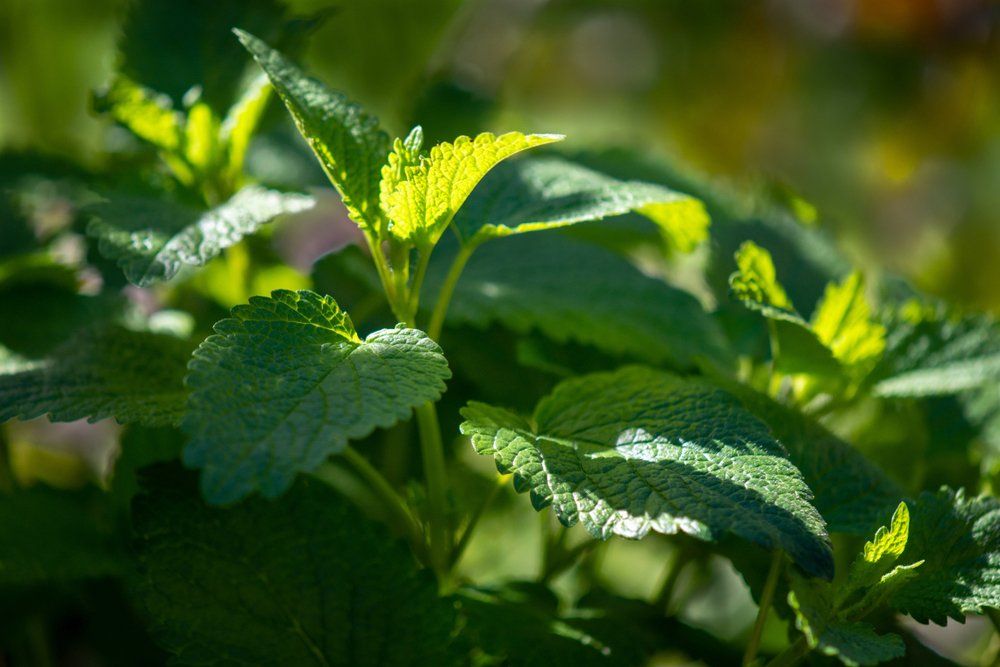
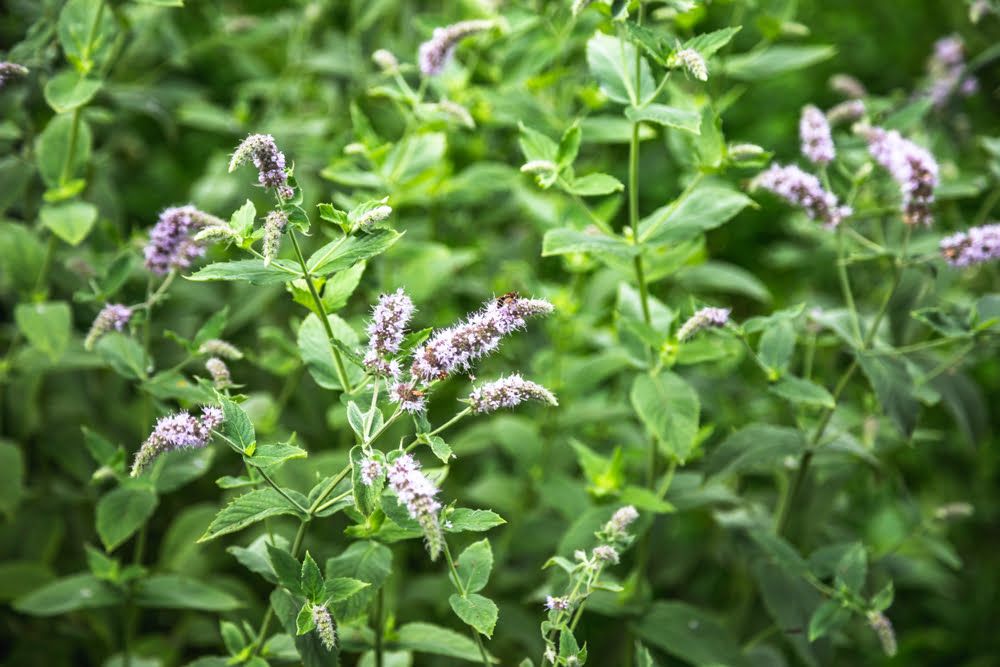
An ancient herb that originates from the south of Europe, lemon balm is a member of the mint family. This bushy perennial is primarily grown for its punchy, citrus-flavoured leaves, but it also happens to be a very attractive plant that pollinators flock to when in flower.
Growing Lemon Balm: A Quick Snapshot
When to Sow – Mar-May
When to Plant – Apr-Jun
When to Harvest – Jun-Sep
Average Yield per Plant – 200g/year
Spacing – 45-60cm
Depth – 0.5cm
How to Grow Lemon Balm at Home
If you’re looking for an easy, low-maintenance herb to add to your garden, lemon balm would be a strong contender. Whether grown from seeds or cuttings, this plant isn’t fussy – give it a basic level of care and it’ll reward you with its citrusy scent for several years to come.
Growing Requirements for Lemon Balm
Lemon balm does well in both full sun and partial shade. The exception would be for those growing lemon balm in hot climates – the intense afternoon sun may be too much for your plants, meaning that filtered shade of some sort would be beneficial. If you find that your plants are losing their vibrant green colour or don’t have a very intense flavour, then this is a sign that the sun is too strong for them.
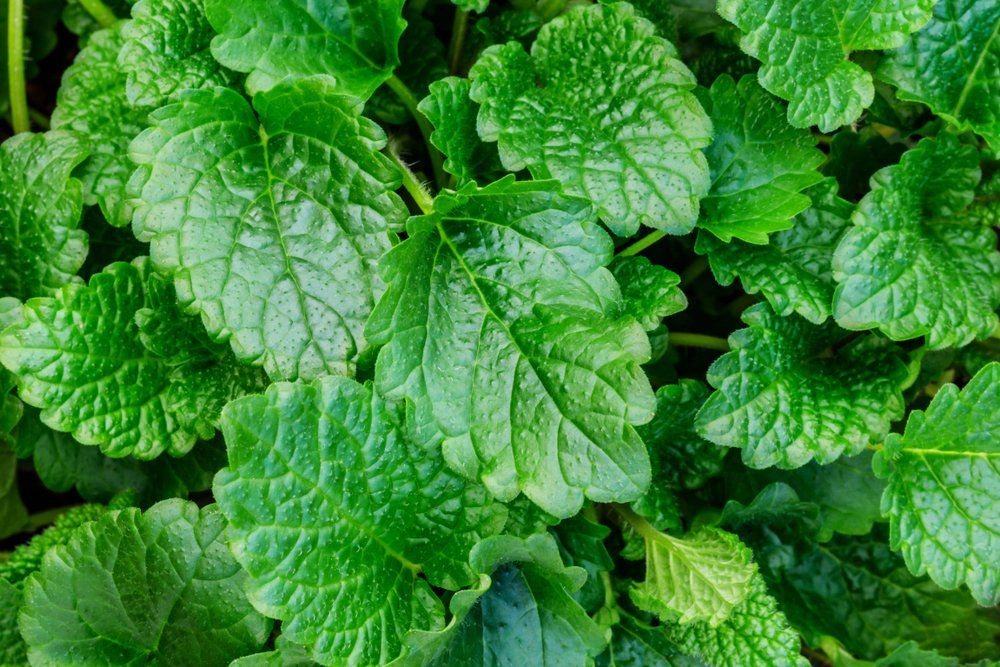
When it comes to soil, lemon balm is very adaptable. In its natural habitat, it prefers to grow in sandy soil. However, it will tolerate just about every other soil type too, apart from heavy clay.
When choosing a growing location for your lemon balm plants, keep their mature size in mind. They may not look like much as seedlings, but lemon balm grows extremely quickly. Your plants could end up being over a metre in height with a similar width, so choose a spot that won’t interfere with any of the other crops that you’re growing.
How to Grow Lemon Balm from Seed
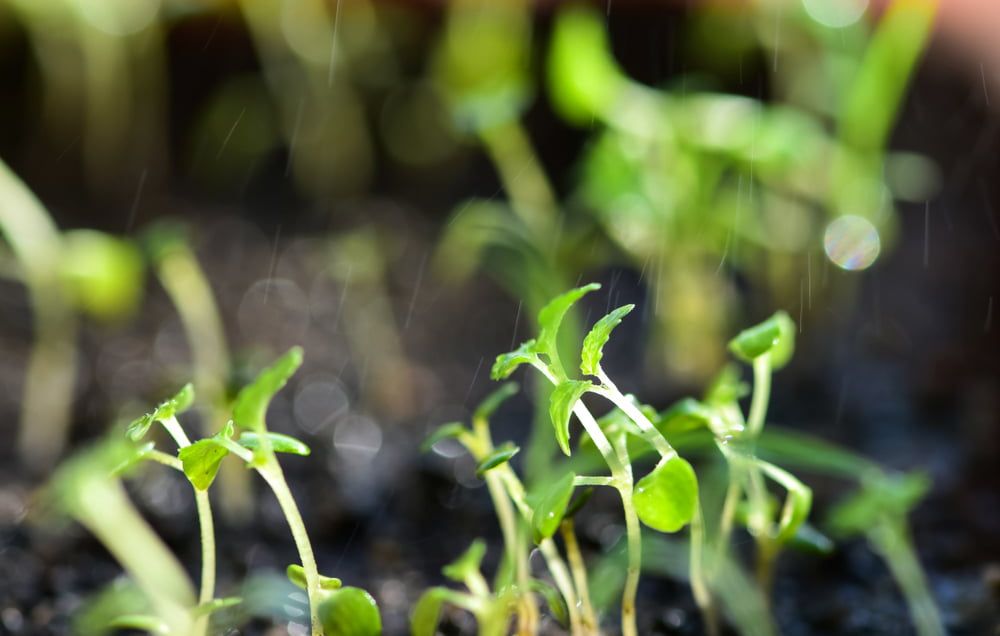
While lemon balm can be direct sown outside after the last spring frost, most gardeners tend to start their seeds off indoors. Germination can be quite erratic, so having full control over this process usually means higher success rates.
When sowing your lemon balm seeds, use modules or pots rather than trays. This helps to minimise root disturbances when planting out, allowing your seedlings to establish faster.
How to Sow Lemon Balm Seeds in Pots:
- Fill small pots with a multi-purpose compost
- Water well, ensuring that excess water is able to freely drain from the drainage holes at the bottom of each pot
- Surface sow a few seeds into each pot, and then lightly cover them over with damp compost. The seeds only need to be 0.5cm below the surface of the soil, so don’t bury them any deeper
- Place your pots in a warm spot in your home, or into a heated propagator. Lemon balm germination rates are best at temperatures of around 20°C
Your lemon balm seeds should take about one to two weeks to germinate when given consistently warm temperatures. Once you notice sprouts emerging, move your pots to somewhere bright. Keep your seedlings consistently moist until it’s time to plant them outside.
How to Grow Lemon Balm from Cuttings
Seeds are great if you’re looking for multiple lemon balm plants. However, if you only need a few and you happen to have access to a mature lemon balm plant, cuttings work well too.
Cuttings are best taken in the spring or autumn. All you need to do is snip off a few soft tips from an established plant, keeping each cutting around 10-15cm in length. Remove any leaves from the bottom halves of your cuttings and then dip the ends into a rooting hormone. Pot these up, water them well, and place them into a shaded spot.
Lemon balm cuttings will usually root in about three to four weeks, after which they can be planted out.
How to Plant Lemon Balm Outside
Whether you’re planting out seedlings that you’ve sown yourself or cuttings that have newly rooted, young lemon balm plants should always be hardened off for 7-10 days before being permanently moved outside.
Once you’ve done this, weed your growing area. Then, dig your planting holes. They only need to be slightly larger than the root ball of each seedling.
Remove your seedlings from their pots and place them into their new homes. Cover the roots over with soil, firm down, and water well.
How to Plant Lemon Balm in a Greenhouse
Since lemon balm is hardy down to -30°C, it isn’t commonly grown in a greenhouse. That said, bees love this plant – people used to grow lemon balm around bee hives to encourage bees to return. If you’re struggling to attract pollinators to your greenhouse, then a couple of lemon balm plants placed strategically around the entrance could be a solution.
One thing to keep in mind is that lemon balm doesn’t do well if grown in extremely hot and humid conditions. In order for it to thrive in your greenhouse, you’ll need to make sure that you have plenty of ventilation and that temperatures don’t rise too high in the summer.
One way to get around this is by growing your lemon balm in pots. This way, you can sow your seeds directly into each pot, keeping them in your greenhouse to germinate and grow on. Once temperatures heat up in the summer, you can move your pots outside, still keeping them near your greenhouse entrance to benefit from the pollinator love.
How to Care for Lemon Balm
Lemon balm doesn’t require much in terms of care, especially once the plants have established. However, if you’re hoping for maximum yields, then giving your plants a little extra attention will definitely help:
Watering Lemon Balm
Lemon balm thrives when its soil is kept consistently moist. Never allow your plants to dry out, but don’t over-water them either. Soggy soil will cause your plants to rot. Instead, give your plants a deep watering but then wait until the top few centimetres of soil has dried out before watering again.
Once your lemon balm plants have established, they’ll be much more tolerant of drought. However, regular moisture is still needed if you’re hoping for a big harvest.
Feeding Lemon Balm
While some gardeners use a general-purpose, water-soluble fertiliser on their lemon balm plants, this is something that’s tricky to get right. Over-fertilise and you’ll end up with plants that look large and leafy, but the flavour and scent of those leaves will be lacking.
So long as you’ve given your lemon balm good quality soil to begin with, then your plants shouldn’t need a fertiliser.
Weeding and Mulching Lemon Balm
Lemon balm is usually vigorous enough to hold its own against common weeds. However, it needs to be established before it can do this, so make sure that you keep your plants weed-free until then.
Of course, even once mature, competition from weeds will still inhibit growth. The best way to prevent this, without having to dedicate hours of your life to weeding your plants, is to lay an organic mulch around your lemon balm plants.
Preventing Lemon Balm from Spreading
One issue that some gardeners have when growing lemon balm is that the plants spread quite readily. Since it’s a member of the mint family, many assume that over-zealous roots are to blame, but this isn’t actually the case.
While it’s true that the roots do spread, problems with lemon balm becoming invasive are usually caused by the seeds. To prevent your plants from self-seeding around your garden, cut the flower heads off once they start to die back.
Your lemon balm plants will also increase in size each year, with the main clump growing larger. To keep this under control, don’t be afraid to cut your plants back during the growing season. They easily handle a hard pruning and will quickly bounce back.
How to Harvest Lemon Balm
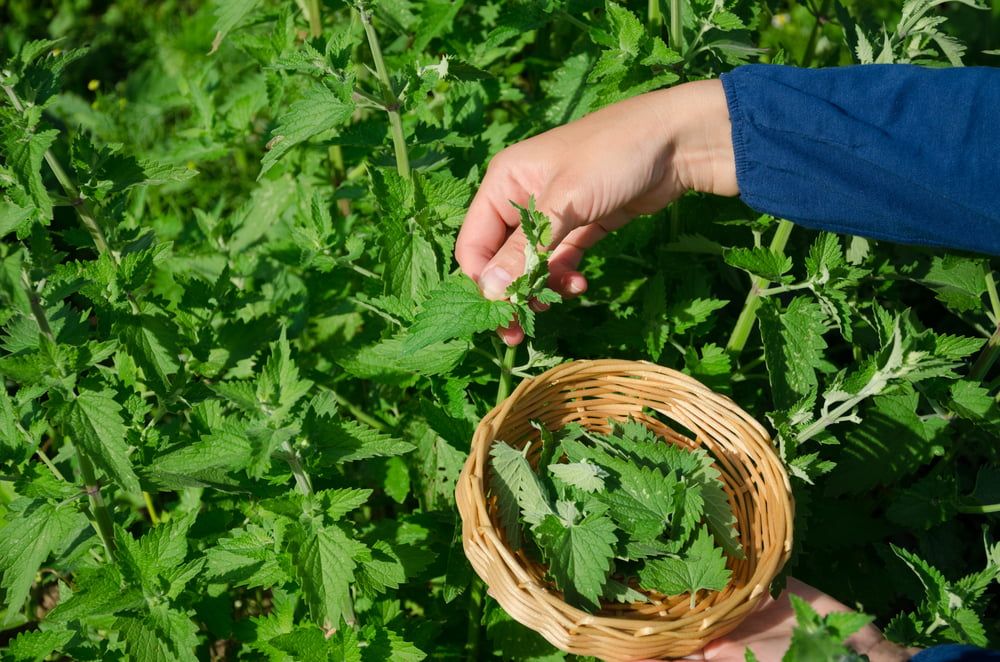
Lemon balm can be harvested throughout the growing season as and when needed. Younger leaves tend to be the most flavourful, but older leaves are still worth picking.
If you only need a few leaves, simply pick them off a stem. Alternatively, if you want to harvest a larger batch, you can either snip off individual stems or cut back your entire plant to near-ground level. Again, this can be done two or three times in one season – your plant will start to produce new stems and leaves in just a few weeks.
Keep in mind that lemon balm leaves bruise easily, so be careful when harvesting!
How to Store Lemon Balm
It’s best to use lemon balm fresh, although leaves that have been washed and dried can be kept in an airtight bag in the fridge for up to five days.
The best option for long-term storage is to dry the leaves. You can either do this in a dehydrator or tie the stems up to air-dry. Either way, when properly dried, lemon balm will keep for about six months. After this, it will start to lose its flavour. However, this should be enough to see you through the winter, until your plants start to produce new leaves again!
How to Prepare & Cook Lemon Balm
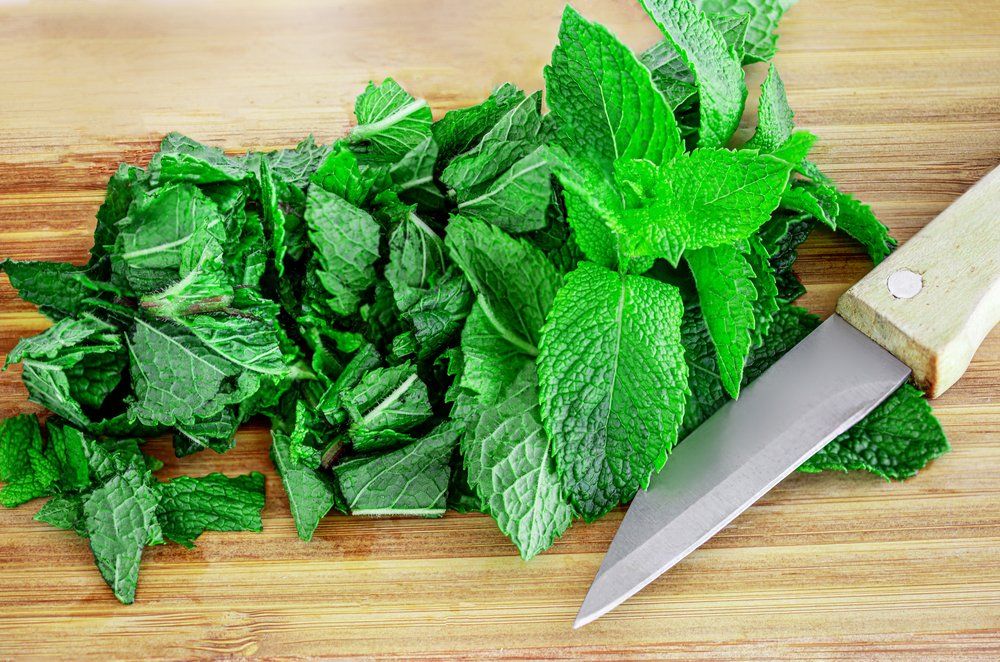
Lemon balm doesn’t require much preparation. Simply give the leaves a wash under some running water and they’re ready to be used. If you’ve harvested stems instead of individual leaves, pick the leaves off the stems before using. However, don’t throw those stems out – they’re edible too!
When it comes to using lemon balm, this is where many gardeners struggle. They love the plant for its fragrance, but aren’t quite sure how to make the most of it. However, lemon balm is surprisingly versatile. It’s also packed with antioxidants and is a potent antiviral, making it a herb worth eating more of. Here are a few ideas to get you started:
- Add lemon balm leaves to salads
- Mix lemon balm leaves with oil and vinegar to make a dressing
- Lemon balm tea or iced tea
- Chopped lemon balm as a garnish for seafood
- Lemon balm instead of lemon peel in sauces and soups
- Candied lemon balm leaves
As mentioned, lemon balm has been used since ancient times, and not just for food. Other uses for the herb include:
- Lemon balm medicinal tinctures
- Lemon balm skin creams
- Crushed lemon balm leaves to soothe itchy bug bites, or use the leaves to make a bug spray
- Lemon balm soap
Common Lemon Balm Problems
Lemon balm isn’t usually susceptible to many pests and diseases. In fact, it contains a chemical called citronellal – this is what gives the plant its distinct scent, and it also happens to repel many pests.
That said, no plant is completely problem-free. A few issues that you could potentially encounter are:
- Powdery mildew – this fungal disease shows as a white powder that appears on the surface of leaves. It’s caused by overly hot and damp conditions. Improve circulation between your plants and make sure that they’re not overcrowded. A natural fungicide spray can help to clear the disease.
- Septoria leaf spot – another disease caused by excessive heat and humidity, leaf spot shows as dark spots on leaves. Again, improving circulation can help, as can regularly harvesting/pruning your plants. Infected leaves need to be removed immediately, and sprays are also available to prevent the disease from spreading.
- Aphids – these pests rarely bother lemon balm plants that are growing outside, but if yours are in a greenhouse, you may encounter them. You’ll notice these tiny bugs clustering on the undersides of leaves. A strong jet of water should dislodge a small infestation, while larger infestations can be treated with an organic spray.
Popular Lemon Balm Varieties to Grow
There are several lemon balm varieties to choose from, with some of the most popular being:
- Aurea – loved for its green and yellow variegated leaves
- Compacta – perfect for smaller spaces, this is a dwarf and sterile variety. It only grows to 15cm in height and doesn’t produce flowers or seeds
- All Gold – beautiful golden foliage with purple flowers
- Quedlinburger – has a higher concentration of essential oil than other varieties, making it ideal for medicinal uses
- Lemonella – reputed to be one of the most fragrant lemon balm varieties
Conclusion
Not only is the flavour and aroma of lemon balm beautifully intoxicating, but this hardy perennial is also a great plant for attracting pollinators and deterring pests, making it one that every garden would benefit from. Plant it in a spot that you often brush past and you’ll be able to enjoy its citrusy scent each time you’re in your garden.