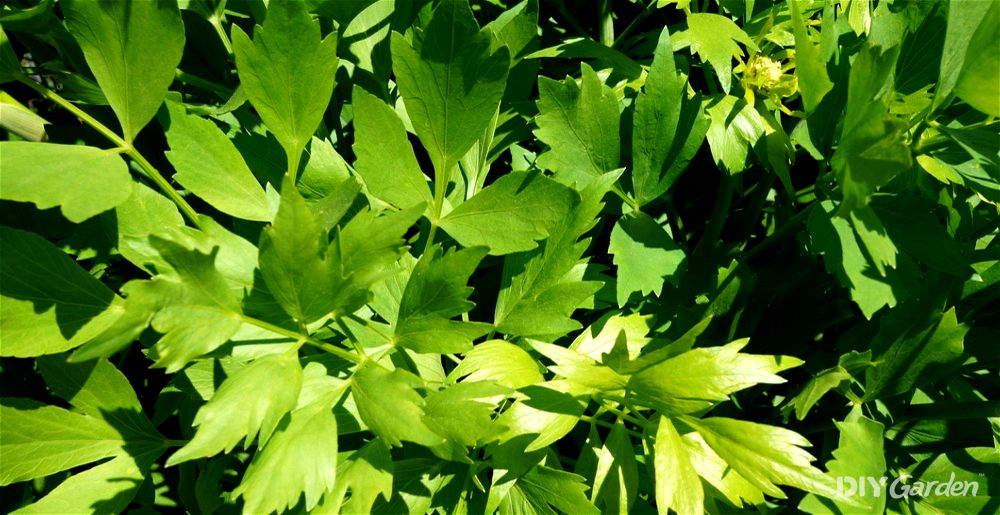
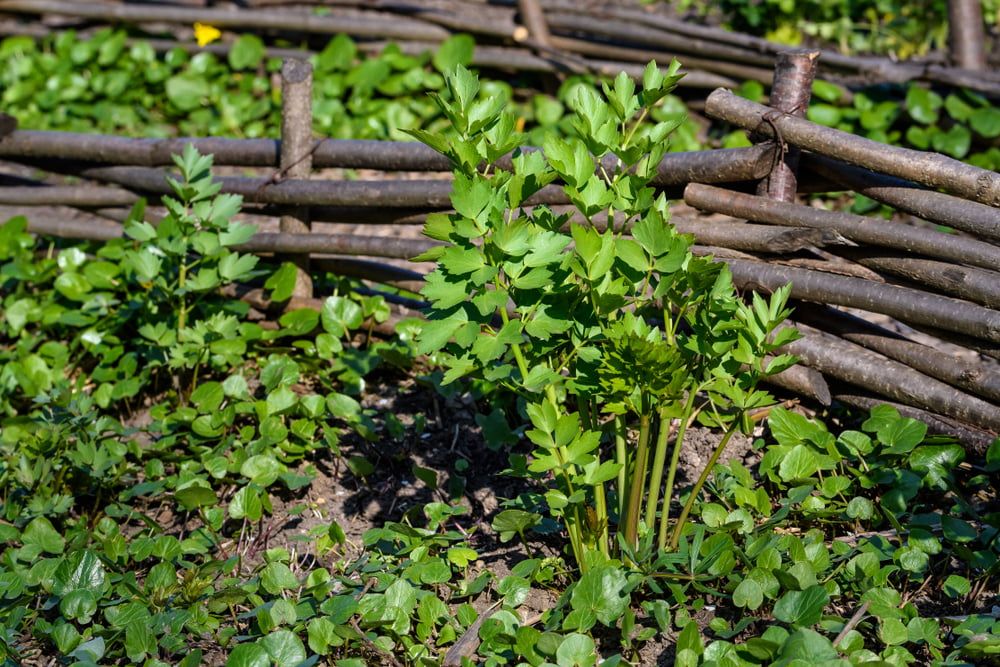
For those of you who haven’t heard of lovage, this leafy perennial herb is closely related to celery. In fact, many would describe its flavour as being a cross between celery and parsley. While it’s probably not a plant that you would eat in huge quantities (although you could, since it’s extremely productive), the tall stems and dramatic foliage are still well worth growing for their lush ornamental quality.
Growing Lovage: A Quick Snapshot
When to Sow – Mar-May
When to Plant – May-Jul
When to Harvest – Jun-Oct
Average Yield per Plant – 9kg/year
Spacing – 90cm
Depth – 1mm
How to Grow Lovage at Home
Although native to the Mediterranean areas of south Europe, lovage is an extremely hardy plant – it actually prefers cooler climates. Since it’s a fast-growing perennial, you’ll only need to sow lovage once to be able to enjoy its unique flavour for many years to come.
Growing Requirements for Lovage
Lovage can handle winters as cold as -40°C without needing any protection. Originating from the warmer parts of Europe means that lovage will also tolerate a certain amount of heat, allowing it to thrive in countries all over the world.
Lovage does best in full sun, but will tolerate a small amount of shade too. The cooler your climate, the more sun your plants will need.
While most Mediterranean herbs will happily grow in poor soil, lovage is different. It needs a rich and moisture-retentive soil mix in order to thrive. That being said, the plants will still grow in poorer soils, but will be noticeably smaller and weaker.
Choosing a Growing Location for Lovage
A plant’s growing requirements are the most important factors to keep in mind when choosing a growing location. However, when it comes to lovage, you’ll need to take its height into account too.
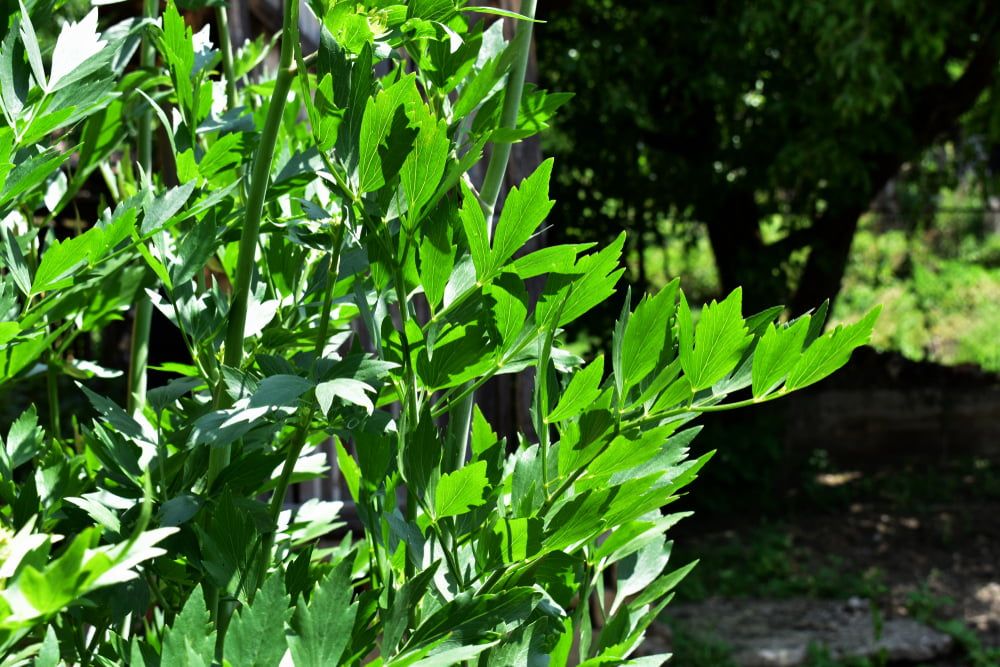
An established lovage plant can reach over 2 metres in height. For this reason, they’re best placed at the back of a vegetable garden or bed. This will prevent them from shading out any other plants around them.
How to Grow Lovage from Seed
Growing lovage from seed can be a little tricky. The seeds take a while to germinate, usually around 20 days, and the seeds need to be as fresh as possible in order for germination rates to be high.
For this reason, many choose to purchase and plant out young lovage plants, rather than growing them from seed. However, there’s no denying that growing from seed is much cheaper, and your plants will usually be healthier and stronger than those that have been purchased.
While lovage can be direct sown, results are usually much better when the seeds are started indoors. This should be done about 6 weeks before your last frost.
Keep in mind that you won’t need to sow many seeds. A single lovage plant per household is usually more than enough to provide you with all of the lovage you need over the summer and autumn. Your plants will likely also self seed, although it doesn’t do this too aggressively.
How to Sow Lovage Seeds:
- Fill module trays with a quality multi-purpose compost
- Water the modules, making sure that excess water is able to drain freely from the bottom
- Place 3-4 seeds on the surface of each module and then cover with a very light layer of compost or sand. The seeds should only be about 1mm deep
- Place your trays in a heated propagator or in a sunny spot in your home. The optimum germination temperature for lovage is 15°C. Keep your seeds moist during the germination process
- Once your seeds have germinated, thin your seedlings out, keeping the healthiest one in each module
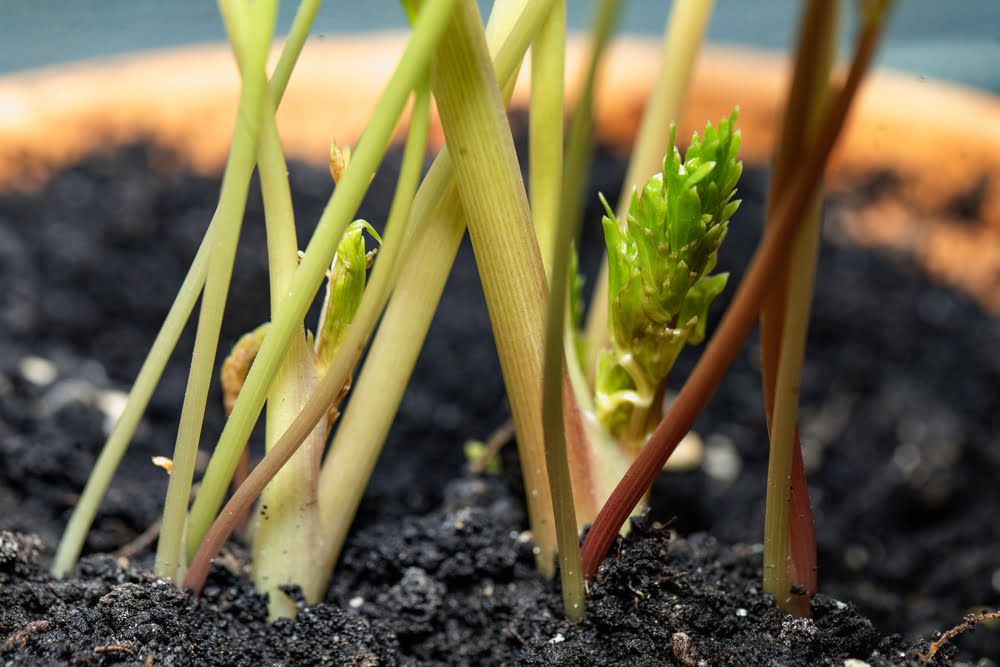
Depending on the size of the modules you have used, along with how quickly your plants grow, you may need to pot your lovage seedlings up into larger containers to continue growing them indoors before they move outside.
How to Plant Lovage Outside
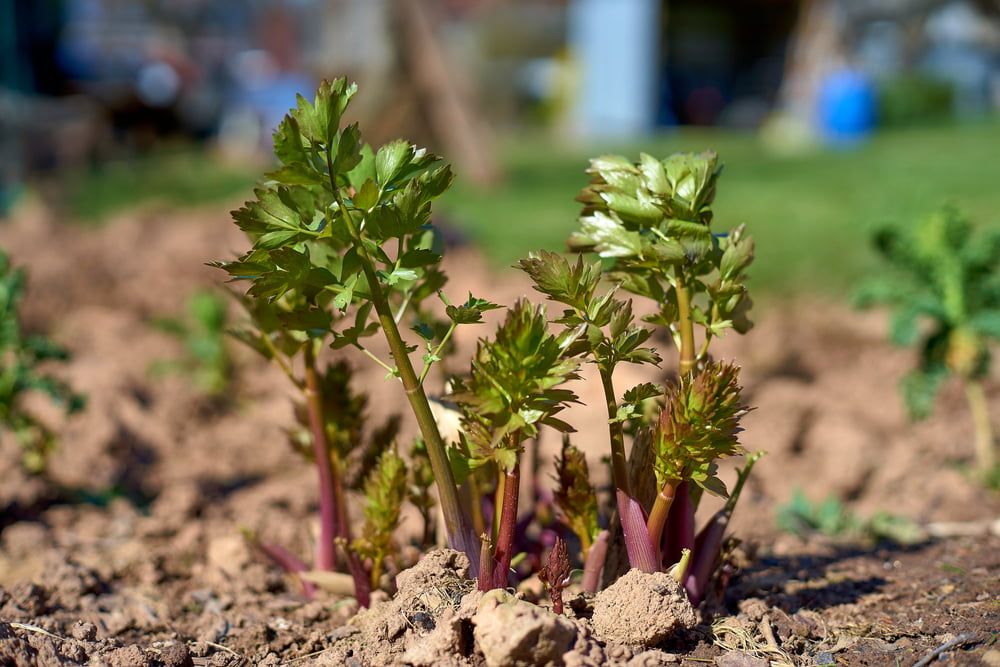
Once you’re certain that you won’t be receiving another frost in late spring, your lovage can be planted out. Temperatures should be around 15°C during the day.
Prepare your planting bed by mixing in some well-rotted animal manure or a quality multi-purpose compost. Lovage taproots can extend down by up to 90cm, so the richness of your soil should run deep.
Then, dig holes that are large enough to accommodate each lovage plant. Space your holes about 90-100cm apart – mature lovage plants need plenty of space.
Place a plant into each hole before covering over and watering well.
How to Plant Lovage in a Greenhouse
Due to its preference for cooler temperatures, as well as its size, lovage isn’t usually grown in a greenhouse.
That being said, a greenhouse is still incredibly useful when growing on lovage seedlings in the spring, giving them plenty of light while protecting them from the cold.
You can also use your greenhouse to extend your lovage harvest, enabling it to take you well into the winter. To do this, you’ll need to grow your lovage in containers. Move these outside in the late spring and summer, and then bring them back into your greenhouse in the autumn.
Since lovage grows quite large, both above and below the ground, any containers that you grow the herb in will need to be at least 30cm in diameter and depth. The larger your containers, the happier your plants will be. However, make sure that they are still light enough for you to be able to easily move them into your greenhouse in the autumn.
How to Care for Lovage
Lovage is exceptionally easy to care for, requiring very little attention throughout the growing season.
Watering Lovage
Young lovage plants need to be kept consistently moist. However, once your plants have been in the ground for about a year, you won’t need to worry about this too much.
Thanks to its long taproot, lovage is able to access water that lies deep within the soil. This means that manual watering is rarely needed.
Feeding Lovage
Lovage doesn’t need much in terms of feed. A general-purpose fertiliser applied soon after planting out can give young plants a good boost, but this isn’t essential.
Instead, simply top dress the soil around your lovage plants each spring to give them some fresh nutrients.
Mulching Lovage
Being so fast-growing and tall, lovage usually ends up overtaking any weeds that pop up around it.
However, mulching your plants can still be extremely beneficial. This prevents weeds from emerging, saving young lovage plants from having to compete for food and water. A mulch applied in the spring and then topped up in the autumn will also keep your plants cool in the summer and warm in the winter, which will help to extend your overall growing season.
How to Harvest Lovage
From the roots and stems to the leaves, flowers, and seeds, all parts of a lovage plant are edible. Even better, they’re packed with vitamin C and the B complex, while also containing quercetin, a compound known to help with allergies.
If you’re growing lovage for the first time, then it’s definitely worth harvesting all parts of the plant. They all taste slightly different, so this is a good way of finding out which you prefer.
However, this can only be done from the second year onwards. Only the leaves should be harvested in a lovage plant’s first season.
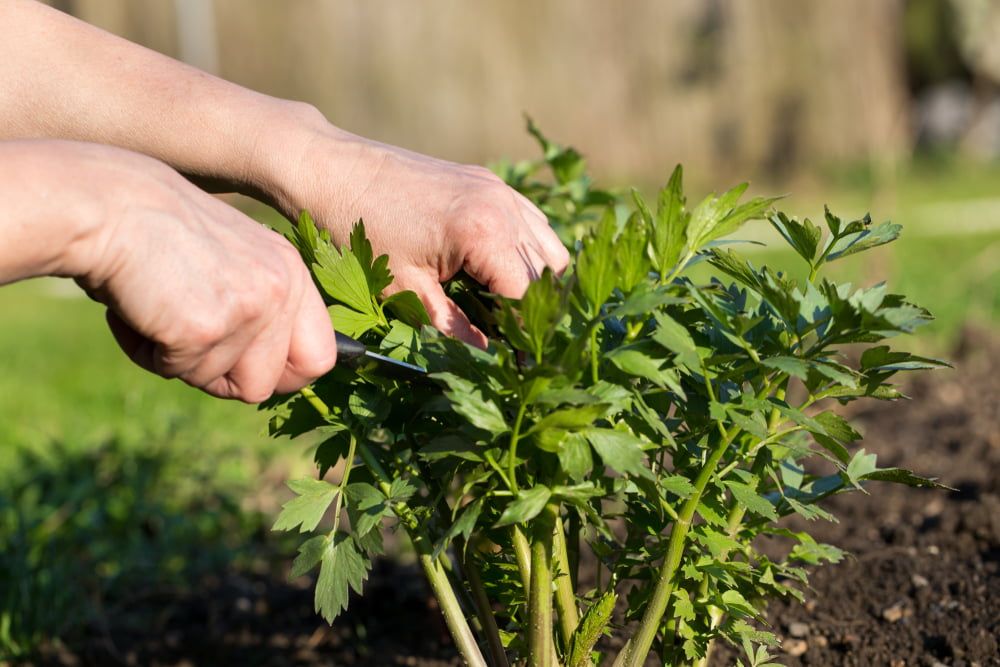
How to Harvest Lovage Leaves
In the first year of growing lovage, leaves can simply be snipped off as and when needed. Try to only take a few leaves, as you want the plants to put most of their energy into forming strong roots.
From the second year onwards, your leaf harvest can increase. You’ll notice that the stems you’ve snipped will quickly start regrowing, allowing you to make regular harvests.
Keep in mind that younger leaves are much tastier, as well as more tender, than mature leaves.
How to Harvest Lovage Stems
Lovage stems can simply be cut away at ground level. This will give you both the stem and its accompanying leaves to enjoy.
How to Harvest Lovage Flowers and Seeds
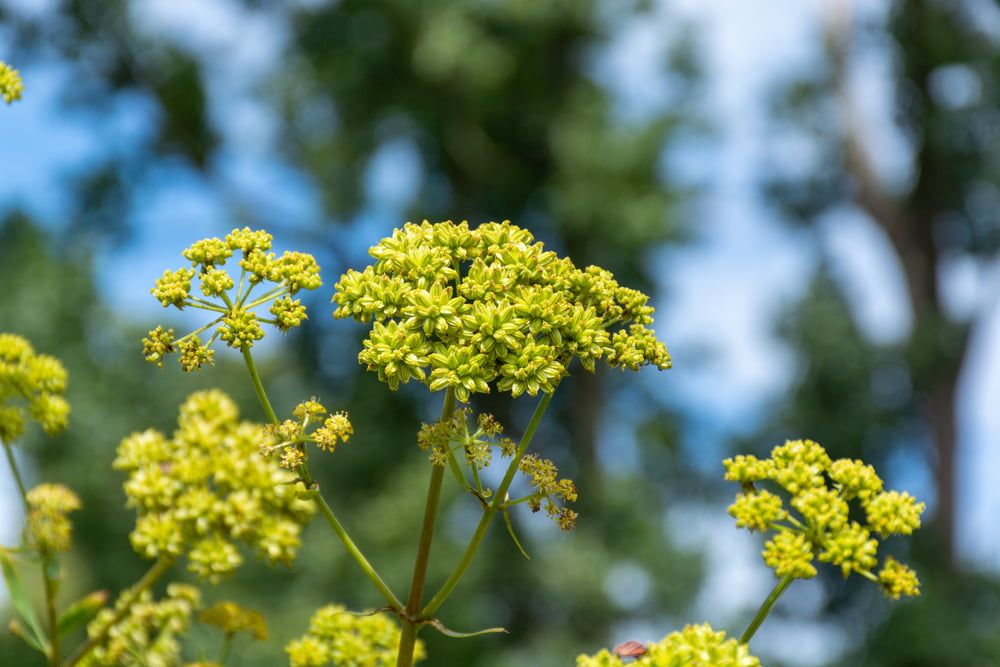
If you would like your lovage plants to keep producing tasty leaves for as long as possible, then flowering is something that you want to prevent. This can be done by snipping off flowering stalks as soon as they begin to form (again, these can also be eaten).
However, if you would like to harvest the flowers and seeds, then this is just a case of leaving your plants to produce flowers and then snipping off the flower heads. Alternatively, wait until the flower heads have formed seeds before cutting them off.
How to Harvest a Whole Lovage Plant
Lovage roots are delicious, but the only way to enjoy these is by harvesting an entire plant. Fortunately, lovage self seeds readily, so you should always have a steady supply of new plants to harvest.
To harvest a whole plant, wait until the end of summer. Then, use a fork to dig the plant up, before shaking off any dirt from the roots.
How to Store Lovage
Lovage is best eaten as fresh as possible. However, storing your harvest is still an option.
Lovage can be kept in the refrigerator for a few days. You’ll need to place it into an air-tight bag or container that’s also opaque – light will cause harvested lovage leaves to start yellowing.
You can also freeze your lovage harvest, which will give you usable leaves and stems for about six months. You can either freeze raw lovage or blanch the leaves and stems first, which will allow them to retain more of their colour.
Another option is drying your lovage harvest. This is most commonly done with the seeds, stems, and roots. When dried correctly, lovage will last for a couple of years.
How to Prepare & Cook Lovage
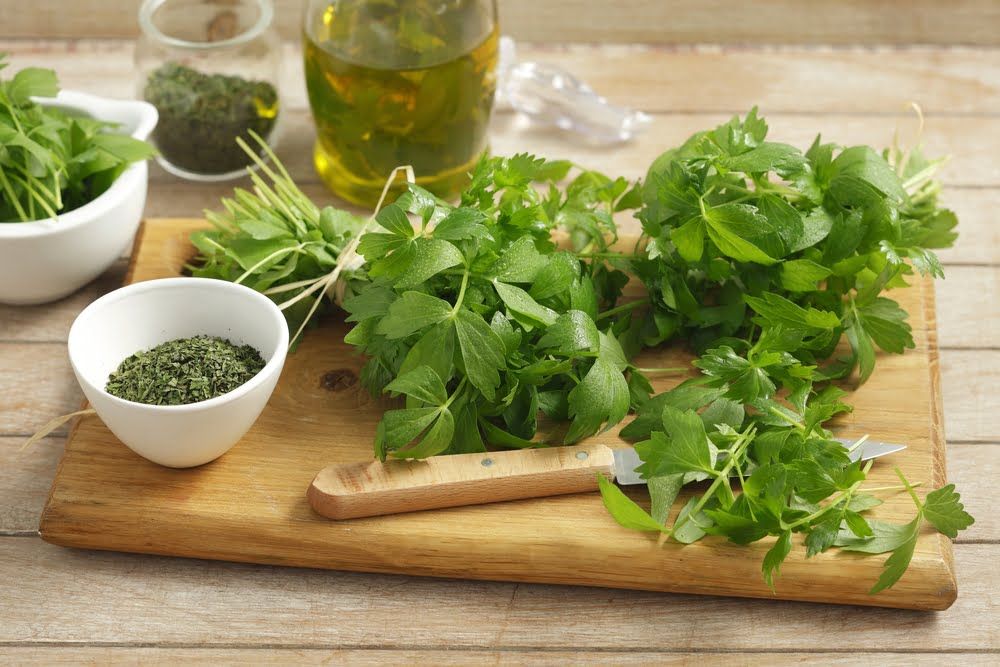
Preparing lovage is easy. Give the leaves and stems a quick wash before either slicing or dicing.
Lovage tastes very much like celery, with a hint of anise and parsley. This means that it can be used to replace celery in everything from soups and stews to salads.
While lovage is mild enough to be eaten raw, its spice-like undertones hold up well to cooking too.
Speaking of cooking, here are some delicious lovage dishes to whip up in the kitchen after you’ve had your first harvest:
- A tomato sauce made with lovage, garlic, and oregano
- Freshly baked breads and pastries topped with lovage seeds
- Lovage leaves sliced up as a garnish on just about anything
- Candied lovage stems
- Roasted lovage roots
Common Lovage Problems
Chances are that your lovage won’t be affected by pests and diseases – its natural resiliency and strong scent helps to keep it healthy. However, there are still a few issues that could possibly arise that you should be aware of:
- Leaf miners – these pests leave behind wavy, tunnel-like lines on leaves as they munch their way through lovage plants. Fortunately, a neem oil spray will quickly get rid of them
- Parsley worms – these yellow, green, and black stripy worms nibble away at foliage. However, they don’t cause too much damage and will soon turn into the swallowtail butterfly – a fantastic pollinator that would really benefit your garden
- Early and late blight – lovage can sometimes be affected by both types of blight. Brown circular spots on foliage are a giveaway sign. Try to improve air circulation around your plants, and make sure that your mulch isn’t too thick – waterlogged soil can lead to blight
Popular Lovage Varieties to Grow
There aren’t many lovage varieties out there. The main one grown for food is known as true lovage, aka levisticum officinale.
However, there are also a couple of varieties out there that grow wild, such as sea lovage and black lovage. They’re just as edible, but won’t be as productive as true lovage.
Conclusion
Lovage has been grown for centuries – even the Ancient Greeks used to enjoy its distinct flavour. While this may be the case, lovage is still relatively unknown, and isn’t a herb that you would find in mainstream supermarkets. This makes growing lovage at home all the more exciting, rewarding you with a delicious ingredient that can be used in so many different ways.