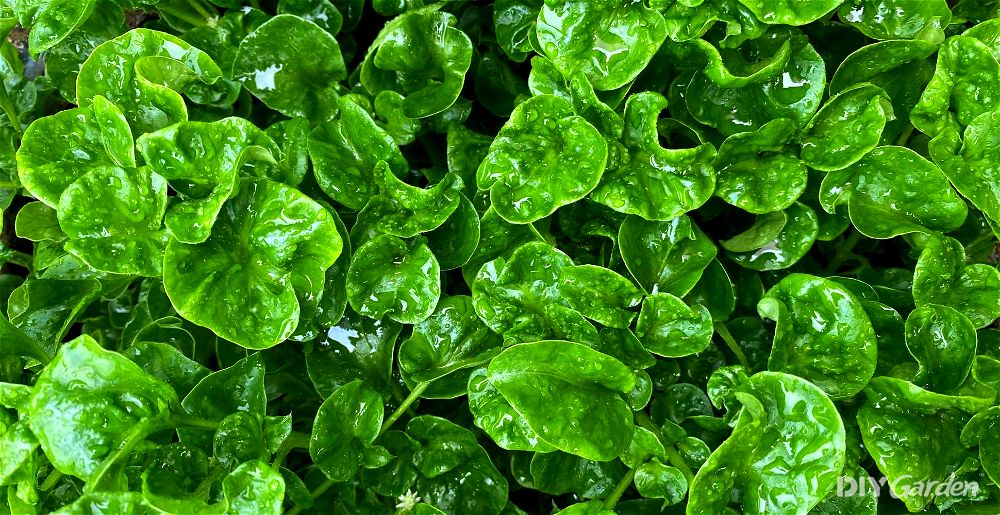
Although it often has a high price tag accompanying it on supermarket shelves, watercress is actually such an easy vegetable to grow and harvest throughout the year. Many don’t realise that this peppery salad leaf, which also happens to be packed with nutrition, is a perennial – sow and plant it once and you’ll have a steady supply for years to come!
Growing Watercress: A Quick Snapshot
When to Sow – Mar-Apr
When to Plant – Apr-Jun
When to Harvest – May-May
Average Yield per Plant – 100-200g/year
Spacing – 20-30cm
Depth – 0.5cm
How to Grow Watercress at Home
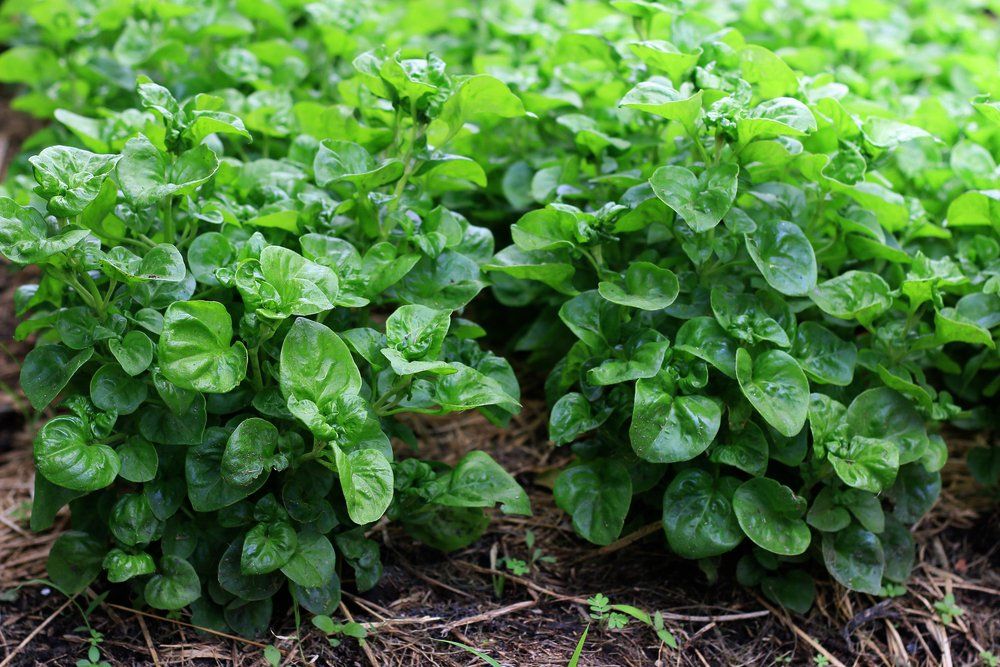
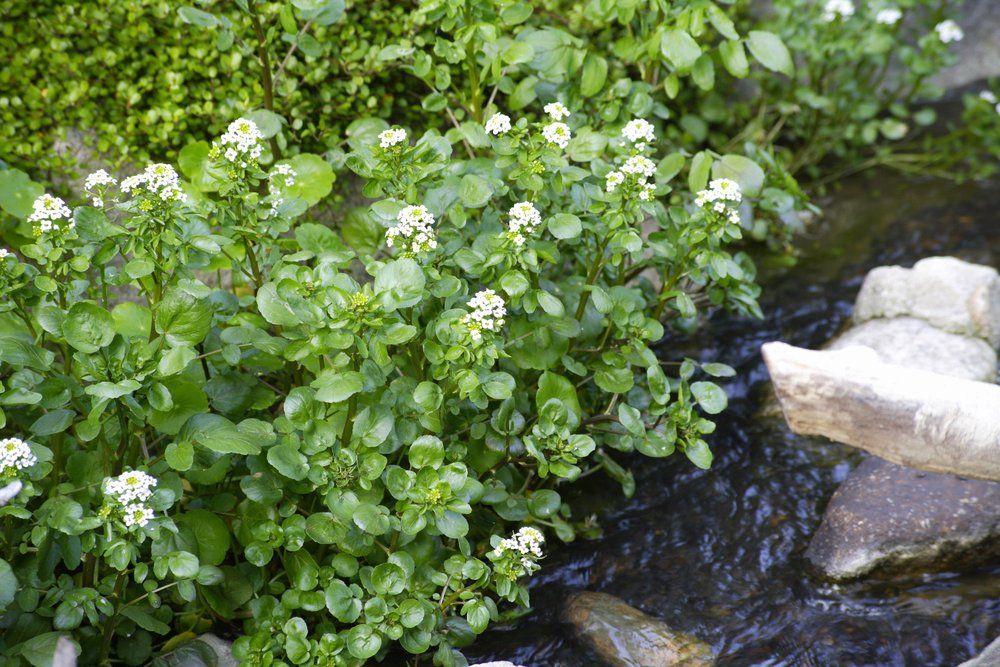
You may have noticed watercress growing wild along rivers and other waterways – once it’s established, it really does take care of itself. If you happen to have a pond or another water feature in your garden, then your plants can be grown directly submerged into this, or even next to this in wet soil. However, even if you don’t, watercress can still be grown in regular soil, so long as you can meet the following conditions.
Growing Requirements for Watercress
Being a semi-aquatic plant, the most important growing condition to meet for watercress is being able to provide enough water. Since the plants are very sensitive to pollutants, the water source that you use needs to be clean.
As mentioned, the plants grow well in soil too, but, unlike most other plants out there, watercress needs its roots to be constantly waterlogged, which means that your soil needs to be kept consistently moist. This can be achieved by growing the plants in a container and placing a saucer of water underneath – this allows the roots to draw up as much water as they need.
Ideally, grow your watercress in a location that receives light shade. Watercress enjoys the morning sun, but then prefers to be kept shaded during the intense heat of the afternoon.
How to Grow Watercress from Seed
Watercress seeds need daytime temperatures to be between 8-15°C in order to germinate. For this reason, it’s best to wait until the end of March or early April, once spring has officially arrived.
Although watercress seedlings can be transplanted, they do best when they’re direct sown. If you want to start your seeds indoors, then consider doing this in a container that the plants can then remain in as they grow.
How to Sow Watercress Seeds in a Container:
- Choose a large container – width is more important than depth, so look for a pot that’s at least 30cm in diameter. Make sure that your chosen container has plenty of drainage holes at the bottom
- Fill your container with a multi-purpose compost and water it well
- Sprinkle your seeds over the top of the compost. Watercress seeds are tiny, so be careful not to sow them too thickly
- Cover your seeds with a very light layer of compost or vermiculite. They need light to germinate, so don’t bury them too deeply; 0.5cm is more than enough
- Place your container into a tray or a larger container, and then fill the outer container with water. This water will need to be kept constantly topped up so that the soil in the inner container never dries out
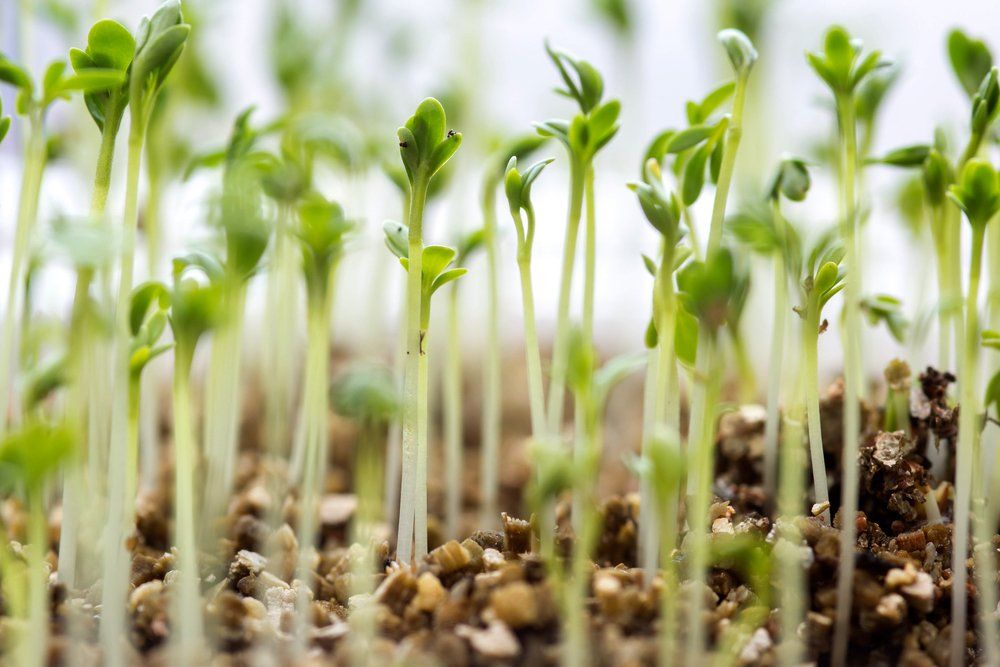
Watercress seeds usually germinate in about 1-2 weeks. Once seedlings appear, make sure that they have access to plenty of light, and don’t forget to keep adding fresh water to their outer container.
How to Plant Watercress Outside
Once you’ve had your last spring frost, your watercress seedlings can be moved outside. If you’re keeping them in their container, then simply move that, along with the outer container filled with water, to a suitable location outdoors.
If you would like to try transplanting your seedlings, then first prepare your growing area by choosing a moist spot and incorporating in some compost. Although not essential, this will help to provide some extra nutrients to your plants.
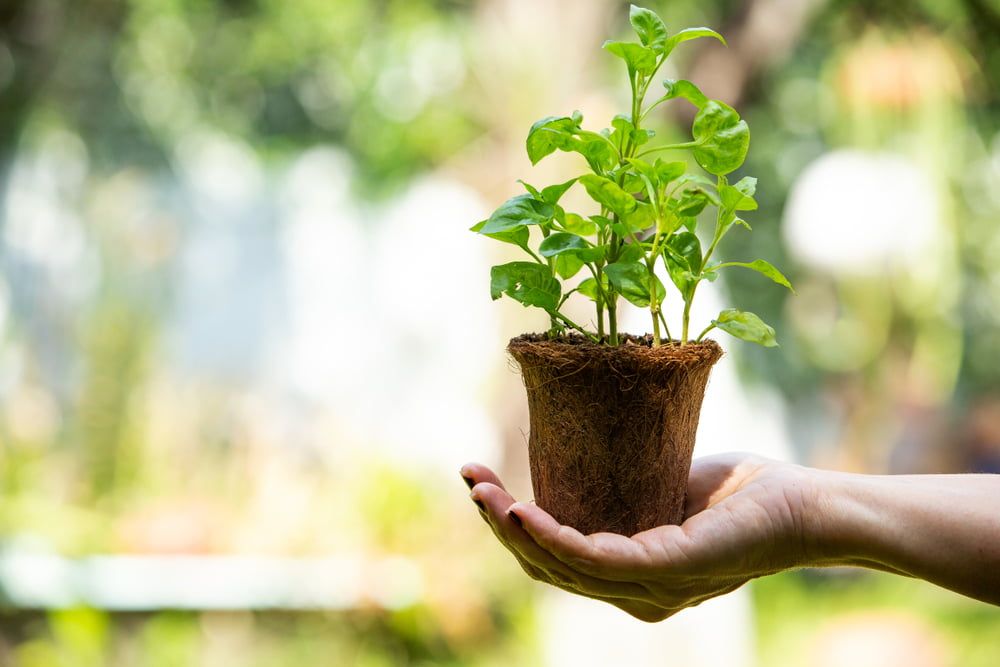
Watercress seedlings are extremely fragile, so be very careful when you’re removing them from their container. Plant them into your chosen location, spacing each plant at least 20cm apart. This may seem like a lot, but watercress quickly spreads through runners, so it won’t be long before your plants have filled in any gaps.
How to Plant Watercress from Cuttings
If you want to save yourself some time, consider growing watercress from cuttings instead of seeds. All you need is a bag of watercress from the supermarket – choose one that contains as many roots as possible.
You can then either plant these directly into damp soil outside, or into a container that’s sitting in water. Alternatively, place them into a pond or another clean water source and they’ll happily continue to grow and spread.
How to Plant Watercress in a Pond
If you have a pond or a water feature in your garden and want to try cultivating watercress around it, then, again, this is extremely easy. Simply placing seedlings or cuttings with roots into your pond is all you need to do, but you could also use a planting basket.
How to Plant Watercress in a Greenhouse
Watercress grows well in a greenhouse, and the extra protection means that even if outside temperatures drop below -15°C, your plants should do just fine.
The only issue is making sure that your plants are receiving enough water, since the extra heat in a greenhouse will cause them to dry out faster. Keeping them in a double container, with the outer one filled with water, tends to be a better greenhouse-growing method than simply planting them into the soil.
Alternatively, look into growing watercress hydroponically in your greenhouse. This is how many commercial watercress establishments do it. You don’t need much hydroponic knowledge to get started, and yields tend to be very impressive.
How to Care for Watercress
Watercress is an extremely low-maintenance plant. Its main requirement is water – so long as you’re able to keep those roots consistently moist, then there isn’t much else that you need to do.
Does Watercress Need to Be Fertilised?
Feeding isn’t usually recommended for watercress. The plants receive all of the nutrients that they need from the fresh water you give them. However, if your plants are growing in a container, then you may want to consider giving them a regular feed of a balanced, soluble fertiliser to prevent any nutrient deficiencies.
Weeding Around Watercress
You may need to occasionally weed around your plants, but the waterlogged conditions that watercress prefers are often enough to deter weeds from dominating that area.
How to Harvest Watercress
While watercress can be harvested year-round, the leaves taste best when they’re picked during the cooler months of the year. Once the summer heat arrives, the plants start to flower, which gives the leaves a more bitter flavour.
Watercress can be harvested as both baby or mature leaves. Baby leaves usually taste spicier and more peppery, with the flavour turning milder as the leaves mature.
Your earliest harvest can take place just three weeks after your seedlings have emerged, since the plant grows very quickly. The more you harvest the leaves, the thicker and lusher your plants will grow.
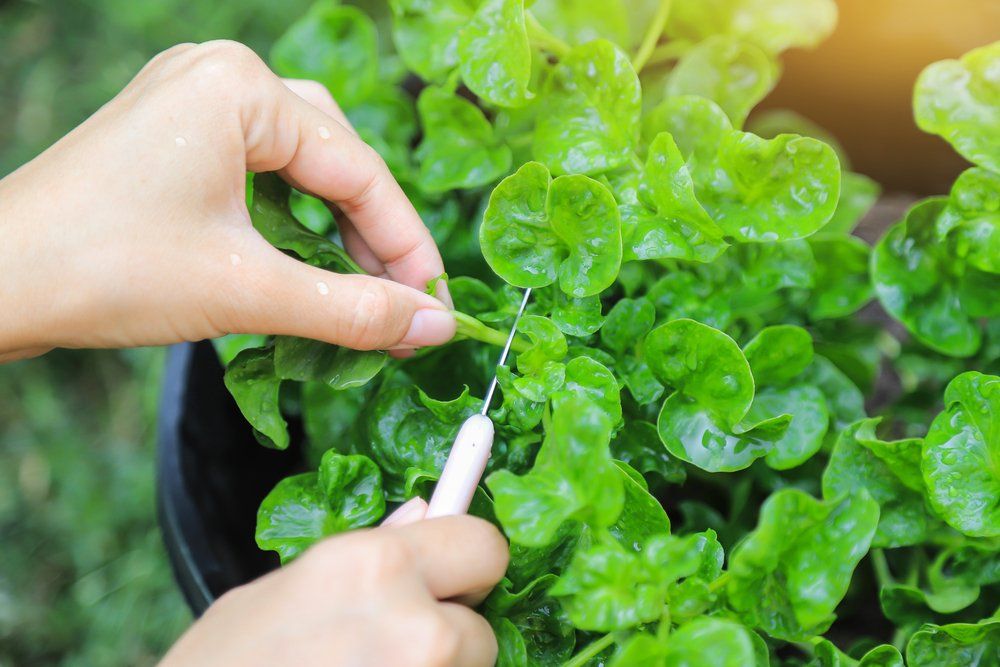
Harvesting watercress is easy. Simply grab a pair of sharp scissors and snip away as many leaves as you need. Once you’ve harvested from a plant, wait two or three days before taking another harvest from the same plant. This gives it enough time to produce some new growth.
How to Store Watercress
Watercress is best eaten fresh, but if you’ve picked more than you can eat in one sitting, extra leaves can be stored in the fridge for about five days.
To do this, fill a bowl with cold water and then place the watercress into this. The stems should be submerged but the leaves should be sitting just above the surface of the water. Cover the bowl with a plastic bag, and then just remove the bag and drain away the water when you’re ready to use the leaves.
If you’re looking for a long-term storage option, your watercress can be kept in the freezer for several months. The only downside to this is that the leaves turn quite soft and soggy once defrosted, so this is only a good storage method if you plan to cook or blend the leaves.
If you like to get creative in the kitchen, then consider dehydrating some of your watercress harvest. You don’t need a dehydrator, as you can use an oven instead. Although the drying process does destroy some of the nutrients in the leaves, the green powder that you end up with is still packed with vitamins and minerals and can be added to a wide range of dishes and baked foods.
How to Prepare & Cook Watercress
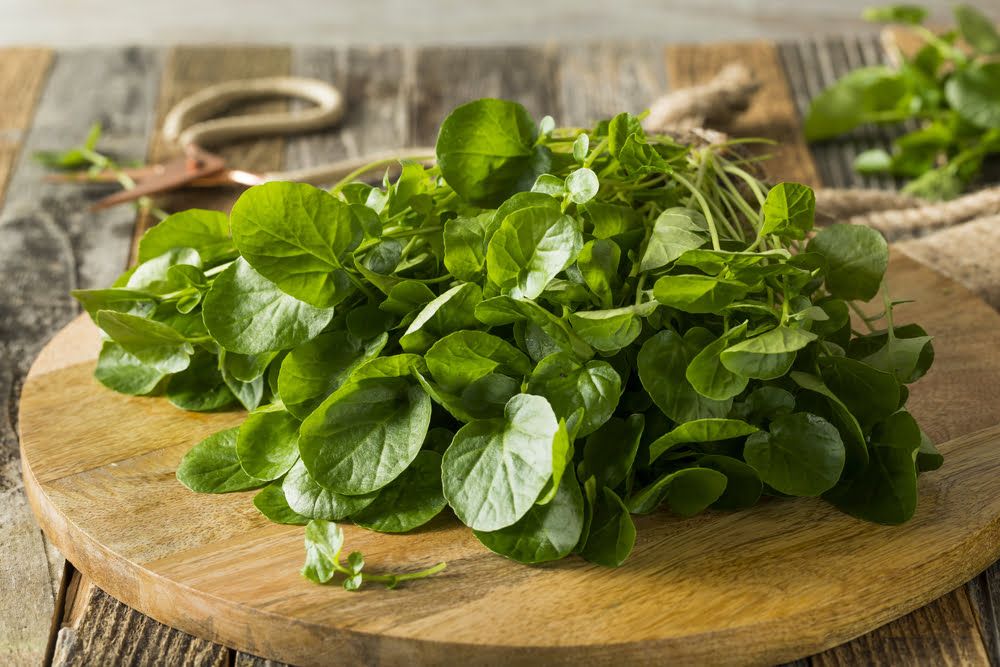
From the stems to the leaves to the flowers, the entire watercress plant is edible. That being said, the roots don’t taste great, so many choose to trim these off.
To do this, place your watercress onto a chopping board and cut off any thick roots. If you notice any stems that are thicker than the rest, give those a slice too. Then, put the watercress into a bowl of water to give it a wash, before draining it. If you notice any leaves that have yellowed or look especially limp, then remove those at this stage.
Watercress usually tastes best when eaten raw. Not only does this preserve its peppery flavour and crisp texture, but it also means that your body will have access to all of those nutrients, which are otherwise depleted through cooking. Those nutrients are nothing to be taken lightly – watercress is considered to be a superfood, containing more than 50 different vitamins and minerals. Gram for gram, it boasts more vitamin C than oranges, more calcium than milk, and more folate than bananas.
When it comes to using watercress in the kitchen, popular options are:
- In salads
- Blended into a smoothie or a soup
- Blitzed into a pesto
- Turned into a sauce
- Stir-fried with garlic
- As a base for a dip
Common Watercress Problems
Although usually resilient to most diseases, the vibrant green leaves of watercress make this plant highly attractive to a number of pests. Some of the most problematic are:
- Flea beetles – these pests are particularly prevalent in April and July, and will chew large holes through your watercress leaves. Submerging your plants in water for two hours will destroy the beetles. Alternatively, plant some radishes nearby to draw the beetles away
- Aphids – these pests cause the most damage during the summer months, causing leaves to weaken, curl, and die. You’ll spot them clustering on the undersides of leaves, and a strong jet of water is often enough to dislodge them. If this fails, consider a neem oil or garlic spray
- Slugs and snails – these pests also chew large holes through leaves, leaving behind a tell-tale silvery slime. Visit your plants after dark and you may be able to pick all of the slugs and snails off. Alternatively, place some beer traps around your watercress plants
Popular Watercress Varieties to Grow
There’s really only one variety of true watercress, and this is known as nasturtium officinale. However, watercress has a few relatives that offer similar benefits when it comes to ease of growth and culinary potential, such as:
- Korean watercress – very crunchy with leaves that are more bitter in flavour
- Upland cress – similar in flavour to watercress, but with leaves that are smaller and almost square in shape
- Garden cress – very similar in all ways to watercress – the two can be used interchangeably
Conclusion
Once you’ve managed to establish a few watercress plants in your garden, you likely won’t need to plant anymore. Every part of the plant, even a single leaf, quickly produces roots to grow from, so expect to see new watercress plants appearing in your garden each year. Considering how tasty and nutrient-dense these peppery leaves are, not many gardeners turn down this opportunistic food source – after all, it doesn’t get much better than an edible plant that can be harvested every few days throughout the year!