Those who live in cooler parts of the world tend to associate melons with the tropics, meaning that this isn’t a fruit that they would even attempt to grow. Instead, they resign themselves to paying high prices for melons that have been flown in from the other side of the world. Compared to the dripping juiciness of perfectly-ripe, freshly-picked melons, those commercially-grown alternatives are lacking in every way.
Don’t worry, you won’t need to take a trip abroad to taste a fresh melon for yourself. With so many new varieties now available, even those who live in colder regions are able to grow melons at home. Yes, they do require a bit of attention, but that’s more than worth it for what will soon become your favourite crop in your garden.
Growing Melons: A Quick Snapshot
When to Sow – Apr-May
When to Plant – May-Jun
When to Harvest – Aug-Oct
Average Yield per Plant – 4-10kg
Spacing – 90cm
Depth – 1.5cm
How to Grow Melons at Home
Melons are vigorous climbing plants that not only produce delicious fruits, but also look very decorative when trained up a trellis.
If you live in the tropics or subtropics, then you’re in luck – your climate is perfect for growing melons outdoors. However, the fruits can also be successfully grown in colder regions. So long as they have some protection and their growing requirements are met, you can expect to be harvesting two to four melons per plant at the end of your growing season.
Growing Requirements for Melons
Along with their love of heat comes their need for sun. The sun is what triggers melons into developing their natural sugars, giving them an intense sweetness. While a little afternoon shade will be tolerated in hot climates, too much shade will not only result in fewer fruits, but they’ll also each be smaller in size.
Being a tropical plant, melons also need a relatively humid environment. Many gardeners often plant their melons in or near a compost heap, as this will both generate heat and raise humidity.
In terms of soil, aim for a well-draining mix that’s rich yet light. Adding compost or well-rotted manure to your soil, along with a helping of sand, should provide ideal conditions.
It’s also worth testing the pH of your soil before planting out your melons. They need a pH of 6-6.5 – anything lower than this will result in yellowing foliage and few fruits.
How to Grow Melons from Seed
It’s important not to sow melon seeds too early in the year. While they do require plenty of time to grow, they also need the sun and heat. They can’t be planted out until soil temperatures have warmed up, so wait until mid to late spring before sowing your seeds.
How to Sow Melon Seeds:
- Fill small 7cm pots with a multi-purpose compost
- Water the compost well, making sure that excess water is able to drain freely from the pots
- Make a small indentation in each pot, about 1.5cm deep
- Place two melon seeds into each indentation, positioning them so that they’re sat on their sides
- Cover the seeds over with compost and lightly press down to ensure that the entire seed is in contact with the soil
- Water lightly again and then place your pots on a sunny windowsill or in a heated propagator. Germination rates will be best if you can give your melon seeds temperatures between 20-23ºC
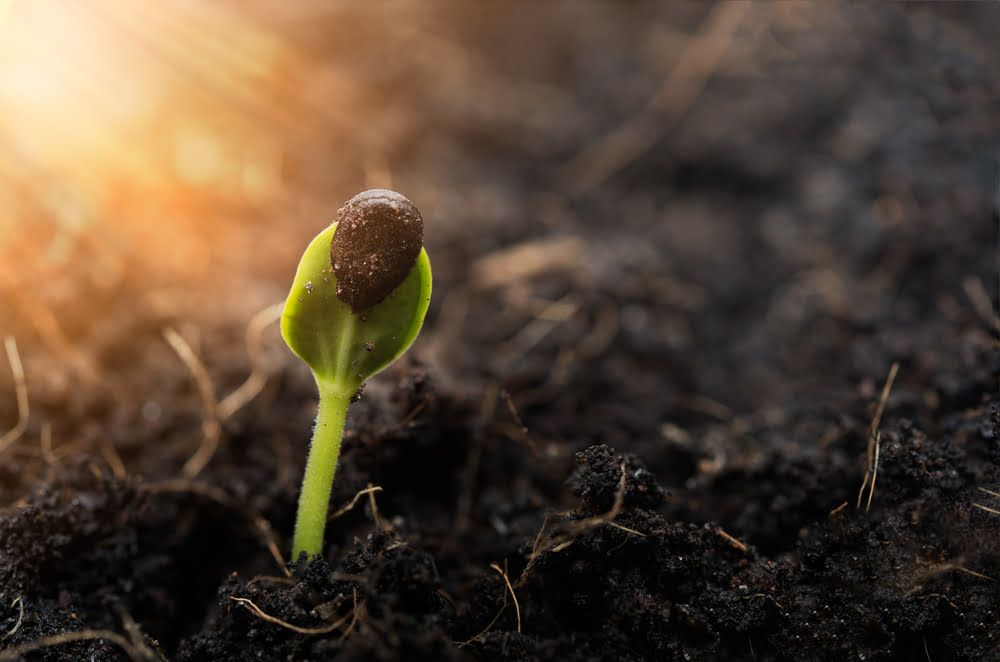
Melons germinate quickly – expect to see seedlings in 4-10 days. Once you do, give them a week to grow before snipping away the weaker seedling from each pot. You’ll need to keep your melon plants indoors until they have about three or four true leaves. If your seedlings outgrow the pots that they’re in before this time, then transplant them into a larger container.
How to Plant Melons Outside
You need outdoor soil temperatures to be a consistent 18ºC before planting your melons out. The plants will tolerate slightly cooler conditions at night, but not by much.
Even then, you’ll need to harden your plants off for a couple of weeks before moving them outside permanently. If the weather has been particularly cool that spring, you may want to cover your growing area with a black plastic membrane to heat the soil up before planting. This will also help to kill off any weeds that may have popped up.
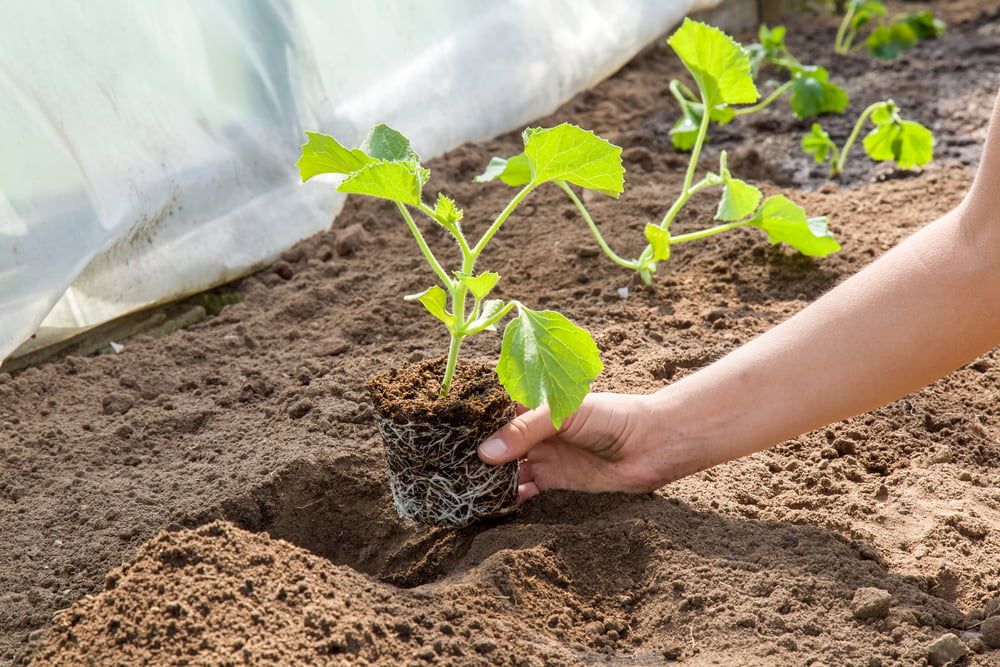
Once you’re ready to get planting, dig a hole for each of your melon plants. Try to make each hole just slightly larger than the pot that your seedlings are currently in, and space them 90cm apart. You may be able to get away with a smaller spacing if you plan on training your melons to grow vertically.
At this stage, it can also be useful to add a granular, general-purpose fertiliser into each planting hole. Melons are hungry plants, and this will give them a good boost to get started with.
Place each seedling into a hole, keeping the top of the root ball at the same level as the surface of the soil. Cover the roots back over with soil and firm down gently, before watering your plants.
How to Plant Melons in a Greenhouse
If you live in a cooler region and have a greenhouse or a polytunnel, then it would be advisable to plant your melons in here, rather than outside. The more heat and humidity you can give your plants, the better.
Growing melons in a greenhouse will also give you access to the more tender varieties that would have struggled outdoors.
The planting methods are the same as when planting outside, although there’s a bigger chance that you’ll need to set up a trellis or support system. If not, your melon plants will sprawl all over your greenhouse beds, smothering out your other plants.
If your greenhouse beds aren’t deep enough for melons (the roots stretch down for about 25cm), then consider growing your plants in deep pots instead. Many find that restricting the roots by growing them in a pot helps to improve flowering, and therefore fruiting.
How to Care for Melons
Although not a high-maintenance plant, melons do require a certain amount of care, especially if you want the fruits to ripen in a shorter growing season.
Watering Melons
Melons need a fair bit of water as they grow – aim for about 5cm of water a week. When watering your plants, try to keep the leaves as dry as possible. Instead, aim the water at the soil around the roots. Wet foliage is much more susceptible to developing diseases.
Once the melons on your plants have started to ripen, you can cut back on watering. This will help to speed up the ripening process.
Feeding Melons
While adding a general-purpose fertiliser to your planting holes will give your melons a good start, these are hungry plants that will need more than that. To start with, use a nitrogen-rich fertiliser. Then, once the fruits on your plants are about the size of a walnut, switch to a fertiliser that’s high in potassium and phosphorus. Apply this once a week, but then stop feeding your plants once the fruits begin to ripen.
Pinching Out the Growing Tips
Some gardeners pinch out the growing tips of their melon plants, just above the fifth leaf, to encourage the production of side shoots. Others don’t, and the difference in growth isn’t usually noticeable. If you would like to experiment with this for yourself, consider pinching out the growing tips of half of your melon plants, leaving the others as they are, so that you can see how this method works for you.
Supporting the Fruits
As the fruits on your plants grow, they’ll become quite heavy. This can sometimes drag the entire plant down if it’s growing vertically, unless you’re able to support the individual fruits. Nets are a great way to do this, since they still allow for good air circulation. You can also use old fabric to create a sling for each fruit, tying this to the support system you’re using.
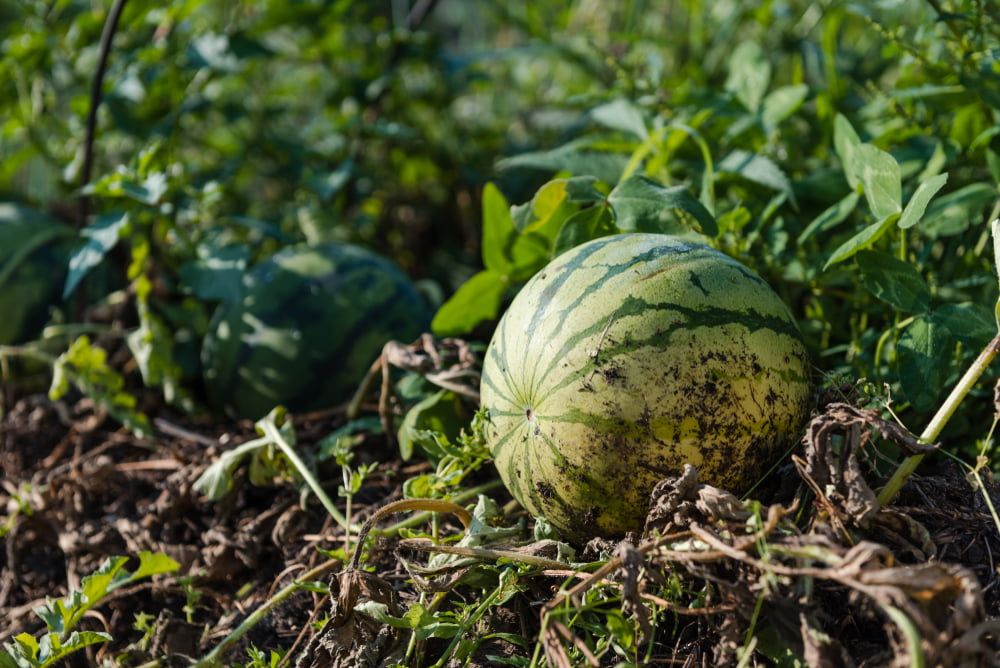
If your plants are sprawling along the ground, then make sure that you lift any ripening fruits so that they’re not touching the soil. Simply place a small piece of scrap wood underneath each fruit to raise it up.
Weeding and Mulching Melons
It’s important to keep the soil around your melon plants as weed-free as possible. However, melons have quite shallow roots, so be careful not to disturb these when weeding around your plants.
Mulching your plants will help to suppress the weeds. However, don’t apply a mulch until your soil has warmed up to over 20°C, otherwise your mulch will trap in the cooler air, rather than keeping your plants warm.
How to Harvest Melons
It’s a little tricky to tell when melons are ready to be harvested, since different varieties display their own characteristics. However, whichever variety you’re growing, you’ll notice that ripe melons start to emit a sweet, melon-like scent – this is a sign that they’re ready to be picked.
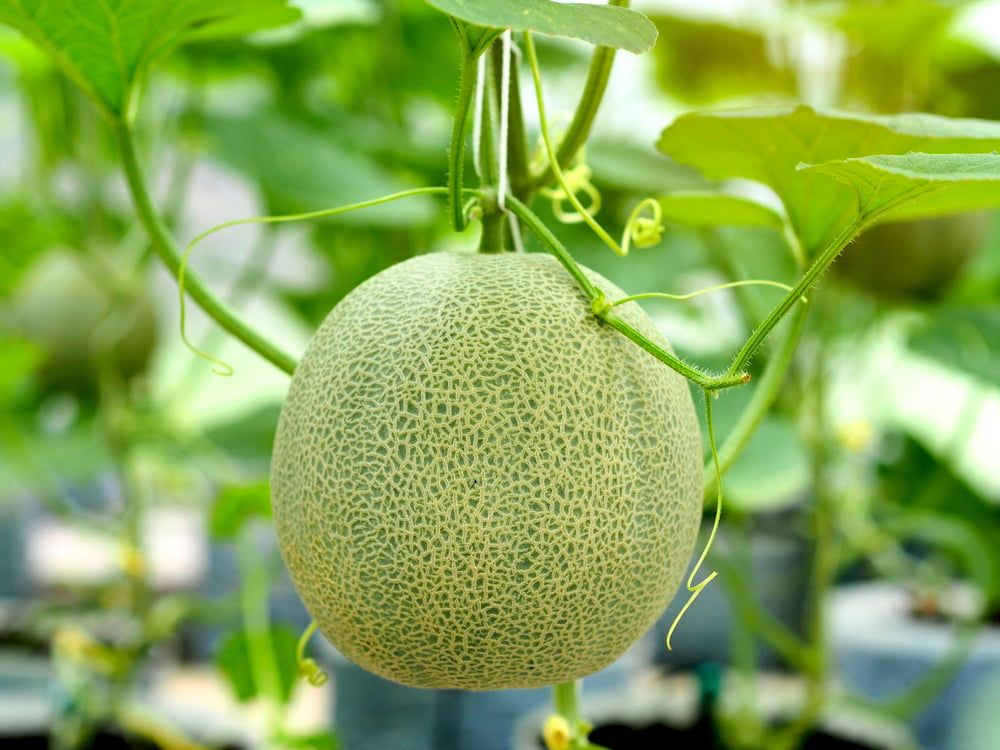
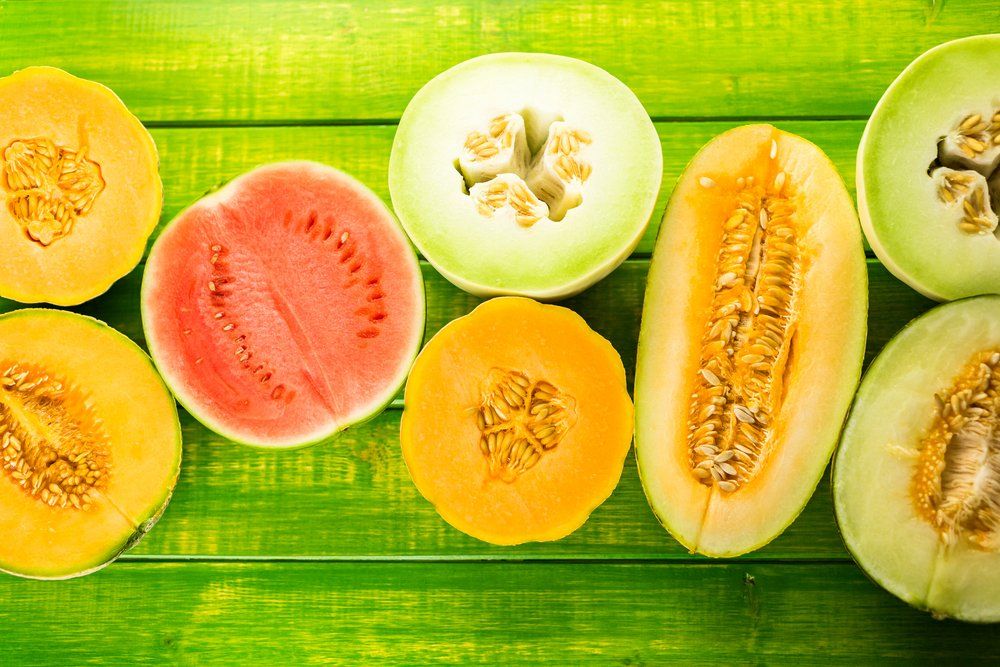
If you’re growing a variety that has a netted skin, such as the cantaloupe, the texture of the skin should turn quite rough and coarse as harvesting time approaches. Give the fruit a gentle twist – if it comes away from the vine easily, then this means that it’s perfectly ripe.
Smooth-skinned melons, such as the honeydew or the watermelon, will also feel rougher to the touch when ripe. Any leaves that are near the fruit will start to turn yellow, as will the bottom of the melon. These varieties can’t be twisted off – you’ll need to cut them away at the stem.
How to Store Melons
Some melon varieties store much better than others. So, if storage is your aim, make sure that you grow varieties that are suitable for this.
Whole melons can be placed into the fridge for short-term storage. Smooth-skinned melons will only keep for a couple of days like this, whereas coarse-skinned melons will store for about a week.
For long-term storage, your best option would be to freeze your harvest. Peel and dice your melons and then place them into an air-tight bag. They’ll last for at least one year in the freezer, although keep in mind that their texture will be very soft once defrosted.
How to Prepare & Cook Melons
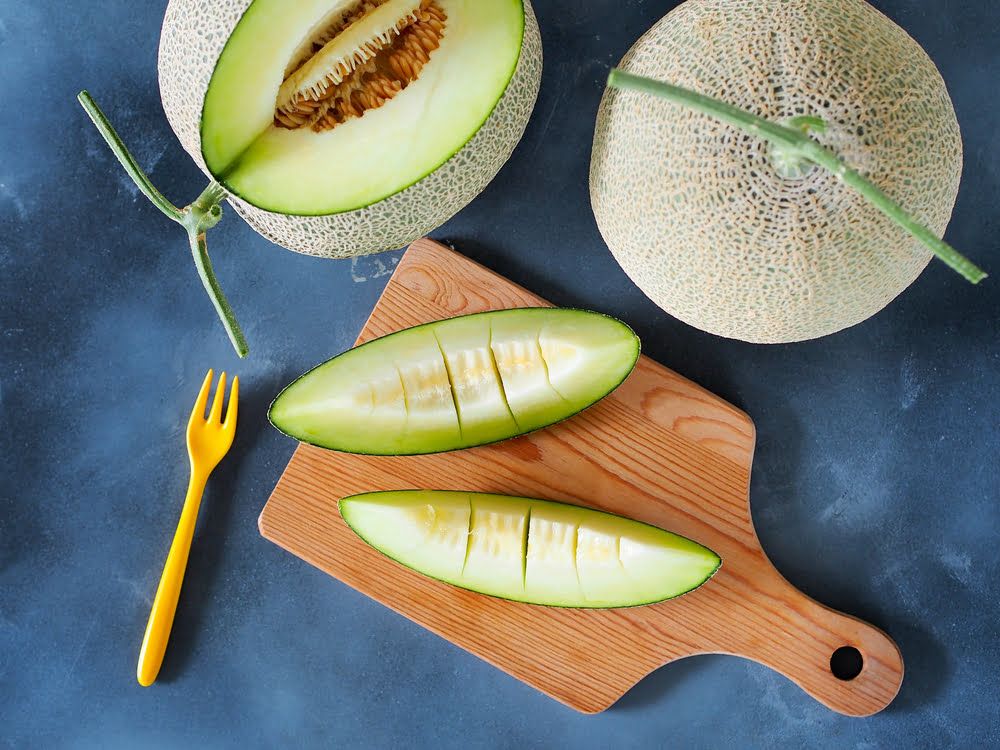
With their hard and tough skins, melons may look as though they’re difficult to prepare, but they’re actually very easy. Start by cutting off the skin. Then, slice your melon in half and scoop out the seeds (save these for drying if you want to sow them next year). Then, either dice the fruit up or slice it into wedges.
Melons are usually eaten raw. This is the best way to enjoy their delicious sweetness. However, in addition to snacking on fresh melon wedges throughout the day, you could also serve the fruit up in the following ways:
- A melon Caprese salad
- A melon salsa
- Pickled melon rind
- Char-grilled melon served with prosciutto
- Melon gazpacho
- Melon sorbet
- Melon juices and smoothies
Common Melon Problems
Unfortunately, there are several issues that you could encounter when growing melons, making it important to stay vigilant and regularly check on your plants. Some of the most common problems are:
- Red spider mite – this is a common pest when melons are grown in greenhouses. Increasing humidity will help to deter them, or you could also give your plants a strong spray of calcium-free water to dislodge them. Avoid using pesticides – this will not only kill the pest’s natural predators, but the mites will likely just move on to nearby plants instead
- Downy mildew – this water mould grows in humid conditions, which is what you need for your melons. Improving air circulation can help, as can a copper fungicide spray
- Not many fruits – if your melon plants don’t seem to be producing many fruits, this is usually down to growing conditions. Whether it may be excess heat, inconsistent watering, a lack of pollination, or cloudy weather, try to improve overall growing conditions to encourage fruiting and go for a more adaptable variety in the future
Popular Melon Varieties to Grow
If you live in a cooler climate, then you’ll need to opt for varieties that have a growing season of under 90 days. This is to ensure that the fruit ripens before the weather cools down in the autumn. Some of the best options are:
- Sweet Granite – a cantaloupe variety that was bred for cooler conditions. It matures in just 70 days
- Sugar Baby – a sweet watermelon that will be ready to pick in just 79 days
- Green Nutmeg – a heritage melon variety that ripens in about 80 days
- Golden Midget – a pink watermelon with skin that turns yellow when ripe, which happens in about 75 days
- Sweet Siberian – a cold-hardy watermelon that ripens in 80 days
Conclusion
Although melon plants may require a little more work than the other fruits growing in your garden, they’ll most probably be the sweetest and juiciest crop that you harvest. Nothing beats the taste of a ripe, freshly-picked melon – something that you’ll only be able to experience when you grow the fruits yourself at home!
