Just about every household has a jar of mustard in the kitchen – it’s one of the most-loved condiments in the world. Mustard seeds themselves are also a popular spice in so many cuisines. While jars of mustard and packets of culinary mustard seeds are easy to come by, nothing quite beats the satisfaction of growing your own. What makes the mustard plant even more rewarding to grow is the fact that its leaves are edible too – they’re deliciously punchy and peppery, just like the condiment itself.
Growing Mustard: A Quick Snapshot
When to Sow – Apr-Sep
When to Plant – May-Sep
When to Harvest – May-Nov
Average Yield per Plant – 200g of leaves/30-40g of seeds
Spacing – 15-20cm
Depth – 2cm
How to Grow Mustard at Home
Mustard is a cool season crop, making it a great one to grow in the spring and summer. It’s an easy crop to cultivate – it isn’t fussy about growing conditions and doesn’t require much care. Give it the basics and you’ll be harvesting from your plants in just a couple of months time.
Growing Requirements for Mustard
Although mustard does best in cooler temperatures, it needs lots of sun to thrive. Ideally, grow your plants somewhere where they’ll receive full sun or partial shade.
Mustard will grow in just about every soil type. However, for the biggest yields, give your plants a rich and well-drained growing area. This not only improves production, but it will also give you tastier leaves and seeds.
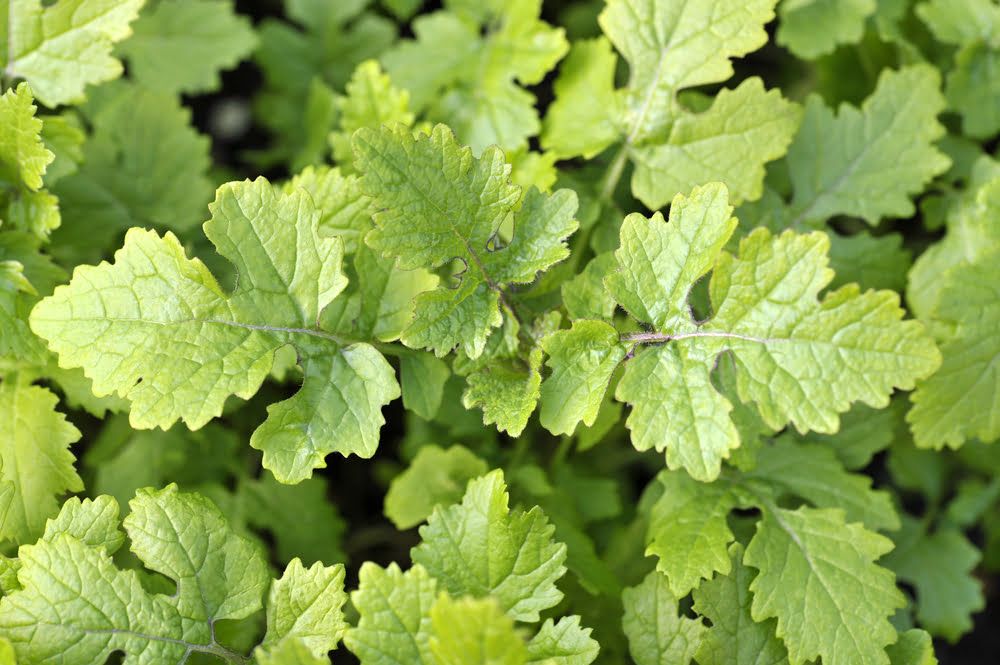
In terms of size, mustard plants grow to around a metre or two in height. However, this varies depending on variety – you’ll find some that soar much higher, especially once they’ve flowered, but there are also dwarf varieties available.
One final point to keep in mind is that mustard is a member of the brassica family. If you practice crop rotation in your garden, you’ll need to avoid planting mustard anywhere that previously housed another brassica.
How to Grow Mustard from Seed
Mustard is extremely easy to grow from seed. If you were to simply throw some seeds down and then forget about them for a couple of months, you’d still end up with mustard plants to harvest. However, do things this way and yields won’t be great. Just like with every other plant, mustard does much better when given proper care.
Since it grows so quickly, mustard is commonly direct sown outdoors. However, for an earlier harvest, start your plants in modules indoors before moving them outside once you’ve had your last frost.
How to Sow Mustard Seeds in Modules:
- Fill modules with a multi-purpose compost
- Water your modules well, making sure that excess water is freely draining from the drainage holes in your modules
- Make small indentations in each module, about 1cm deep
- Sow 5-6 seeds into each module and then cover them back over with soil
- Water lightly again and then place your trays somewhere cool but protected. Mustard doesn’t need heat to germinate – ideal germination temperatures are between 7-8°C
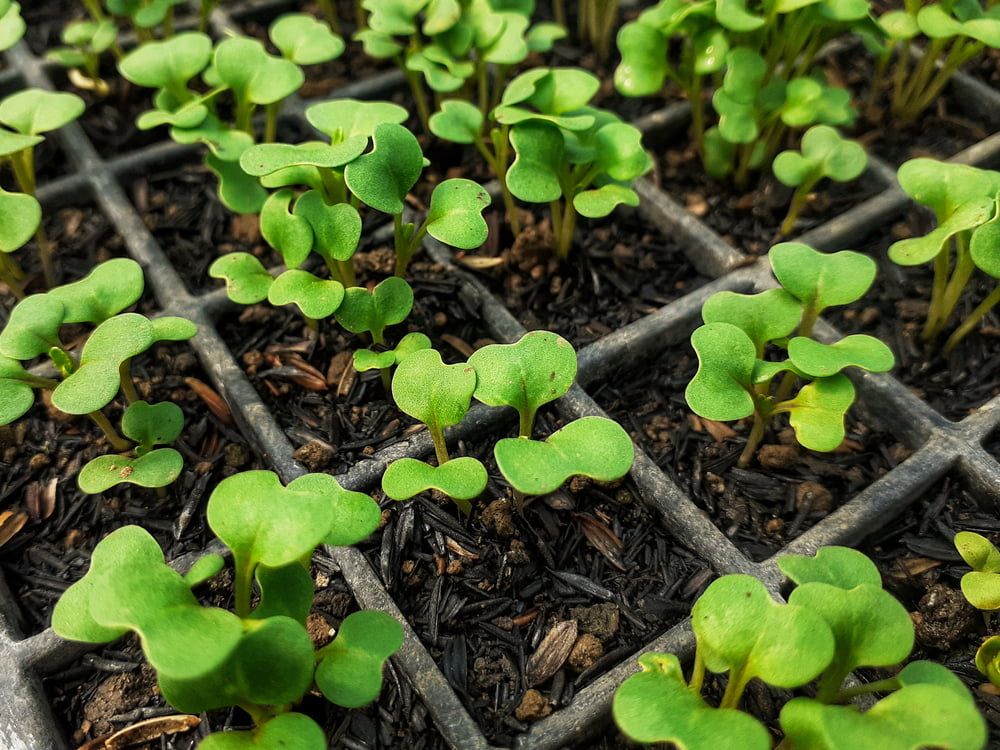
Mustard germinates quickly – expect to see seedlings in about a week. Once they emerge, move your modules somewhere sunny, and keep your seedlings moist. After a week or so, thin your seedlings out so that there are just 2-4 seedlings in each module.
How to Direct Sow Mustard Seeds:
- Use a trowel to create a 1cm deep groove in the soil
- Lightly sprinkle mustard seeds along the groove
- Cover the seeds back over with soil and give the ground some water
After a week or so, your mustard seeds will germinate. Give them a few days to grow before thinning them out, leaving 15-20cm of space between each plant (ideal spacing will depend on the variety that you’re growing).
How to Plant Mustard Outside
Once you’ve had your last spring frost, you can plant your mustard seedlings outside. Although they’re tolerant of cool temperatures, harden them off for a week or so before transplanting. This will help them to establish faster once they’re in the ground.
When you’re ready to start planting, dig small holes in the ground. They only need to be slightly wider and deeper than the root balls of your seedlings. Space each hole 15-20cm apart. The more space you give your plants, the larger and bushier they’ll be able to grow.
Place your seedlings into their new homes, cover over with soil, and firm down. Then, give them some water.
How to Plant Mustard in a Greenhouse
Mustard doesn’t do well in warm temperatures. This will cause the plant to bolt, meaning that it’ll start to flower and produce seeds earlier than it should. You may think that this is beneficial if mustard seeds are your aim, but seeds collected from plants that have bolted early will be lacking in flavour. Yields will also be significantly smaller.
However, that’s not to say that mustard can’t be grown in a greenhouse – you just need to time things right. Use your greenhouse to grow an early spring crop of mustard, as well as a later crop that you can harvest greens from well into the winter. If you live in a mild area and can keep your greenhouse frost-free, then you may even be able to grow mustard plants year-round.
Another option would be to grow your mustard in containers. This way, you can start them off in a greenhouse before moving them outside when temperatures start to rise. The size of the pot that you use will dictate how large your plants grow. If baby mustard leaves are what you want, a smaller container will work well. However, if you want large, full-sized leaves, as well as a good crop of seeds, go for pots that are at least 15cm deep.
How to Care for Mustard
You’ll be happy to know that mustard requires very little care – it’ll be one of the lowest maintenance crops in your garden. That said, if you’re hoping for maximum yields, make sure that your plants are receiving the basics:
Watering Mustard
The soil that your mustard plants are growing in should never be allowed to dry out. If this happens, it will greatly impact the flavour of your plants, and will also cause them to bolt.
Ideally, your plants should be receiving about 5cm of water a week. Since you’ll likely be growing mustard during the cooler months of the year, rainfall will often provide enough. However, if you experience a dry spell, manual watering is a must.
Feeding Mustard
Mustard grown for leaves doesn’t require any fertiliser. In fact, mustard plants are often used as a green manure because they’re able to draw nutrients up from deep within the soil.
However, if you’re planning on harvesting seeds, then give your plants a feed of a balanced fertiliser once they’re about 10cm tall. Again, this isn’t strictly necessary, especially if your plants are growing in good quality soil, but it will help to maximise yields.
Weeding Mustard
You’ll need to keep your mustard growing area weed-free for the first couple of weeks. However, after this, your plants should be able to fend for themselves. Mustard foliage is large enough to smother out any weeds that emerge around the plants, meaning that manual weeding isn’t usually needed. This is something else that makes mustard such a great green manure crop.
How to Harvest Mustard
Mustard is a fast-grower. You should have baby leaves ready for harvesting just four or five weeks after your seeds have germinated. If you’re growing your plants for seeds, you’ll need to wait a little longer.
Harvesting Mustard Leaves
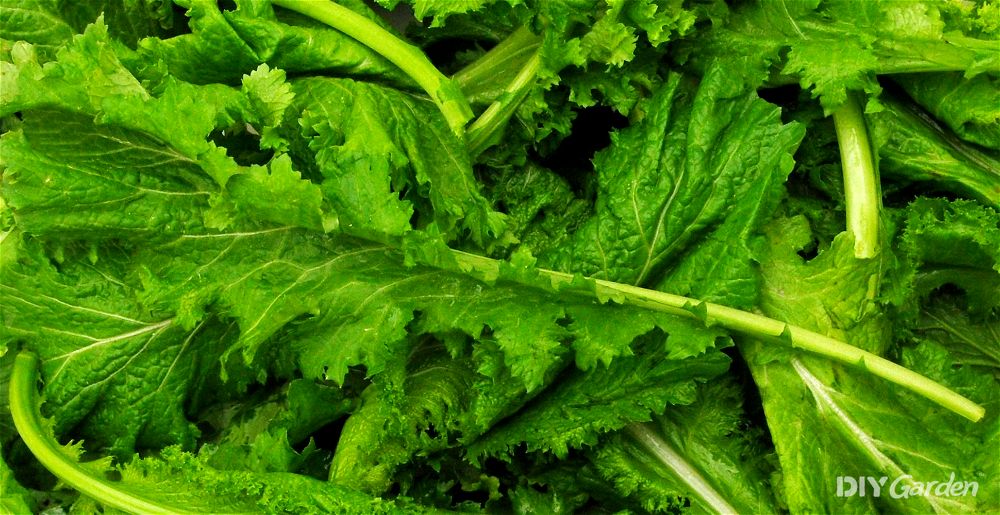
Mustard leaves can be harvested as and when they’re needed. Simply pick off individual leaves. The smaller the leaves are, the more tender they’ll be when eaten raw, although larger leaves are better for cooking with.
If you’re not interested in harvesting any seeds, then you’ll need to do a final leaf harvest once your plants start flowering. Either strip all of the leaves off the plant, or cut the entire plant off at its base.
Harvesting Mustard Seeds
Even if you’re primarily growing your mustard plants for seeds, you can still harvest their leaves. However, be careful not to over-pick the leaves – the plants will need some to produce a good crop of seeds.
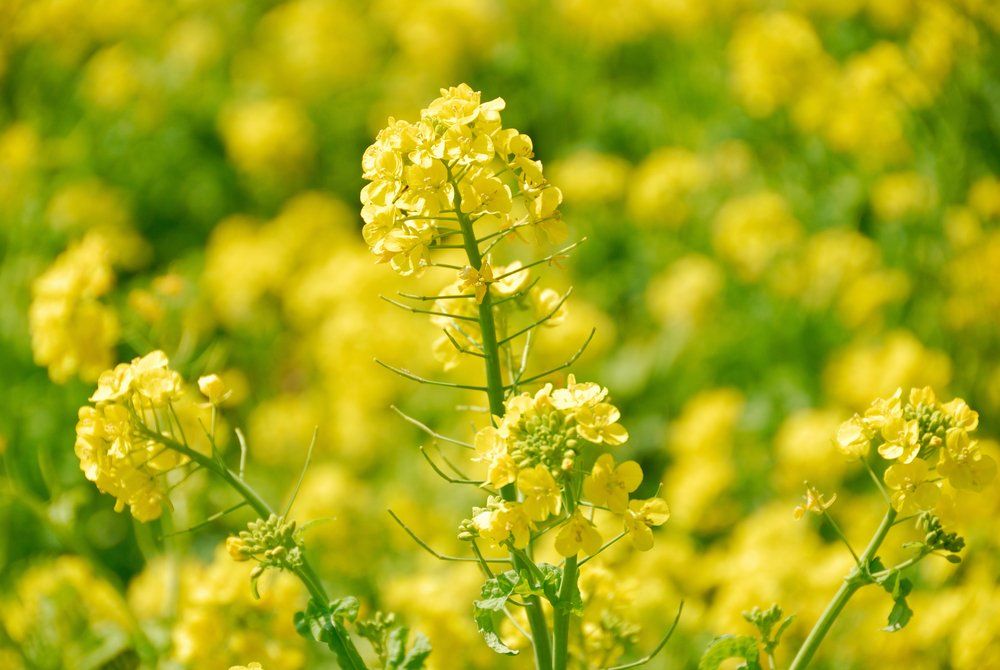
To harvest the seeds, you’ll need to wait for your plants to flower. As these flowers die back, seed pods will take their place. The seed pods start off green and then slowly ripen to a light brown colour. Once they’re brown, this means that they’re fully dried, but, ideally, you should harvest them just before. As soon as the pods have dried on the plant, they’ll split open and scatter their seeds, leaving you with none to harvest.
So, start picking pods while they’re still green, but have a brown tinge. Place the pods into a paper bag and store them somewhere cool, dark, and dry for two weeks, so that they can finish ripening.
After this, the pods should open up on their own. If they don’t, lightly squeeze the bag to encourage the pods to release their seeds. Then, separate the seeds from the pods, removing any other plant debris that you come across.
How to Store Mustard
Your storage options will vary depending on whether you’ve harvested mustard greens or mustard seeds:
Storing Mustard Greens
Mustard greens are best eaten fresh. However, they’ll also keep for a few days in the fridge, so long as you place them into an airtight bag.
For long-term storage of leaves, freezing is your best option. The leaves will need to be blanched first, after which they can be placed into airtight bags and then frozen. Alternatively, blanch them and then flash freeze them on a tray, before placing them all into a bag. This will freeze each leaf individually, rather than in a large clump, which makes them easier to use in small quantities.
Storing Mustard Seeds
Since you’ve already dried your mustard seeds, they’re ready to be stored. Simply place them into a dark, airtight container and they’ll keep for a couple of years.
How to Prepare & Cook Mustard
Mustard greens and mustard seeds are used in the kitchen in very different ways. While mustard leaves are treated as a leafy green, mustard seeds are used as a spice.
Preparing & Cooking Mustard Greens
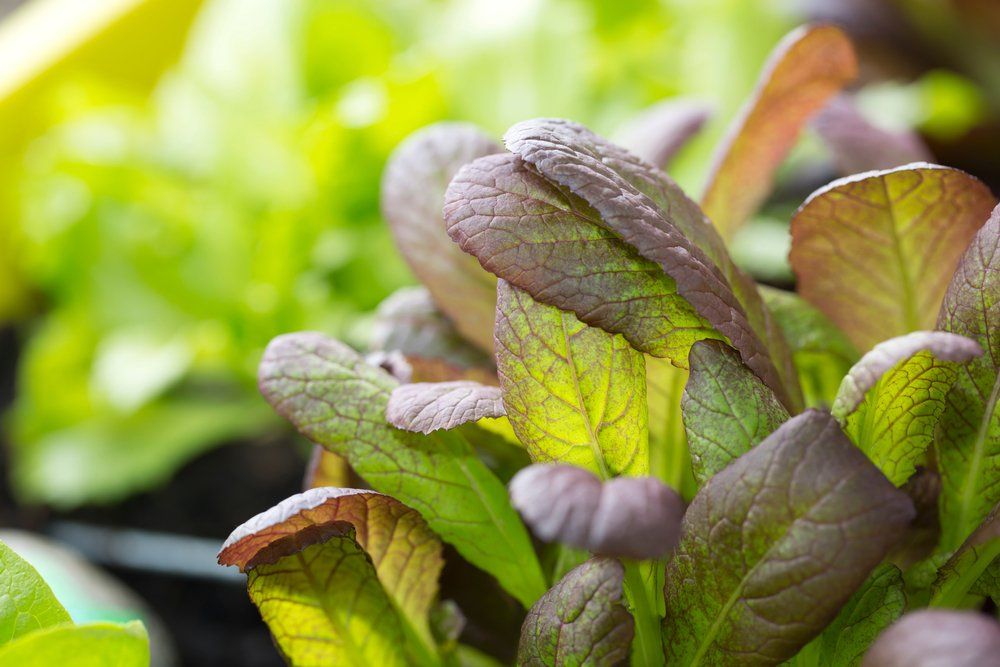
Preparation is simple – wash and dry your mustard leaves and they’re good to go. Young mustard leaves are a great salad ingredient, and can also be used as a peppery garnish on just about everything.
Larger and older leaves will need to be cooked. They can be treated just like any other leafy green, making them incredibly versatile. Some of the dishes in which mustard greens really excel are:
- Sautéed mustard greens with garlic and lemon (the lemon helps to remove any bitterness)
- A creamy mustard greens casserole
- Mustard greens in a frittata
- Stir-fried with ginger and soy sauce
- Cooked into a curry or a stew
Preparing & Cooking Mustard Seeds
Mustard seeds are a fantastic spice. Toast them whole and then use them in curries and stir fries, or try using them when pickling for a punchy finish.
You could also use your homegrown mustard seeds to create the classic condiment itself:
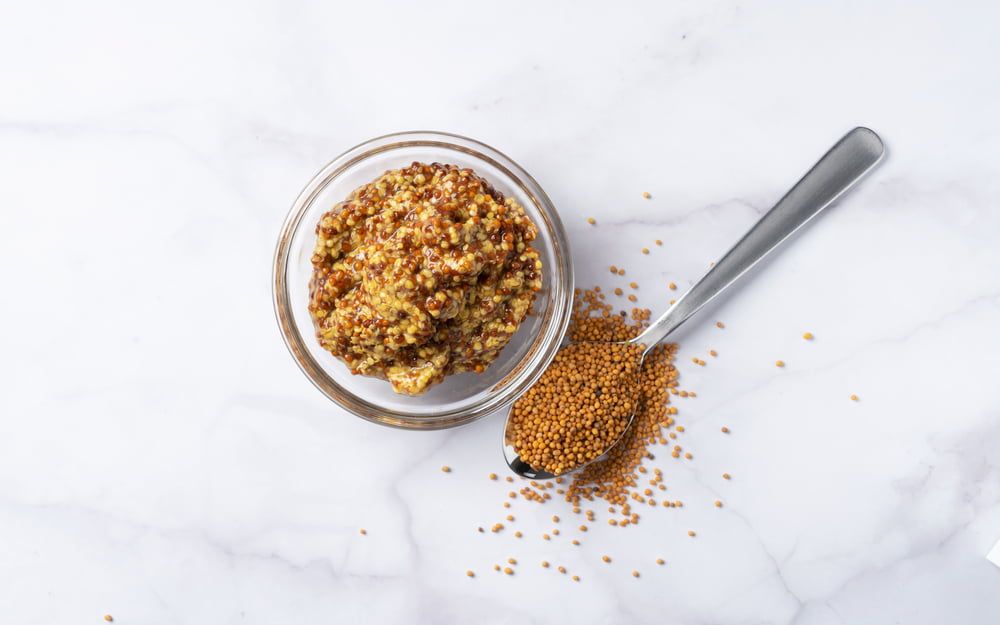
Making Mustard
You’ll need to first grind your seeds into a powder (which is also worth storing to use in spice rubs), before mixing the powder with a few other spices. Cook your concoction in water, add a bit of vinegar, and your homemade mustard will soon be ready. There are plenty of recipes out there, each one putting its own unique spin on this traditional classic.
Generally, the darker the seeds, the spicier the mustard.
Common Mustard Problems
Unlike most of the other brassicas out there, mustard doesn’t have many pests and diseases to deal with. In fact, the plants are often used to repel certain pests. That said, you’ll still need to keep an eye out for the following issues:
- Slugs – slugs love the taste of tender mustard seedlings and will quickly decimate young crops. There are many slug deterrents out there, such as beer traps or natural slug pellets.
- Flea beetles – this pest will leave round holes and shallow pits in the leaves and stems of your mustard plants. Small infestations can be knocked off with a jet of water from a hose, but there are organic remedies available for larger infestations. Covering your crops can also help to prevent damage.
- White rust – this disease starts as small white pustules on the undersides of leaves. They soon spread and join, creating larger lesions with white spores. There are no specific white rust treatments available, although treatments for downy mildew can sometimes work if applied early enough. Other than that, infected plants will need to be removed and destroyed.
Popular Mustard Varieties to Grow
There are several mustard varieties out there. Some are grown for their leaves while others are grown for their seeds, making it important to choose a variety that will provide what you need.
- Green Wave – primarily grown for its beautifully ruffled leaves that have a medium-hot flavour
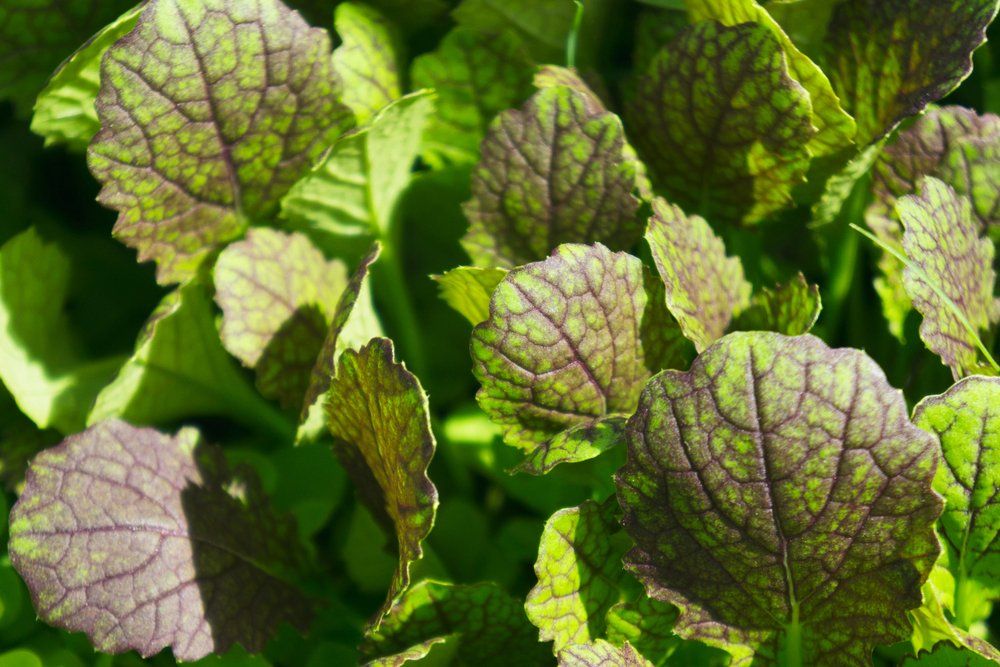
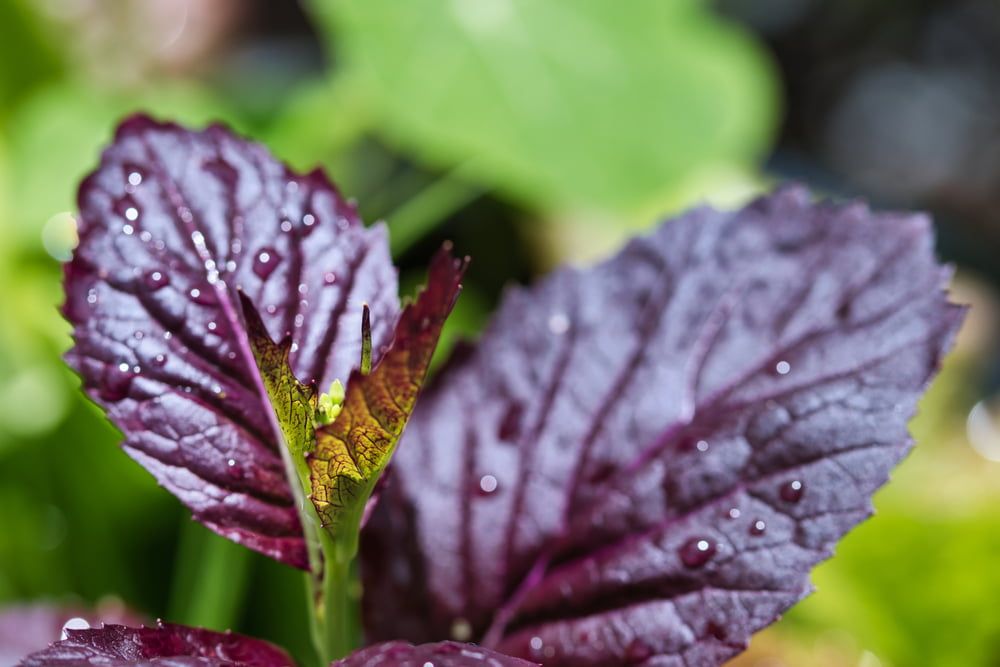
- Red Giant – a fast grower with spicy, ornamental red/purple leaves
- Tye Dye – has serrated, feathery leaves, making it a very ornamental plant
- Black Mustard – grown for its very dark coloured seeds that offer a strong flavour
- Yellow Mustard – another variety that’s grown for its seeds. These seeds are yellow in colour and milder in flavour
Conclusion
Mustard leaves and seeds are packed with nutrients and potent compounds, to the point where they were even heavily featured in traditional medicines. Even better, the plants are so easy to grow, and with so many varieties available offering ornamental properties, they’ll help to give your garden some extra colour and texture.