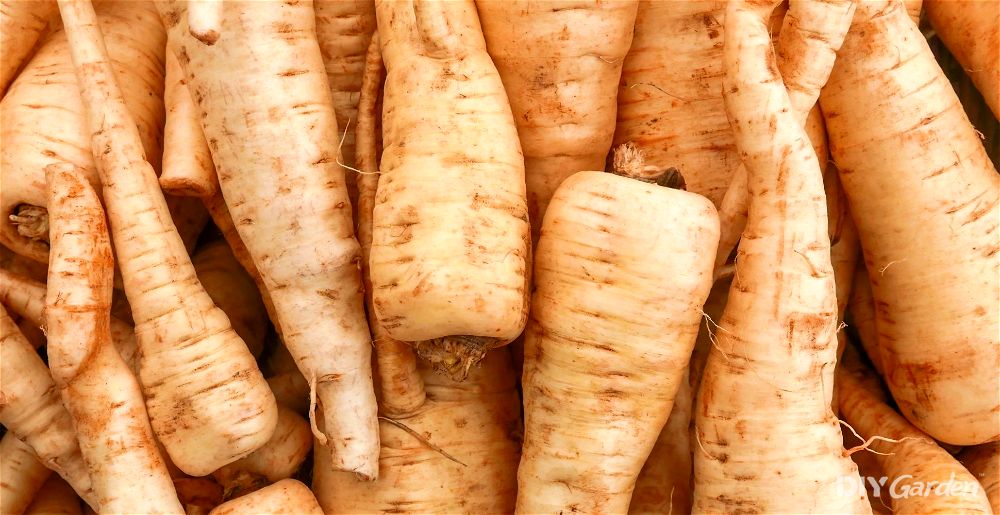
A deliciously sweet winter vegetable that can be harvested throughout the colder months, parsnips are not only versatile in the kitchen, but are also packed with several key nutrients. Even better, parsnips are an easy and low-maintenance vegetable to grow. While they do take their time to mature, the wait is more than worthwhile come autumn.
Growing Parsnips: A Quick Snapshot
When to Sow – Feb-May
When to Plant – Apr-Jun
When to Harvest – Sep-Feb
Average Yield per Plant – 150g
Spacing – 15-20cm
Depth – 1cm
How to Grow Parsnips at Home
Parsnips pretty much take care of themselves once they really get going. However, many gardeners often struggle to give them a good start, which is why you’ll often hear people talking about how challenging it is to grow parsnips.
Don’t worry, getting things right is easy. It all starts with making sure that you’re able to meet the plant’s growing requirements as closely as possible.
Growing Requirements for Parsnips
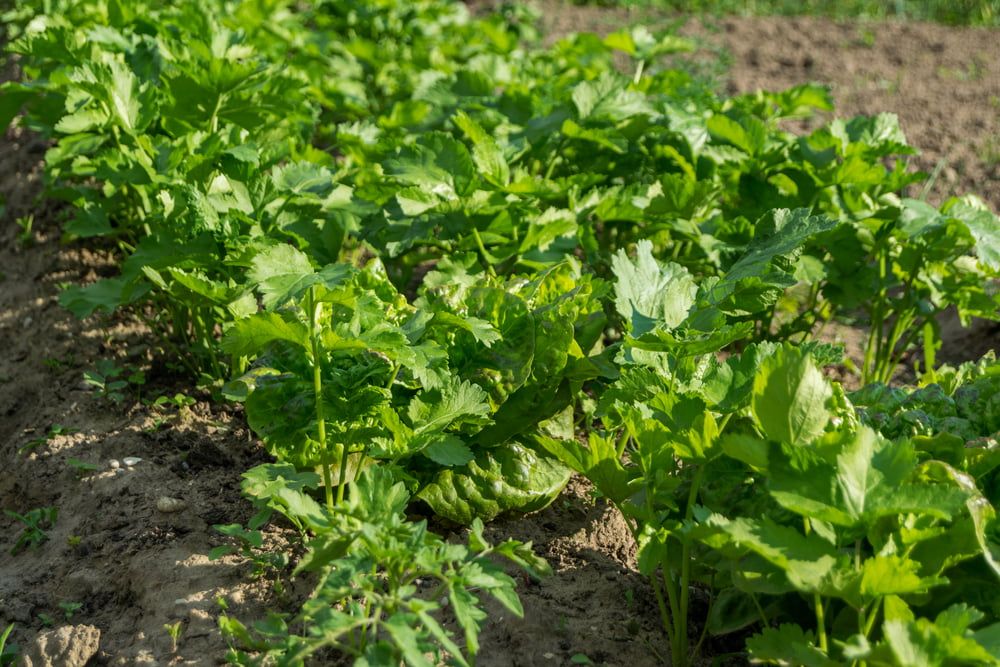
Parsnips grow best in full sun. They’ll tolerate partial shade to an extent, but this may mean smaller roots.
Pay attention to your soil too – this should be well-draining and full of organic material. Ideally, try to remove any large stones and other obstacles, as these can cause parsnip roots to fork. If your soil is full of stones, then it may be best to grow a parsnip variety with shorter roots.
How to Grow Parsnips from Seed
Many are tempted to start their parsnips as early in the year as possible, but February sowings often produce weak plants. Instead, practice some patience and wait until March or April – these plants will quickly catch up to any that were sown earlier, and will be healthier overall too.
Another thing to consider is the age of your seeds. While many vegetable seeds that are decades old still manage to sprout, parsnip seeds aren’t quite as long-lasting. Try to ensure that your seeds are as fresh as possible – even those that are only about a year old could still result in poor germination.
Chitting Parsnip Seeds
Although not strictly necessary, chitting, or pre-germinating, your parsnip seeds can really speed up the germination process. Here’s how to do that:
- Line a plastic container with a few layers of damp kitchen towel
- Thinly sprinkle your parsnip seeds over the top
- Place a lid on your container
- Store the container in a dark and warm location
- After about five days, start checking your seeds daily for signs of germination. As soon as sprouts appear, your chitted seeds will need to be sown immediately
How to Sow Parsnip Seeds Indoors
Most vegetables can be successfully started in trays or modules before being transplanted into the garden once they’re a little larger. However, parsnips are extremely susceptible to transplant shock. Even the smallest amount of root disturbance needs to be avoided, which is why most gardeners choose to direct sow their parsnip seeds.
Of course, if you’re determined to start your seeds off indoors, there are ways to get around the root disturbance issue. The most effective is by using toilet paper rolls:
- Pack your toilet paper rolls into a container or deep-sided tray
- Fill the rolls with damp compost
- Thinly sprinkle your parsnip seeds over the top of the compost. You’ll only need one seedling per roll and the tiny seeds can make accuracy difficult, but you can always thin out extra seedlings later on
- Cover the seeds with 1cm of damp compost
- Store the seeds somewhere warm in your home. Although parsnips can technically germinate at temperatures of just 2ºC, germination rates are best when the seeds are kept at around 18ºC
Your parsnip seeds could take up to 28 days to germinate, so be patient. Keep them moist during this time, as well as after they sprout. However, be careful not to over-water – not only could this cause your seedlings to rot, but it’ll also break the cardboard toilet paper rolls down before you’re able to plant them out.
How to Direct Sow Parsnip Seeds:
- Prepare your growing area by thoroughly weeding it and removing large stones from your soil
- Create shallow grooves in the ground, keeping your rows about 45cm apart. Remember that your seeds will only need to be about 1cm deep, so don’t dig big trenches!
- Lightly sow your seeds into the grooves you’ve created. Aim for one seed every 5cm or so
- Cover your seeds back over with soil and then give them some water
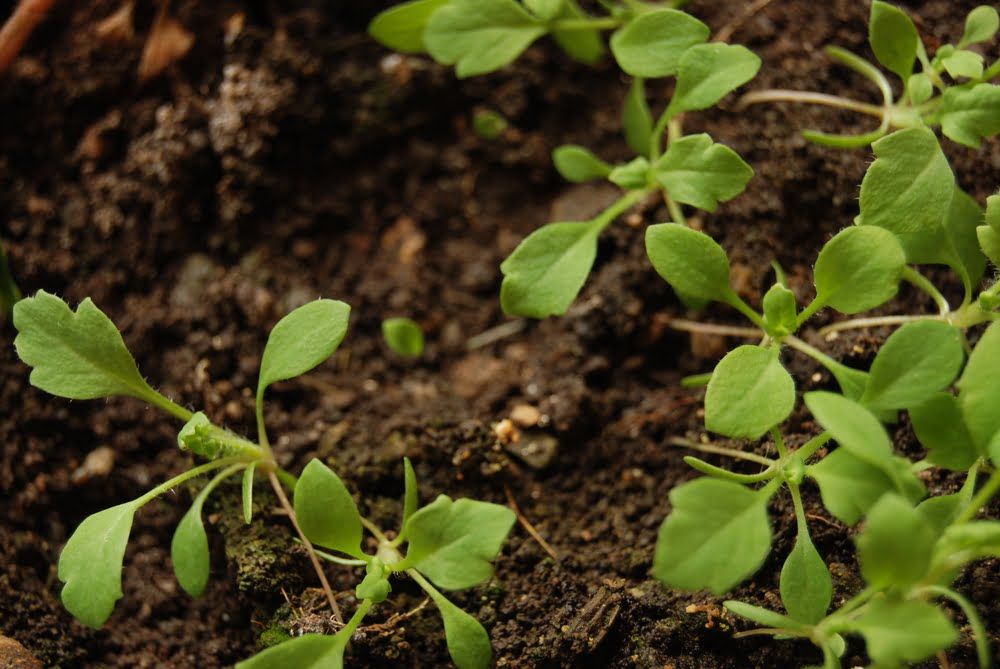
Once your seeds have germinated, you’ll need to thin the seedlings out. Leave about 15-20cm of space between each one.
How to Plant Parsnips Outside
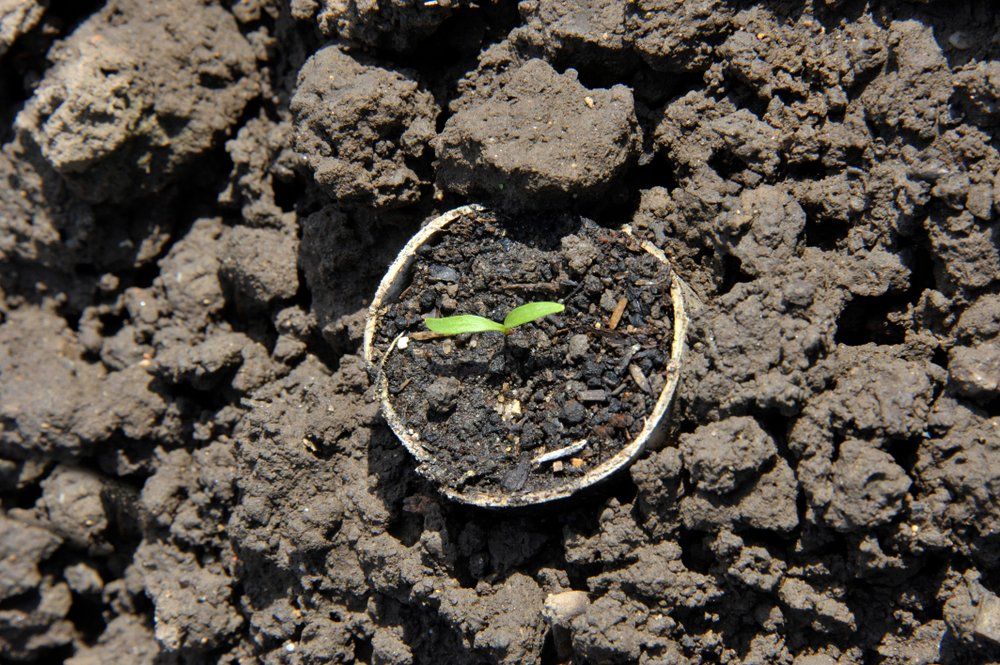
As soon as your indoor-sown parsnip seedlings start to produce their first true leaf, it’s time to plant them out. This is much earlier than with other vegetables, where you would usually wait until the seedling has a few sets of true leaves before transplanting. However, with parsnips, you need to get them into their permanent home before those roots reach the bottom of the compost in your toilet paper rolls, and they do grow surprisingly quickly.
Once you’ve prepared your growing area, dig holes that are slightly deeper than each toilet paper roll. Space each hole 15-20cm apart. Then, carefully place the rolls into each hole. Don’t remove the seedlings from the rolls – the rolls will soon break down in the soil, especially once the parsnips within start to swell. Cover the rolls back over with soil and firm down, before watering well.
How to Plant Parsnips in a Greenhouse
Parsnips usually taste better after the first frost in the autumn, which is why most gardeners grow them outside. However, if you live in a cold region and have an unheated greenhouse that frosts over in the winter, then there’s no reason why you can’t grow parsnips in it. This may even give you an advantage, since you’ll be able to start your parsnips off earlier in the year, thanks to the warmer temperatures in a greenhouse.
Direct sowing would be best, with the steps above (for direct sowing parsnips outdoors) working for greenhouse growing too.
How to Care for Parsnips
Once they get going, parsnips require very little maintenance. However, do give them a little attention through the year – you’ll be rewarded with bigger harvests!
Watering Parsnips
Keep your parsnips moist, but not soggy, as they grow. A lack of water will turn the roots dry and tough, while too much water can rot them. This usually means giving them a deep watering once a week, but more often during long dry spells.
Feeding Parsnips
Parsnips don’t do well with an over-abundance of nutrients, but a little extra feed does help to improve yields. An organic fertiliser, such as liquid seaweed or blood, fish, and bone, can be applied once a month to give the plants a boost.
Weeding and Mulching Parsnips
Just like most vegetable plants, parsnips don’t do well when they have to deal with constant competition from weeds. However, as mentioned, they also don’t do well with root disturbance, meaning that weeding too near to your plants can be damaging.
The solution is to mulch. Lay a mulch around your parsnip plants to not only suppress weeds, but also to keep soil moisture and temperature levels consistent.
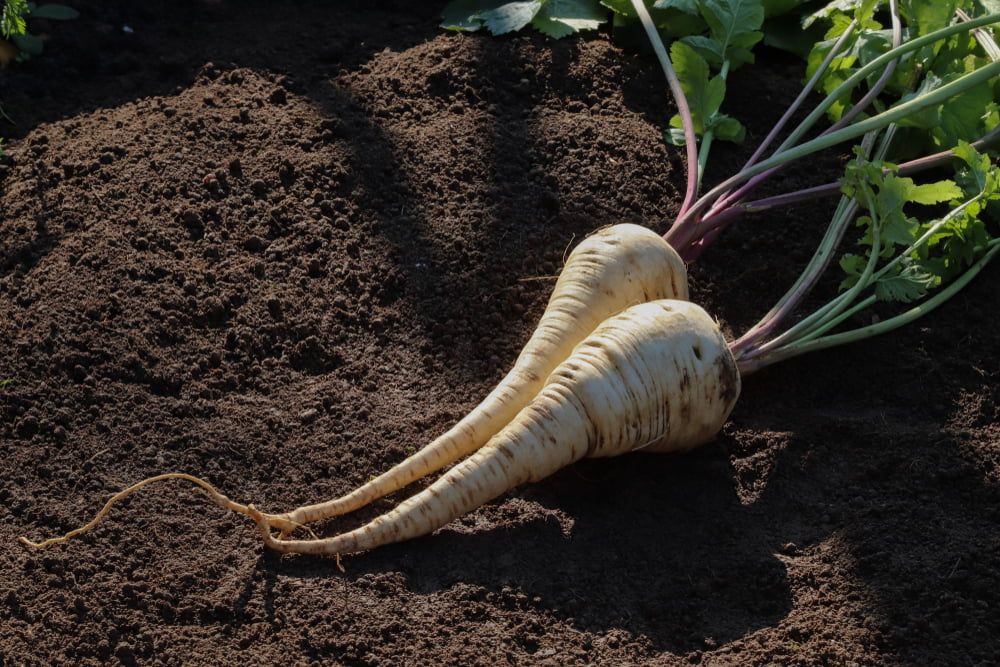
How to Harvest Parsnips
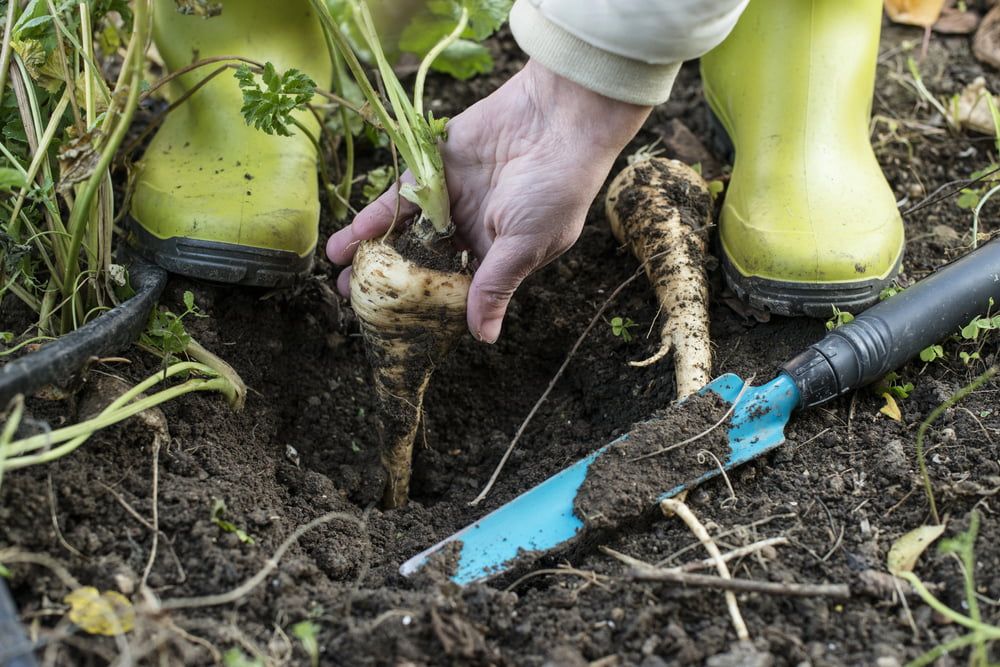
It can take anywhere from four to six months for parsnips to mature, depending on the variety that you’re growing. In the autumn, you’ll notice that the foliage on your parsnips will start to die back – this is when the roots are ready to be harvested.
However, you don’t need to pick them all immediately. Wait until after the first frost for sweeter-tasting roots, or leave them in the ground until spring, harvesting in between as needed.
To harvest a parsnip, use a garden fork to loosen the soil around the root (make sure that you don’t actually pierce the root!), before gently pulling it out.
How to Store Parsnips
The best place to store parsnips long-term is in the ground, so long as you’re able to cover them over with a thick layer of mulch. However, it always pays to harvest some extra in advance of a cold spell, so that you’re not battling through solid, frozen ground to try to reach your parsnips.
For short-term storage, parsnips can be stored whole and unwashed in a cool, dark, and dry place for a month or so.
You could also wash them, slice off the tops, leave them to dry, and then place them in a plastic bag in the fridge for two to three weeks.
How to Prepare & Cook Parsnips
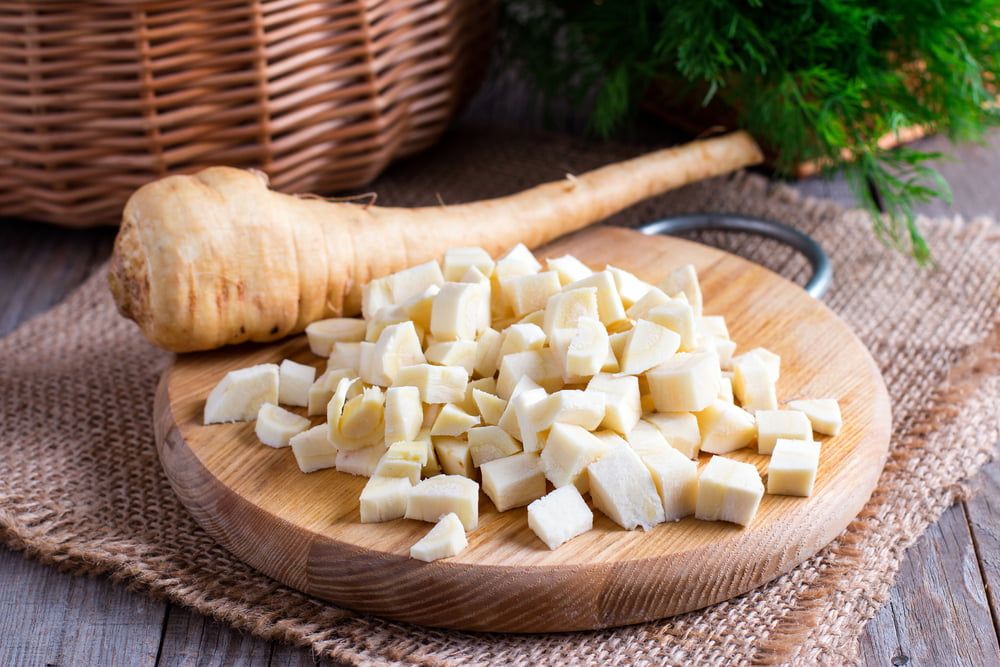
Younger parsnips don’t usually need to be peeled. Simply chop the tops off, give them a good scrub, and they’re ready to go. Older parsnips can have tougher skins, but they only need to be peeled thinly. You can then either slice or chop as needed, discarding the inner core if it seems to be fibrous.
In the kitchen, parsnips are much more versatile than many realize. They aren’t just a boring side dish – they can truly be the star of the show. Give these dishes a try to see that for yourself:
- Parsnip and carrot soup
- Roasted parsnip curry
- Hasselback parsnips
- Crunchy parsnip chips
- Parsnip and potato bake
- Parsnip and mushroom wellington
Common Parsnip Problems
- Parsnip canker – this rot disease usually starts at the tip of the root and works its way up, turning the parsnip soft and brown as it does so. Drought, crown damage, or soil that’s too rich encourage infection. Affected plants can’t be saved, but it would be worth planting canker-resistant varieties in the future
- Carrot root fly – this pest loves parsnips, leaving its larvae to tunnel into roots, resulting in rot. There isn’t a treatment, but you’ll need to take preventative steps next season, such as covering your plants with fleece
- Cracked roots – if your parsnip roots are cracking, then this is a sign of inconsistent watering. When parsnips experience drought, they end up splitting. To avoid this, keep the soil moist and consider applying a mulch
Popular Parsnip Varieties to Grow

Keep your soil type, as well as the length of your growing season, in mind when picking parsnip varieties to grow:
- The Student – an heirloom variety that’s loved for its rich and creamy taste and texture. It’s also resistant to canker
- Hollow Crown – another popular heirloom variety with long roots, although this one does take longer to germinate
- All American – a very fast-growing variety that’s ready to harvest just 95 days after germination
- Albion – known for its large and chunky roots
- Avotiresister – the shortest-rooted parsnip, producing small, conical roots that are great for heavy/rocky soils or container-growing
Conclusion
There aren’t many vegetables that can be harvested throughout the winter months, making it worth having some parsnips in your garden. Not only that, but they’re easy to grow and don’t take up much room – try inter-planting your parsnips with faster-growing crops to really make the most of the space in your garden.