A perennial evergreen herb that comes from the Mediterranean, salad burnet is loved for its crisp, cucumber-flavoured leaves. It’s an easy plant to grow yet isn’t commonly available on supermarket shelves, making it a worthwhile addition to any edible garden.
Growing Salad Burnet: A Quick Snapshot
When to Sow – Mar-May/Aug-Oct
When to Plant – Mar-Jul
When to Harvest – Year-round
Average Yield per Plant – 300g leaf/year
Spacing – 40-60cm
Depth – 3mm
How to Grow Salad Burnet at Home

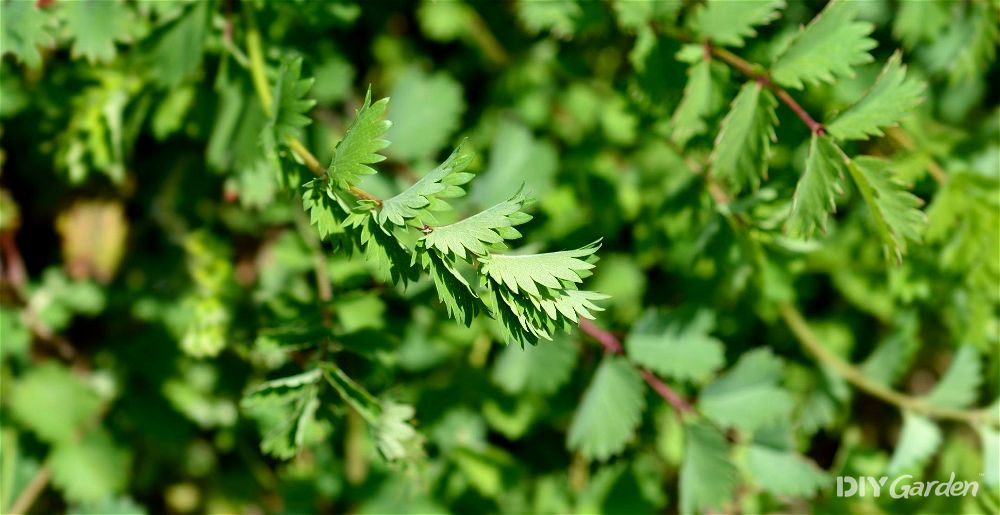
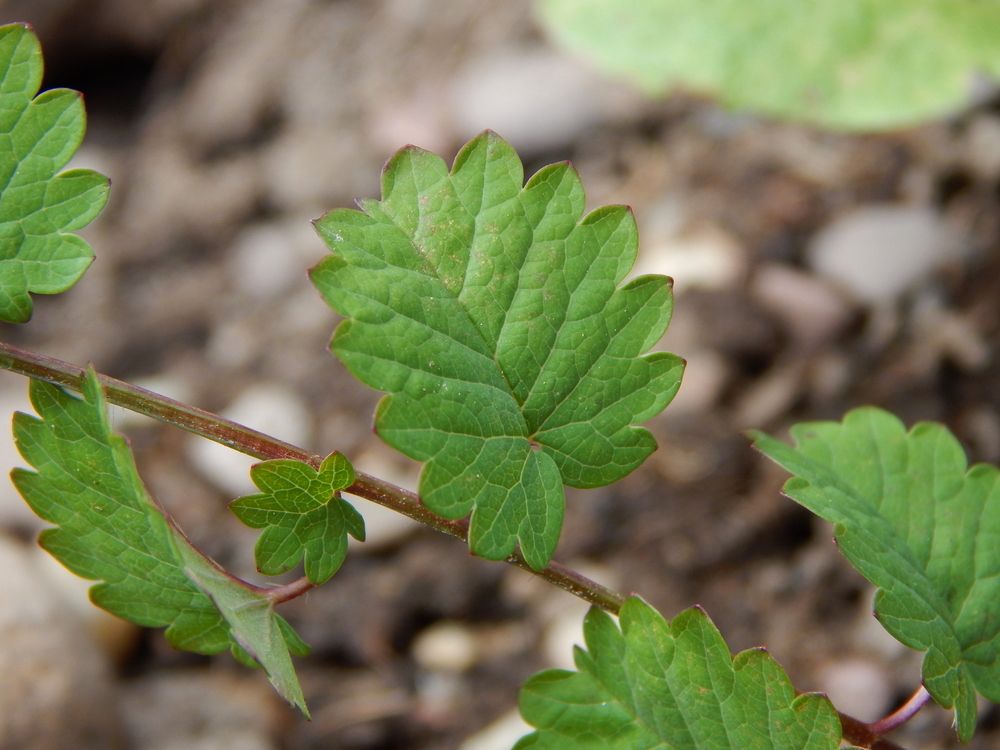
If you’ve been looking for an easy-to-grow ingredient that’s capable of brightening up a dull salad, then salad burnet is it. It’s a leafy plant with fern-like leaves that grow in a rosette, making it a beautifully attractive crop to cultivate.
Although just a short-lived perennial, salad burnet self-seeds easily. Give it the right conditions to begin with and you’ll be harvesting leaves throughout the year for the foreseeable future, without having to actually put in any new plants.
Growing Requirements for Salad Burnet
Being a Mediterranean plant, salad burnet loves the sun, but it will do just as well in partial shade too. In fact, afternoon shade can be beneficial in hot climates to prevent the sun from scorching tender new leaves.
What sets salad burnet above many other Mediterranean plants is its incredible hardiness. It’s capable of tolerating winter temperatures down to -30°C, making it a great choice for northern gardeners who struggle to keep their plants green through the winter.
Although salad burnet will grow well in most soil types, it does best when planted in chalky soil. Adding lime to your growing area can help to make the soil chalkier.
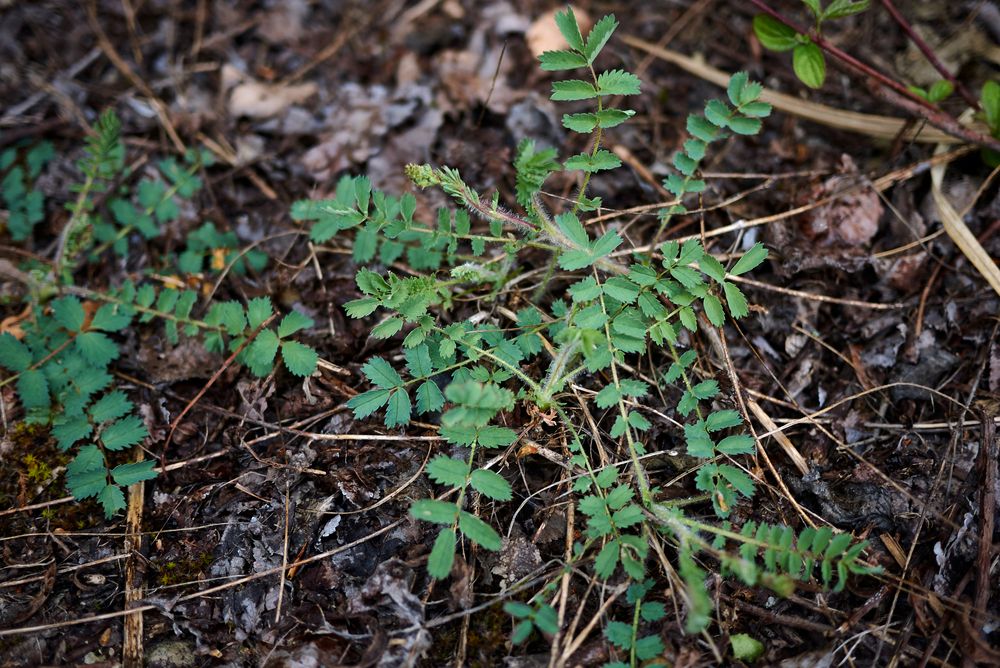
Since salad burnet plants don’t take up too much room, they’re easy to add into various corners of your garden. A mature plant will be around 25-50cm tall, and 30-60cm wide, depending on its growing conditions. This happens in its second year – it’ll be a little smaller in its first.
How to Grow Salad Burnet from Seed
You have two options when growing salad burnet from seed; sowing the seeds indoors or direct sowing them outside. The best times of year to do this are in the spring and autumn, although keep in mind that autumn-sown seedlings shouldn’t be planted out until the following spring. You’ll need to keep them indoors and protected until then.
How to Sow Salad Burnet Seeds Indoors:
- Fill small pots or module trays with multi-purpose compost
- Water your pots well, making sure that the drainage holes underneath aren’t blocked
- Sow three salad burnet seeds into each pot. However, since they’re so small, don’t panic if you sow too many – you’ll be thinning the seedlings out later anyway
- Lightly run your fingers over the seeds that you’ve sown to push them a few milimetres into the soil – they only need to be about 3mm deep, since they need light to germinate
- Keep your seeds at room temperature, making sure that the soil remains moist
It’ll take about one to two weeks for your salad burnet seeds to germinate. Once they do, move them to a bright spot in your home and keep them well-watered. After about a week or so, you can thin your seedlings out, leaving just the healthiest seedling in each pot to continue growing.
How to Direct Sow Salad Burnet Seeds:
- Add lime to your growing area if necessary, and make sure that you’ve cleared away any weeds
- If your soil is dry, give it some water
- Gently rake out some shallow furrows in the ground. If you’re planting in rows, space each row about 60cm apart
- Lightly sow your seeds into your furrows
- Cover your seeds over with a little soil, but don’t forget that they need light to germinate
Once seedlings start to appear, give them a couple of weeks to grow before thinning them out, leaving around 30-60cm of space between each plant.
How to Plant Salad Burnet Outside
Wait until two weeks after your last spring frost before planting your indoor-sown salad burnet seedlings outside. However, before doing this, make sure that you spend a week or so hardening them off first. This will help them to adjust to outdoor conditions, preventing transplant shock.
It can be tempting to wait until later in the spring before planting your salad burnet out, but don’t hold off for too long. Large plants won’t transplant well, whereas seedlings tend to be so much more successful.
Once you’re ready to get planting, make sure that you’ve prepared your growing area by amending the soil (if necessary) and removing any weeds. Then, dig holes that are just slightly wider and deeper than the pots that your salad burnet seedlings are growing in. Space each hole about 45-60 cm apart – the bigger your spacings, the larger your plants will grow.
Gently remove your seedlings from their pots and place them into the holes that you’ve dug. Cover their roots over with soil and then firm the soil down around them. Give your seedlings plenty of water after planting, and pile a little more soil over the top if any roots become visible after watering.
How to Plant Salad Burnet in a Greenhouse
Since salad burnet is so hardy, it isn’t commonly grown in a greenhouse. However, that’s not to say it can’t be done – there just isn’t a significant advantage that comes from doing so.
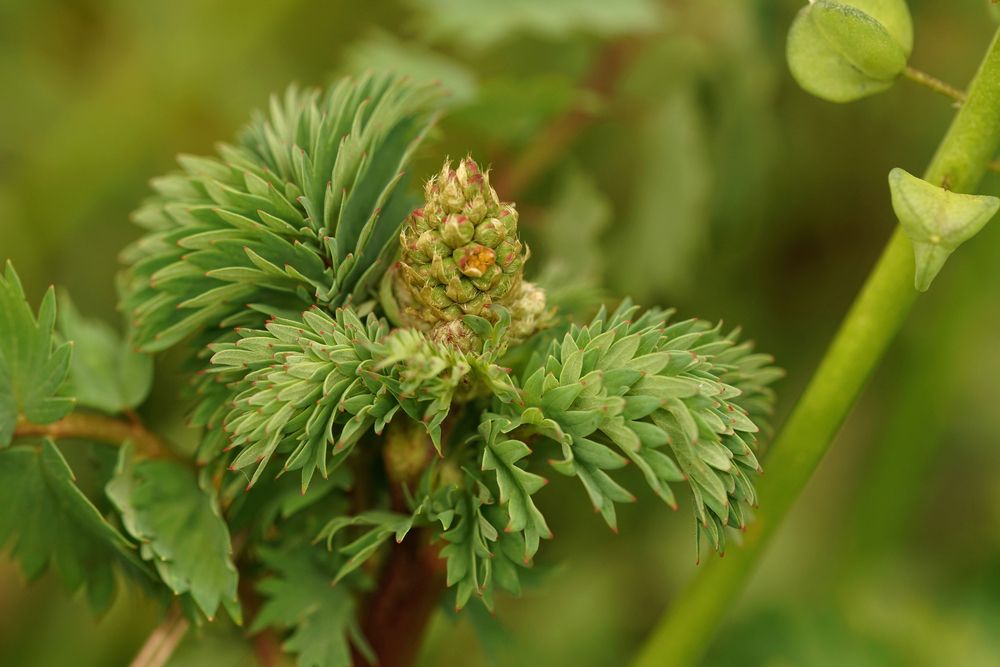
If you’re hoping that your plants will self-seed, then greenhouse growing is definitely not the way to go. Salad burnet requires wind for pollination, meaning that you’d need to set up a fan.
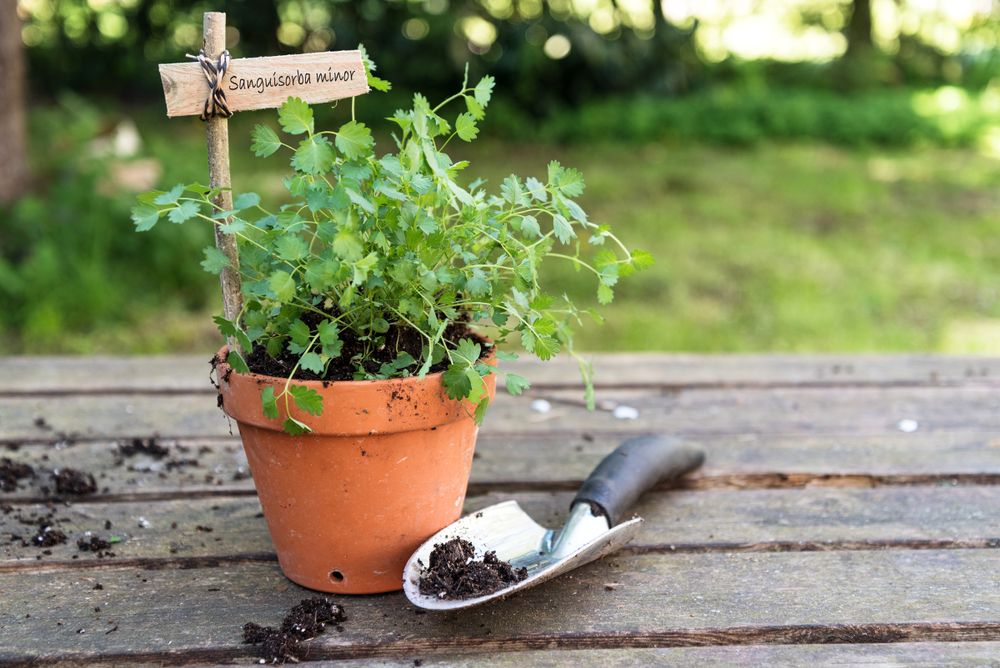
That said, salad burnet flowers are fantastic for attracting pollinators. A couple of plants around the entrance of your greenhouse will help to draw bees and other insects in, which would then benefit the rest of the crops that you’re growing. This is a herb that does very well in a pot, so long as you pick a container that’s at least 30cm wide and deep.
How to Care for Salad Burnet
Salad burnet doesn’t require much attention – self-sown seedlings will often turn into full-sized plants without any human intervention at all. Many would even say that their salad burnet plants have become invasive over time. However, if you’re looking for the biggest yields possible, then there are a few key care points to keep in mind:
Watering Salad Burnet
Salad burnet does best when its soil is kept evenly moist, meaning not too wet but not too dry. Regularly check the soil a couple of centimetres down – if it feels dry, then it’s time to give your plants some water.
Feeding Salad Burnet
Salad burnet doesn’t need to be fertilised. However, top-dressing your soil with some fresh compost every spring will help to increase the amount of nutrients available to your plants.
Weeding and Mulching Salad Burnet
Salad burnet is tough enough to out-compete low-growing weeds, but taller weeds will quickly smother your plants out. This makes it so important to keep your growing area weed-free.
One easy way to do this is by laying an organic mulch around your plants. This will also help to feed your soil as it breaks down, which will give your plants a boost.
Removing Flowers and Dividing Plants
As mentioned, depending on your climate, salad burnet can sometimes become a little invasive. This is because it spreads by both underground runners and seeds.
You’ll probably want your salad burnet plants to spread, but only to a certain extent. After that, you’ll need to keep its spread in check. The first way to do this is by removing any flowers on your plants. You can wait until they start to die back before snipping these off, so that bees and other pollinators still have the chance to feed on those nectar-rich blossoms.
It would also be a good idea to divide your plants every three or four years. Simply dig them up in the spring or autumn and divide those roots up. You can then plant your divisions in other areas of your garden, or give them away to other gardeners.
How to Harvest Salad Burnet
One of the best things about salad burnet is that it can be harvested year-round – there aren’t many other herbs that continue to produce new growth throughout the winter.
However, wait until your plants are around 20-25cm tall before you start harvesting them. You need to give them this time to establish their roots, rather than focusing their energy on replacing the leaves that you keep picking.
To harvest salad burnet, snip off entire stems as and when needed. You can then strip the leaves from this, before adding the bare stems to your compost heap. Keep in mind that new and young leaves tend to be noticeably more tender and flavourful than older leaves.
How to Store Salad Burnet
Salad burnet is best when used fresh. Since this is a herb that can be harvested year-round, accessing fresh leaves isn’t usually a problem. However, if you want to make the most of your harvest, you have a few storage options.
For short-term storage, sandwich the leaves in damp paper towels and place this into a perforated plastic bag. They’ll last for a couple of days in the fridge.
For long-term storage, freezing would be the way to go since the flavour of salad burnet doesn’t hold up well to the dehydration process. One way to do this would be to flash freeze the leaves and then place them all into a container, so that you can use individual leaves as and when needed. Frozen salad burnet leaves work especially well when used as a garnish for hot dishes!
Alternatively, freeze your salad burnet leaves into ice cubes and use them in drinks.
How to Prepare & Cook Salad Burnet
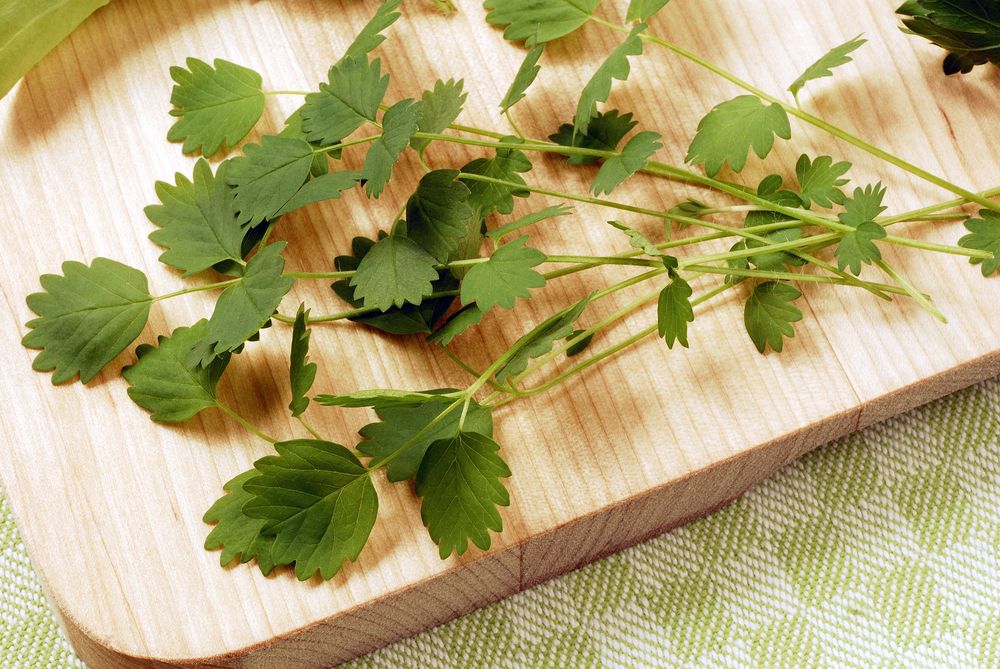
Salad burnet doesn’t need much prep – simply pick the leaves off the stem and give them a rinse under some running water. Be gentle as they bruise and tear easily.
The refreshing, cucumber-like flavour of those leaves makes salad burnet the perfect accompaniment to many dishes, such as:
- Added into salads
- Salad burnet butter (you can add other herbs to this too)
- In a traditional German green sauce, which also contains chervil, sorrel, parsley, and other herbs
- Mixed into a dip with cream cheese and chives
- Added to soups and stews just before the dish is taken off the heat
Common Salad Burnet Problems
Here’s another reason why gardeners in-the-know love salad burnet – it’s very rarely affected by pests and diseases, which is what makes it such a reliable crop.
The only issue that you might experience is leaf spot, a disease that develops in damp conditions. You’ll need to remove infected leaves and try to keep the rest of the foliage as dry as possible. If this doesn’t help, there are organic fungicides available that you can turn to.
Popular Salad Burnet Varieties to Grow
There’s only one variety of salad burnet. In fact, salad burnet itself is actually a variety of burnet, or Sanguisorba. The other varieties are ornamental rather than edible, yet are still great for attracting pollinators. If you’d like to try growing other burnets in your garden, a few popular varieties to consider are:
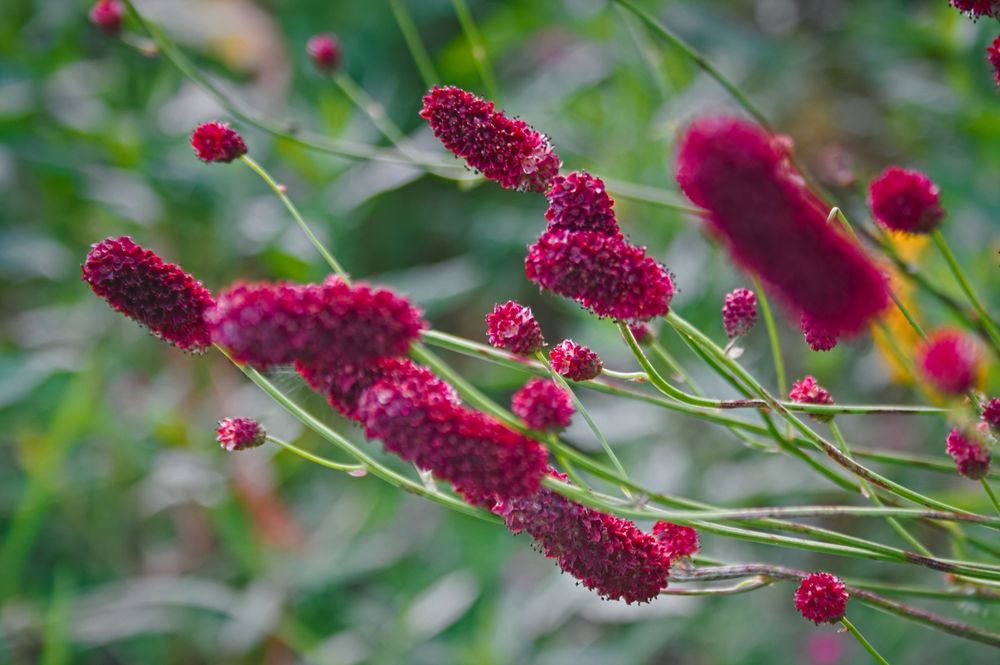
- Great Burnet – tall and slender stems topped with burgundy-coloured flowers
- Dodecandra Burnet – produces yellow/green catkins that have a mildly sweet scent
- Autumn Red Burnet – a late-flowering variety, these dark red blooms will keep appearing well into November
- Alaskan Burnet – produces fluffy maroon flowers, giving it a very unique appearance
Burnets hybridise easily, so plant several different varieties and you could end up with your very own after a few generations. That said, if you’re growing both ornamental and edible burnets together, avoid eating any hybrid seedlings – some burnets can be very toxic when consumed.
Conclusion
Since it’s not a commonly used ingredient, salad burnet is often overlooked in the garden too. However, there’s nothing more useful than a leafy green herb that can be harvested year-round. Plant it somewhere accessible, as this is a plant that you’ll likely be harvesting more often than you would have imagined!