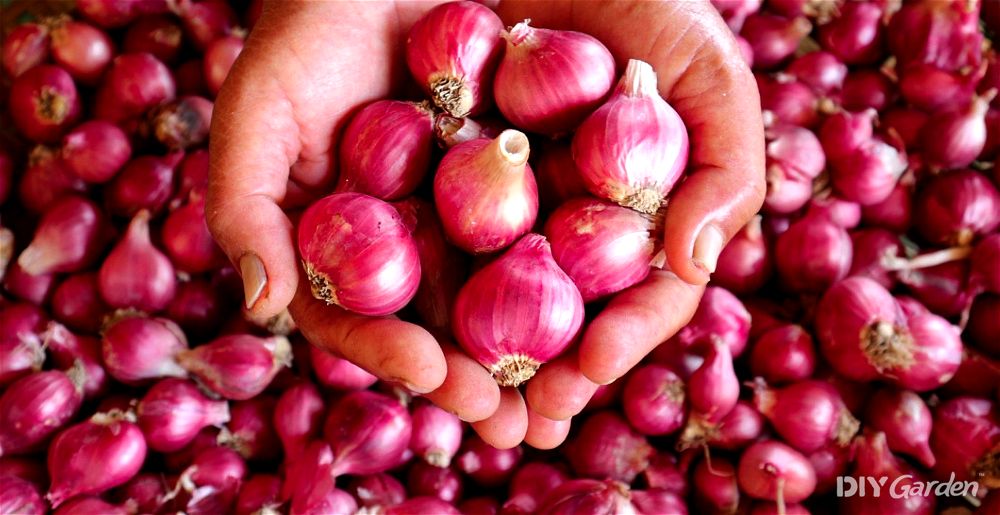
Although they share many similarities with onions, shallots are loved for their sweeter and more delicate flavour, making them perfect for eating both raw and cooked. Shallots are often considered to be quite a specialty ingredient, which is surprising when you consider how easy they are to grow and store. If you’re interested in growing your own, here’s everything you need to know to get started…
Growing Shallots: A Quick Snapshot
When to Sow – Feb-Mar
When to Plant – Oct-Mar
When to Harvest – Jul-Aug
Average Yield per Plant – 0.2-0.3kg
Spacing – 25cm
Depth – 1-2cm
How to Grow Shallots at Home
Shallots are a cool-weather crop. This means that they ideally need a dormant period of at least 30 days soon after they have been planted. In order for shallots to go into dormancy, temperatures need to be lower than 10°C, making it crucial to get your timing right.
Shallot Seeds vs Shallot Sets
Shallots are most commonly grown from sets. These are basically immature shallots that have been grown in controlled conditions, and have also been heat treated to prevent them from bolting once planted.
The reason why most gardeners choose sets over seeds is because this gives you a head start on the growing season. Sets also tend to produce a much bigger harvest than shallots grown from seed. On average, seed-grown shallots will produce about four bulbs in a clump, while set-grown shallots will produce at least eight.
However, the downside to growing from sets is that they cost more than seeds. You will usually be able to purchase about 20 shallot sets for the price of 200 seeds, making seeds the more cost-effective option for growing on a larger scale.
You will also find that you have much more choice when it comes to different varieties if you opt for seeds over sets.
Growing Conditions for Shallots
So long as you get things right when it comes to temperature and timing, shallots are able to tolerate a variety of growing conditions.
They prefer fertile and well-draining soil, but will do well in just about every soil type.
Light is important too, but even if you plant your shallots in a spot that only receives partial sun, you will still end up with a good harvest.
One thing to keep in mind is that shallots can quickly end up diseased. The best way to avoid this is by choosing a planting location that hasn’t had anything from the onion family in it for the past three to four years.
How to Grow Shallots from Seed

You have two options when growing shallots from seed:
- Starting them off indoors – this means that your seeds will need to be sown about 10 weeks before your last frost date
- Sowing them directly outdoors – this will need to be done about four weeks before your last frost date
Starting Shallot Seeds Off Indoors
It’s best to use a tray with individual modules, as this allows the roots of each shallot to properly thrive.
Fill your trays with a quality, multi-purpose compost and then water the soil to dampen it. Place one seed into each module and then lightly cover over with more soil, before gently watering again.
Your shallot seeds will take about two weeks to germinate. Once you notice the seeds sprouting, move your trays to a sunny windowsill – your seedlings will need at least six hours of full sun a day.
Direct Sowing Shallot Seeds
Sowing seeds directly outdoors is usually the easiest option, since this saves you from having to transplant them later on.
If possible, amend your planting bed with a quality compost. Although shallots will tolerate most soil conditions, they do best when given plenty of nutrients.
Make holes that are about 1cm deep and about 25cm apart, before placing a seed into each hole. Cover over with more compost and keep them consistently moist, but not soggy, during the germination process.
How to Plant Shallots Outside
Your planting methods will vary slightly depending on whether you’re planting out shallot seedlings or shallot sets…
Planting Shallot Seedlings Outside
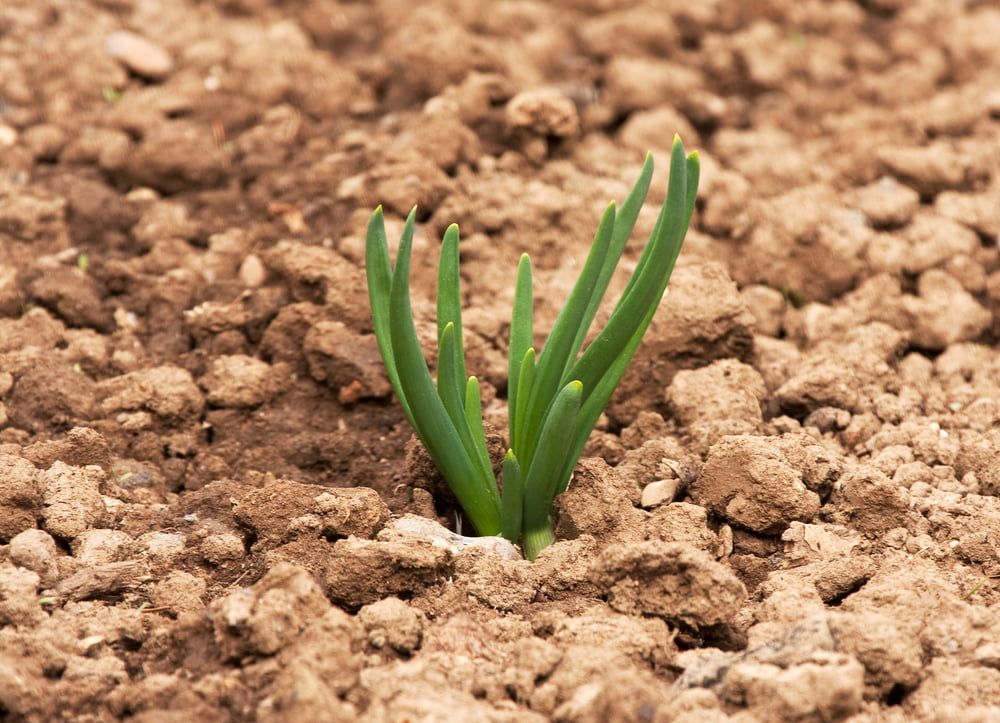
If you’ve grown your shallots from seed, wait until they are about 15cm tall before planting them out. At this stage, they should have at least three long leaves. This usually takes place about eight weeks after they have germinated.
Amend your planting bed with quality compost, and then make holes that are the same depth as the modules that your seedlings are currently growing in. Space each hole 25cm apart.
Gently remove each shallot plant from its module and place it into its new hole, before covering over any gaps and firming the soil down. Make sure that you give them plenty of water immediately after planting.
Planting Shallot Sets Outside
Some shallot sets will consist of individual cloves that are ready for planting, whereas other varieties are available as a whole bulb, which you will then need to split into individual cloves. Do this gently and try to keep their papery skin intact. This skin protects the shallots from rotting as they grow.
After amending your planting bed with some quality compost, make small holes about 1cm deep in your soil. Space each hole about 25cm apart.
Place a shallot clove into each planting hole, with the larger and broader end facing downwards. Fill the hole over, gently firm down, and then water.
How to Plant Shallots in a Greenhouse
The steps for planting shallots in a greenhouse are the same as when planting outside.
The main benefit to growing your shallots in a greenhouse is that you can sow or plant them earlier. This gives you a longer growing season, meaning larger bulbs.
However, this really only applies to those in colder climates. If you live in a warmer region, or you have a heated greenhouse, then this could prevent your shallots from going dormant after planting, which would then inhibit growth.
How to Care for Shallots
Shallots are a low-maintenance vegetable to grow. If you’ve planted yours outside in weed-free, quality soil, then you can pretty much leave them to it until harvest time.
Of course, for maximum harvests, a little extra attention never hurts:
How Often Should You Be Watering Your Shallots?
Shallots need about 2.5cm of water a week.
If you’re growing your shallots outside, rain usually provides enough water. You may need to do a little manual watering during dry spells, but don’t go overboard – shallots don’t like waterlogged soil.
Do You Need to Fertilise Shallots?
Shallots growing in quality compost don’t need much in terms of a fertiliser.
However, a top-dressing of a general-purpose fertiliser applied a few weeks after planting will give the plants an extra dose of nitrogen, which can help with growth. For maximum harvests, continue feeding your shallots once a month, but stop fertilising about a month before harvest.
Don’t Forget to Weed!
It’s easy to let weeds get out of hand, but this will seriously impact your shallot harvest.
Shallots don’t do well when they have to compete for light, nutrients, and water. Too many weeds provide too fierce a competitor, and they will quickly take over, preventing any more growth from taking place in your shallot plants.
With that being said, be careful when weeding your shallots. Pull weeds out gently, so that you don’t end up disturbing any shallot roots.
How to Harvest Shallots
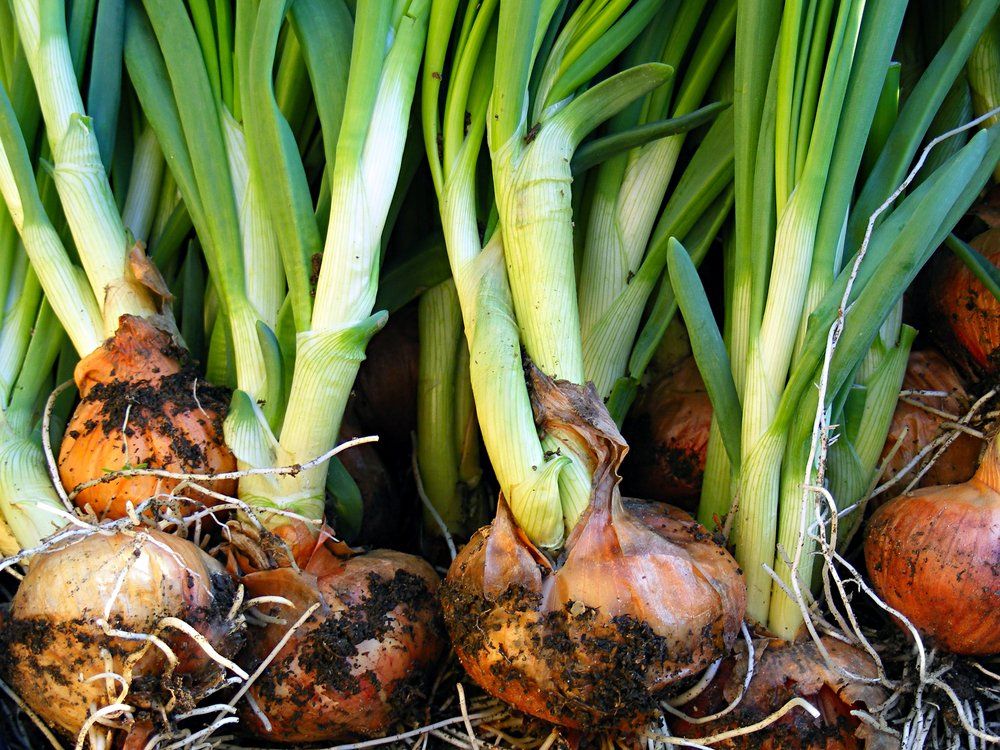
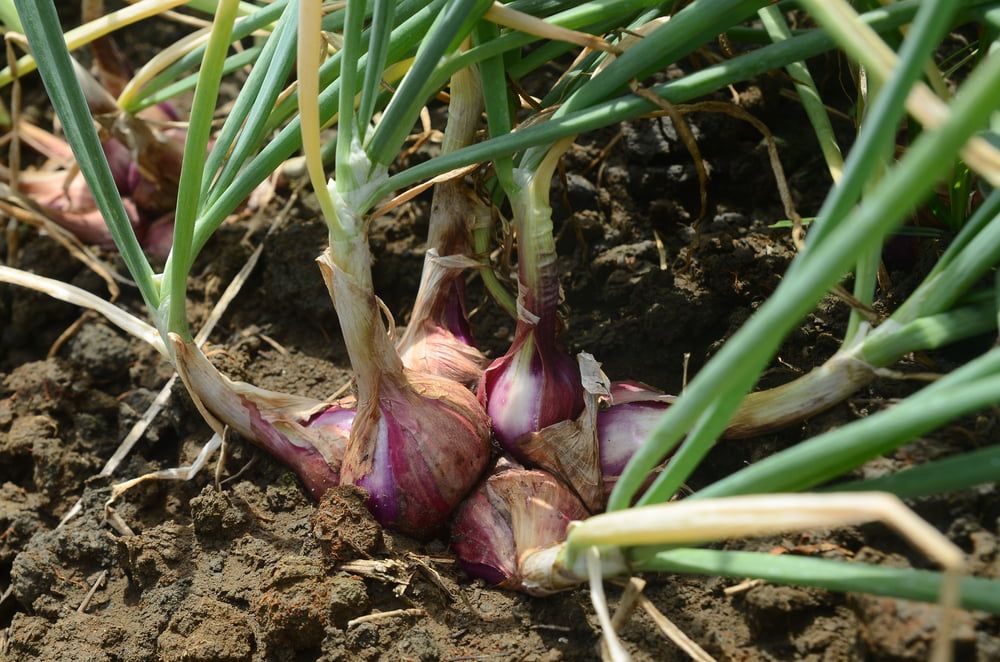
You’ll know that your shallots are ready for harvesting when their leaves start to flop over. This usually happens in July.
At this point, simply use a garden fork to loosen the soil around each bunch of shallots, and then gently pull them out.
If you would like to harvest a shallot or two before the leaves start to fold, they’ll still be great for eating. The only issue is that they won’t dry or store well, which is why your biggest harvest should only take place once your plants are fully ready.
How to Store Shallots
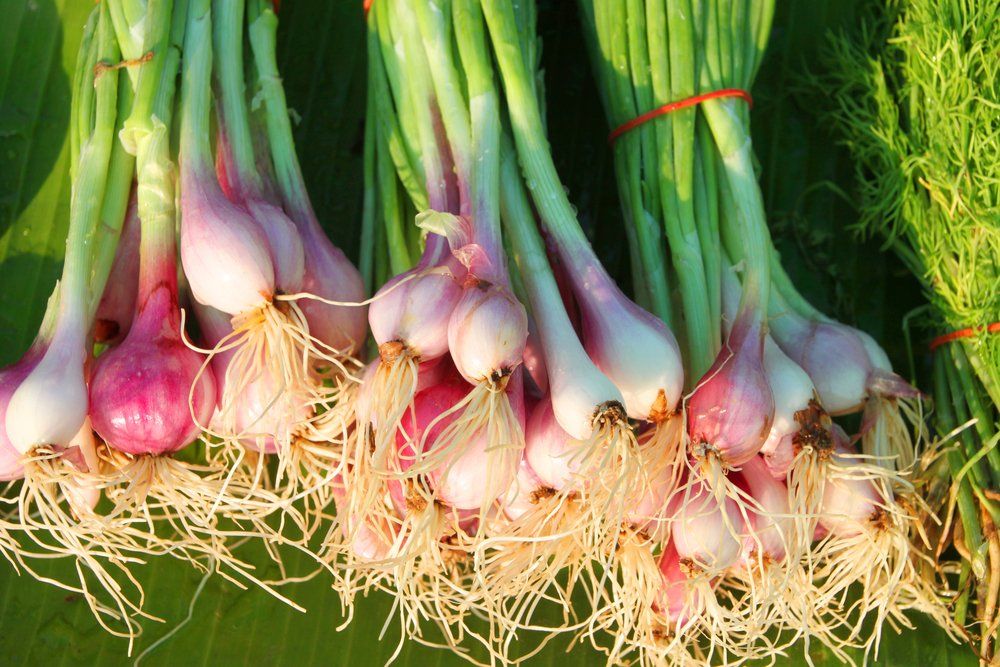
You’ll be pulling your shallots up in bunches, which you will then need to separate into bulbs.
If you want to store your harvest, then you will need to dry the bulbs. Try to plan things so that your harvest coincides with a stretch of dry and sunny days – this means that you can simply leave your shallot bulbs on the soil, or on a rack outdoors, to dry out in the sun. Try to shake off as much excess dirt as possible before leaving them to dry.
Alternatively, place in a dry and well-ventilated indoor location for about a week.
You can then store your shallot bulbs in net bags, or tie them up in bunches. Keep them in a cool, dark, dry, and well-ventilated area. When stored correctly, your shallots can last for over a year, taking you well into your next harvest!
How to Prepare & Cook Shallots
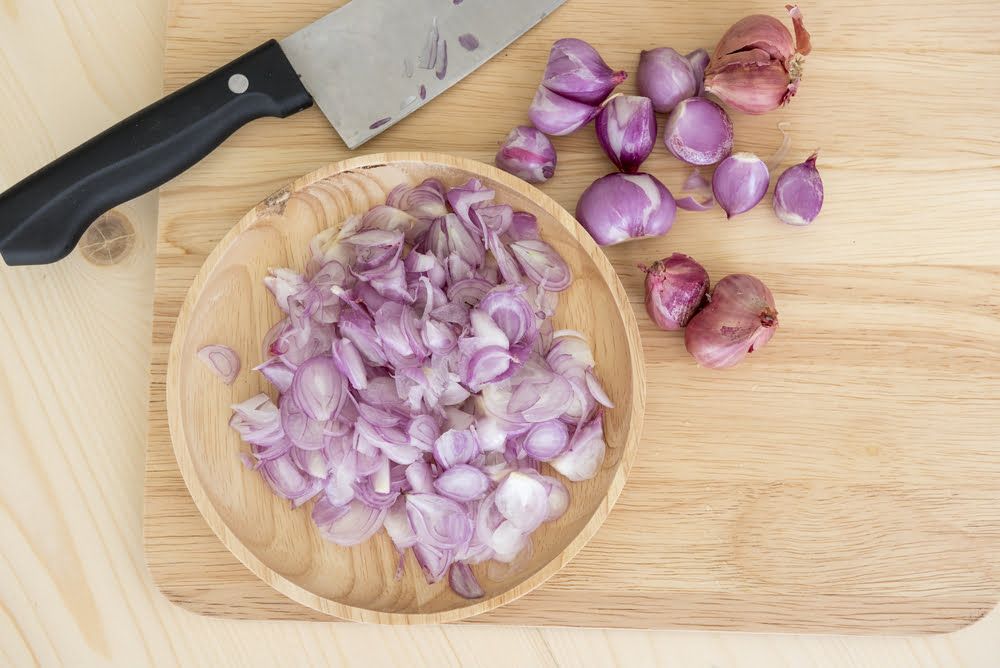
Shallots are a little different from onions when it comes to preparation.
To prepare a shallot, take a bulb and slice off both ends. Once you peel away the skin, you’ll notice that there are at least two cloves within that bulb.
Separate the cloves before chopping or slicing them.
Shallots are delicious in so many different recipes. If shallots are new to your diet, some great places to start would be:
- Thinly slicing shallot bulbs to use as a garnish for just about any dish.
- Slicing your shallot bulbs lengthwise and then gently cooking them in butter, until they caramelise.
- Leaving them whole and roasting them with some olive oil.
- Using them instead of onions in any recipe.
Common Shallot Problems
Shallots are usually quite easy to grow, but here are a few of the most common problems that you may encounter:
- Birds – birds love to pull up newly-planted shallot sets. If you’re growing your shallots outdoors, you may want to cover them with fleece or netting to prevent the birds from accessing your plants. You can then remove this covering once your shallots have rooted enough to hold themselves in place.
- Onion thrips – these pests look like small grains of rice clustering on your shallot leaves. Although they don’t directly damage the bulbs, they eat the foliage, which then weakens the overall plant. A neem oil spray can help to eliminate onion thrips.
- Neck rot – this disease causes shallot bulbs to turn soft and brown, with a grey mould forming over infected tissue. Neck rot commonly occurs if shallots have been fertilised too late in the season. You may notice signs of this when harvesting your bulbs, so make sure that you only store bulbs that are healthy. If you notice neck rot in your stored bulbs, remove any infected shallots and check the rest regularly.
Popular Shallot Varieties to Grow
Each shallot variety will have its own characteristics. Some will store better, others may have a stronger taste, and a few will have been developed for earlier harvesting.
Make sure that the varieties you pick match up with your requirements, as well as the growing conditions that you’re able to provide.
Some of the best shallot varieties to grow include:
- Red Gourmet – has beautiful red flesh and quite a spicy flavour
- Golden Gourmet – known for being a heavy and reliable cropper, and only takes 77 days to mature
- Olympus – takes 90 days to mature and stores well
- Matador – round-shaped with white flesh, and easy to grow from seed
- Pesandor – long and slender bulbs that are great for slicing lengthways
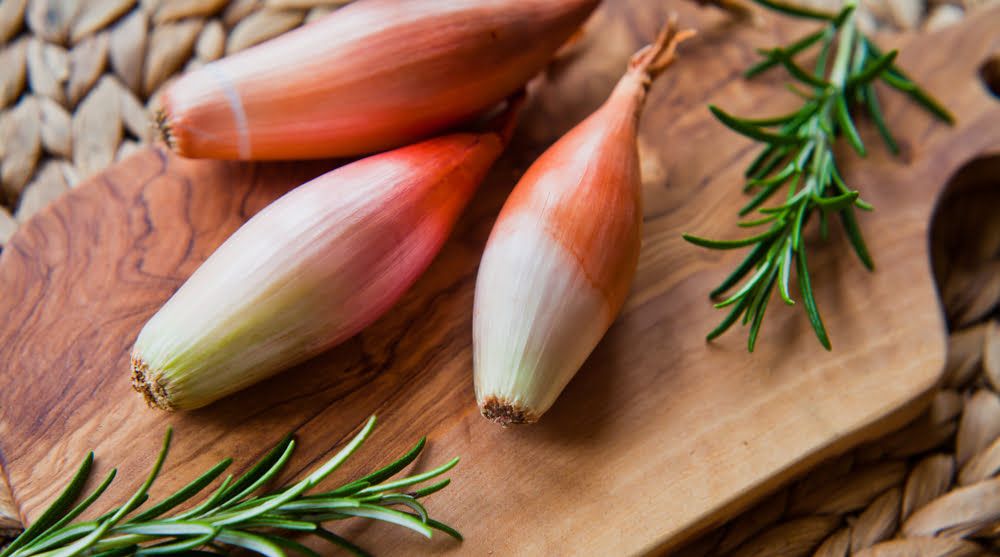
What About Banana Shallots?
Often favoured by chefs for their distinctively long shape and delicate sweetness, banana shallots are now commonly sold in supermarkets.
However, a banana shallot isn’t technically a shallot…
Instead, it’s a cross between an onion and a shallot. There are actually several varieties of banana shallots out there, such as:
- Jermor
- Zebrunne
- Long Red Florence
- Eschalote Grise
- Cuisses de Poulet du Poitou
Conclusion
Whether from seeds or sets, shallots are such an easy and low-maintenance vegetable to grow, making them a must-have for every gardener. While some vegetables may actually end up more costly when grown at home, shallots are different – you’ll not only save money, but you’ll have a delicious harvest that will last you for over a year.