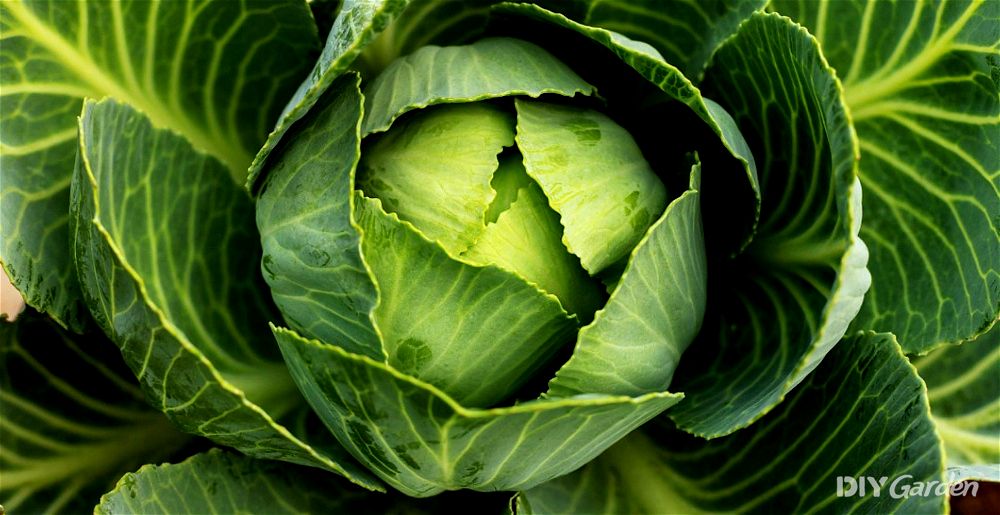
One of the world’s earliest cultivated vegetables, cabbages come in so many different shapes, sizes, and colours, and are incredibly nutrient-dense. Plan carefully and you could be eating home-grown cabbages throughout the year. That being said, timings and techniques are a little different for summer, winter, and spring cabbages, so here’s what you need to know if you want to be harvesting your cabbages in the warmer months.
Growing Summer Cabbages: A Quick Snapshot
When to Sow – Feb-May
When to Plant – Apr-Jul
When to Harvest – Jul-Oct
Average Yield per Plant – 1-2kg
Spacing – 45-60cm
Depth – 1.5cm
How to Grow Summer Cabbages at Home
Many don’t realise that summer cabbages offer multiple harvests, making them all the more rewarding to grow. They do have a reputation of being highly susceptible to summertime pests and diseases, but there are several ways to get around this.
Choosing a Growing Site for Summer Cabbages
Summer cabbages need to be planted in a sunny spot, ideally one that gives them plenty of room to spread their leaves. Each cabbage will need at least 45cm of space, so keep this in mind when choosing a planting location.
Make sure that the site you choose has not been used to grow brassicas the previous season. If it has, not only will it lack important nutrients that your summer cabbages will need, but it will also cause pests and diseases to spread much further and faster.
Enriching Your Soil
Cabbages are extremely heavy feeders. This means that their soil needs to be rich in organic matter, so that it can provide all of the necessary nutrients.
Soil fertility for summer cabbages is something that many gardeners underestimate. As a result, cabbages end up weak and deficient in nutrients, which leaves them vulnerable to pests and diseases.
Add plenty of high-quality compost or well-rotted animal manure to your growing area. Ideally, do this the winter before planting, so that it has time to naturally mix in with the soil before the growing season begins.
How to Grow Summer Cabbages from Seed
You have two options when it comes to growing summer cabbages from seed; sowing them in modules or pots under cover to transplant outdoors, or direct sowing outside.
Direct sowing is the least labour intensive of the two methods, but starting your seeds in modules will give you better germination rates and more uniform plants. This also allows you to protect young seedlings from pest damage.
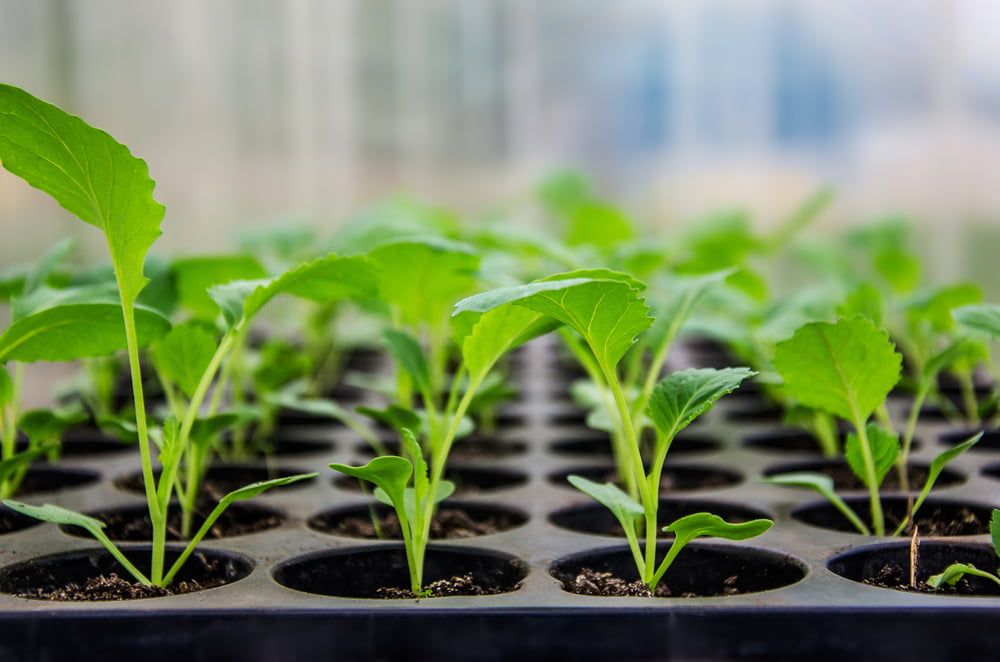
Starting Summer Cabbages Under Cover
Since you’ll be giving your seedlings protection, starting your summer cabbages under cover means that you can sow them a little earlier in the year. This gives you a head-start on growing once the temperatures warm up. February to early April is the best time to start summer cabbages off indoors.
Module trays or small pots are better than open seed trays for summer cabbages. This minimises root disturbance when transplanting young plants, giving you stronger cabbages in the end.
Here’s how to start your summer cabbages in modules:
- Fill modules with a quality compost, making sure that there are no lumps in the soil
- Water the modules and allow them to drain
- In each module, make two small indentations in the soil, about 1.5cm deep
- Place one cabbage seed into each indentation and then cover over
- Lightly water your modules again
Now to decide where to put those modules. Cabbages don’t need much heat to germinate – they’ll sprout when kept at a minimum of 7°C. For this reason, many opt for the convenience of placing their modules in a cold frame or unheated greenhouse.
However, cabbage germination will take place significantly faster when a little heat is involved. A consistent temperature between 18-25°C will give you the best germination rates, which is why many start theirs off in their house.
Depending on the variety, it can take anywhere between 3-10 days for cabbage seeds to germinate. Once seedlings appear, give them a week or so to grow before snipping the weaker seedling in each module at its base. Don’t be tempted to pull out and transplant the weaker seedlings, as this will only disturb the delicate roots of the healthier one.
Keep your seedlings well-lit and moist until they are ready to be planted out. This will be once they have developed about five true leaves.
Sowing Summer Cabbage Seeds Outside
If you would like to sow your summer cabbage seeds outside, then you’ll need to wait until April for the soil to warm up. You can continue direct sowing until early May.
Once you’ve prepared your planting bed, make small holes in your soil about 1.5cm deep and 45cm apart. Place two seeds into each hole, cover over, and then gently firm the soil down.
Water your seeds and keep them moist, but not soggy, during the germination process.
Once your seedlings are a couple of weeks old, you’ll need to thin out the weaker ones from the pairs of seeds you planted in each hole. Use sharp scissors to snip them at the base of their stem.
How to Plant Summer Cabbages Outside
Once your seedlings are about 7-10cm tall and have about five true leaves, they are ready to move outside.
If your seedlings were grown in a heated location, harden them off for a week or so before planting them out. This involves setting the pots outside for an hour on the first day, building this up each day until they have spent all day and night outside. This allows them to gradually acclimate themselves to outdoor temperatures, reducing transplant shock.
If you started your seeds in a cold frame or unheated greenhouse, then hardening off isn’t necessary.
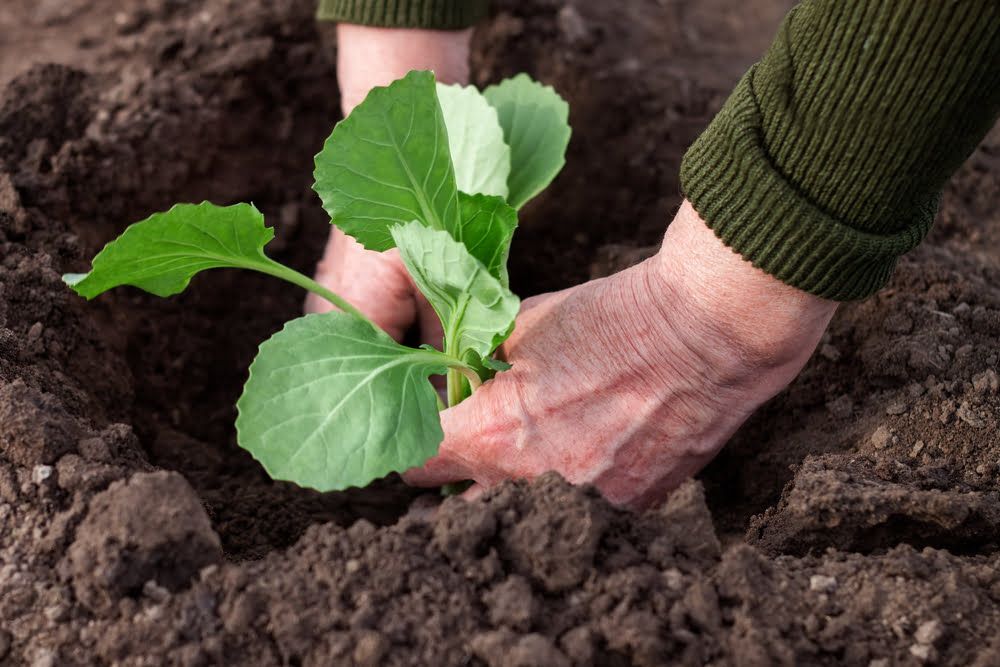
Prepare your planting bed and then dig holes at least 45cm apart for each plant. The holes should be quite deep – aim to not only plant each rootball, but also about 2.5-5cm of the main stem. Don’t worry if this means that you end up burying a few leaves – you’ll end up with much stronger plants come harvest.
Place each cabbage plant into a hole, and then fill the holes in so that just the rootball is covered. Then, firm the soil down around the rootball. This is to minimise any gaps in the soil around the base of your plant’s stem, which will prevent cabbage root flies from taking hold.
Fill in the rest of the planting hole and then firm the soil down again, before watering well. Try to puddle the water around each cabbage plant to give them a good start.
At this stage, it can also be beneficial to place a cabbage collar around each of your plants. This is another effective deterrent against the cabbage root fly, and they can easily and cheaply be made at home.
How to Plant Summer Cabbages in a Greenhouse
Summer cabbages shouldn’t be exposed to temperatures above 23-24°C. Cabbage is a cool-weather crop – heat causes them to bolt, which renders the leaves tough and bitter.
A greenhouse can be extremely useful for sowing summer cabbages early in the year, but they should ideally be moved outside later in the season. However, wait until the end of summer to grow delicious winter and spring cabbages in your greenhouse!
How to Care for Summer Cabbages
If you left your cabbages to their own devices, you would probably still end up with a small harvest. However, you’ll find that many of your plants will have succumbed to various pests and diseases, and the heads that you do harvest will be small.
In order to enjoy a harvest of full, heavy, and healthy cabbages, you’ll need to give your plants a little more attention:
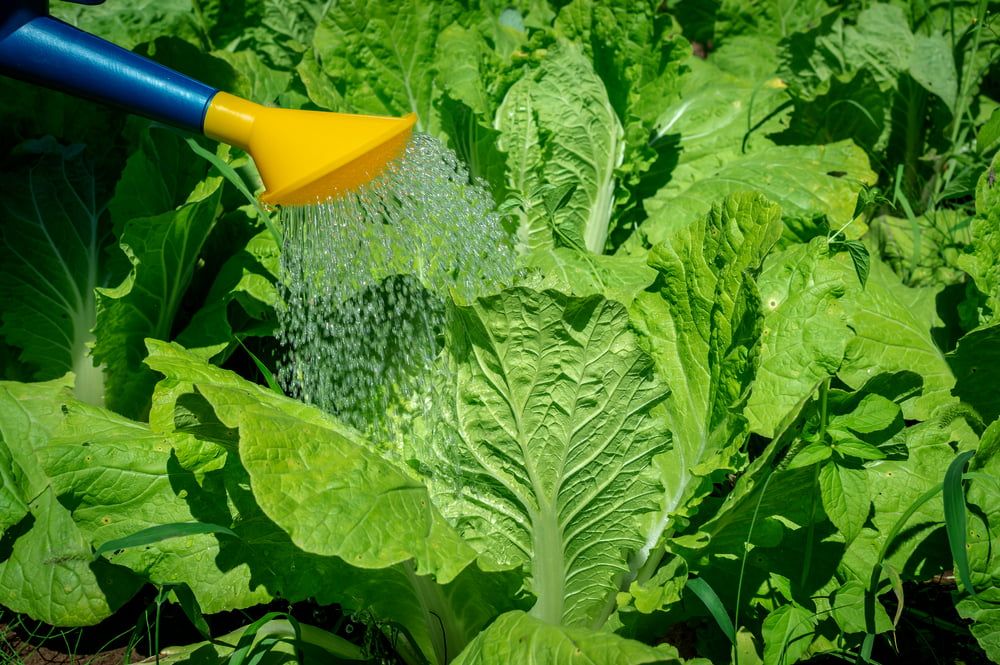
Watering Summer Cabbages
If you gave your cabbages plenty of water when planting them out, then you won’t need to water them much as they grow.
Summer cabbages need about 3-4cm of water a week, and rainfall usually provides that. If you’re experiencing a particularly long dry spell, then manual watering will be needed. However, don’t forget that cabbages don’t like soggy soil, so be careful not to over-water your plants.
Feeding Summer Cabbages
Since cabbages are leafy vegetables, they need a large amount of nitrogen. A couple of weeks after you have planted your cabbages out, feed them a high-nitrogen feed once a month.
A slow-release granular fertiliser, applied to the soil around your cabbage plants every eight weeks, can also be beneficial.
Netting/Fleecing Summer Cabbages
To prevent caterpillars, cabbage root fly, and other pests from ravaging your summer cabbage crop, consider netting your plants.
Use a thin, insect-proof mesh that allows you to still see your plants beneath. Fleece can be good too but blocks your view of the plants, making it unlikely that you’ll be able to spot other problems early enough.
Weeding Summer Cabbages
As mentioned, cabbages are heavy feeders. This means that they need plenty of water and nutrients, which they won’t be able to get if there are weeds growing around them.
Regularly weeding around your cabbages is necessary if you want a big harvest. A weed-free growing area will also help to prevent diseases from prevailing.
To cut back on the amount of time you spend weeding, lay a mulch around your cabbage plants. This will also help to retain moisture and regulate soil temperature, both of which will benefit your plants.
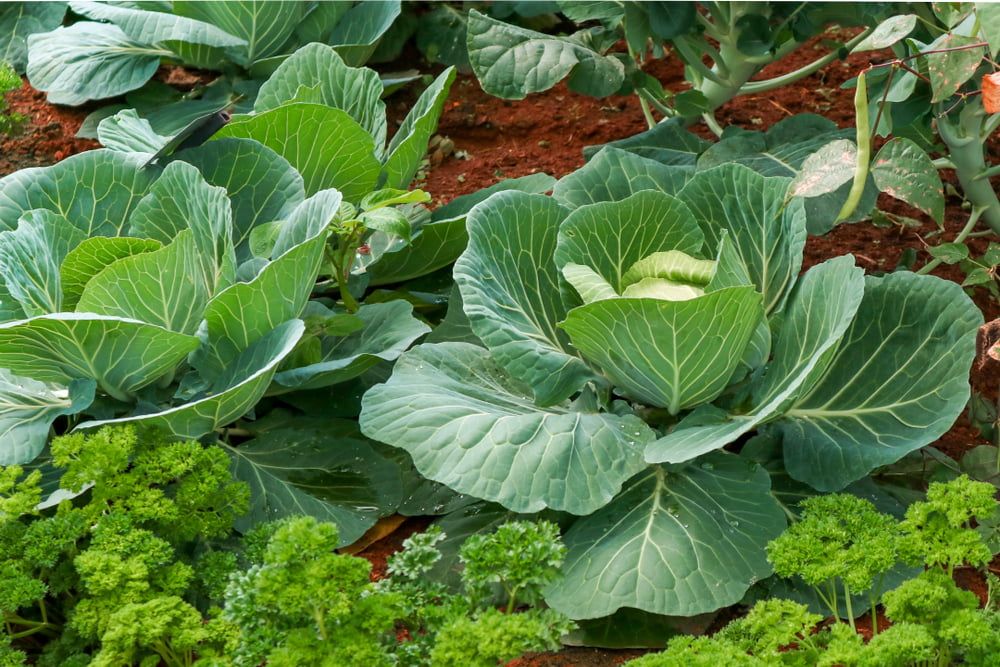
Companion Planting Around Summer Cabbages
Companion planting is a technique that sees specific plants growing alongside each other, with each one benefiting the other in some way.
Some of the best plants to grow around your cabbages are:
- Aromatic herbs, such as sage, rosemary, oregano, and thyme – the scent of these herbs helps to deter the cabbage moth
- Chamomile – adds nutrients into the soil that helps to enhance the flavour of cabbage
- Marigolds – this flower will benefit every plant in your garden by deterring everything from aphids to cabbage moths
- Nasturtiums – these are often planted as a sacrificial crop. Cabbage white butterflies will choose to lay their eggs in your nasturtiums instead of your nearby summer cabbages, saving the cabbages from damage
- Clover – research has found that clover can reduce damage from cabbage moths by 90%
How to Harvest Summer Cabbages
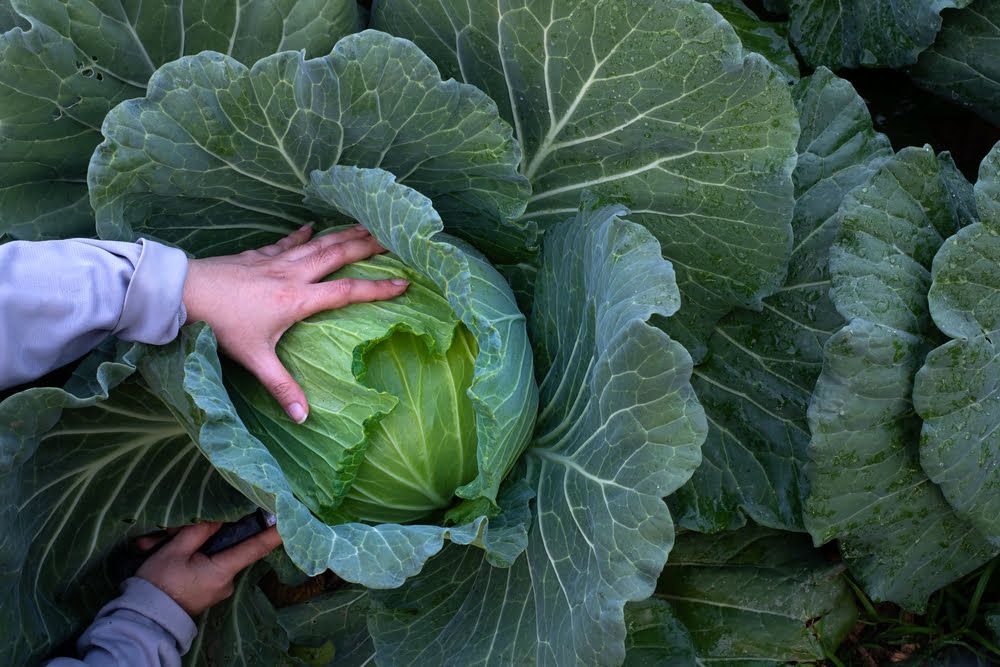
It can take anywhere between 80 and 180 days from germination for summer cabbages to be ready for harvest – it all depends on the variety you’re growing.
To check if a cabbage is ready to be picked, gently squeeze the head – a ripe cabbage head will feel firm.
You can also check the average size of a mature cabbage of the variety you’re growing. This could be anything between 10cm to 25cm across the base. You can then measure the size of yours to compare – even if yours feels ripe, you may want to leave it to grow a little larger.
Harvesting a cabbage is easy – use a sharp knife to cut through the stem, just above ground level.
Don’t pull out the remaining stump. Instead, cut a small cross, about 1cm deep, into it. This will then give you a second crop of summer cabbages. They may be much smaller, but you could end up with up to six more little cabbage heads!
If you’re planning on storing your cabbages, then time your harvest for early in the morning or later in the evening. The cooler temperatures will help to reduce moisture loss, which will keep your cabbages fresher for longer. Be gentle with them too – bruised cabbages won’t keep as well.
How to Store Summer Cabbages
When kept in the right conditions, cabbages can last for up to six months. Certain varieties keep better than others – if long-term storage is important to you, grow a variety that’s been proven to excel at this.
Wrap each cabbage head in newspaper. Then, store them in a root cellar or a similar environment, lining them up on shelves so that each cabbage isn’t touching.
Wrapping them in damp kitchen towel, placing them into a perforated plastic bag, and then keeping them in the fridge is another option. They could keep for a couple of months this way, but, let’s face it, not many people have that much spare space in their fridge!
One other storage method to consider is a garden pit. Dig a pit about 65cm deep, line it with a thick layer of straw, and then place your cabbages in. Cover them with another thick layer of straw, and then cover the pit with a tarp. This will keep the cabbages at the right temperature for storage, while making it easy for you to take what you need from the pit throughout the winter.
How to Prepare & Cook Summer Cabbages
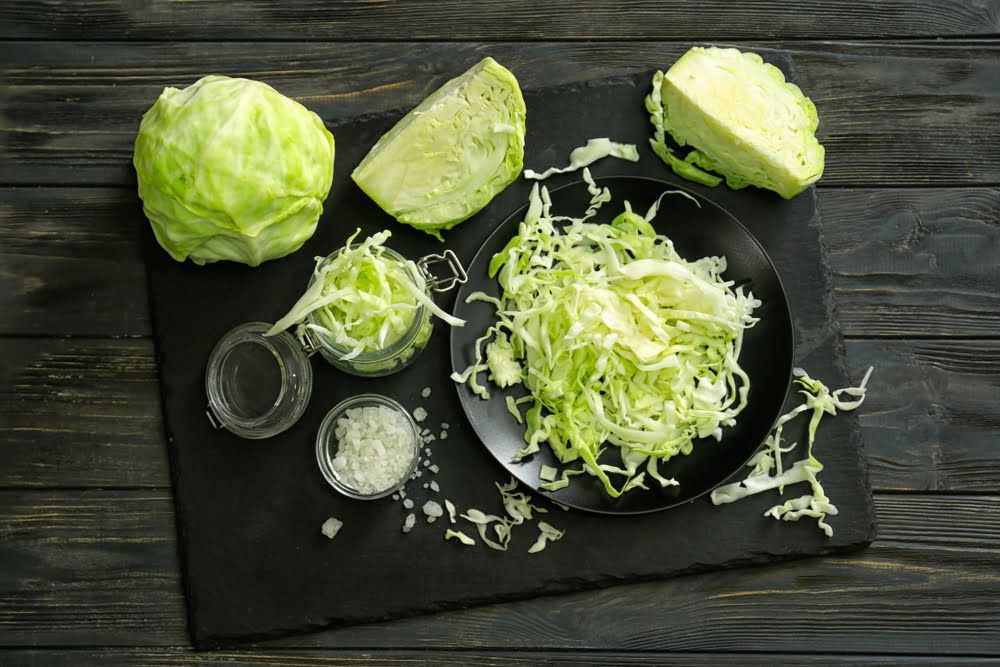
Preparing a summer cabbage is as simple as removing its outer leaves. Then, slice it, chop it, or cut it up in whatever way the recipe you’re following dictates. Place the cut cabbage into a colander and then rinse well, before shaking dry.
Cabbage is an ingredient that’s used and loved by cultures all over the world. This means that you’ll find a multitude of cabbage recipes out there. Some of the tastiest ways to cook summer cabbages are:
- Sautéed in butter, salt, and pepper
- Polish-inspired stuffed cabbage rolls
- Homemade coleslaw and sauerkraut
- Cooked with Indian spices
- Stir-fried as a replacement for Chinese cabbage
- Fried with bacon
Common Summer Cabbage Problems
No matter how careful you are, you will likely come across a few pests and diseases when growing cabbages. Pests are more common than diseases, but so long as you catch them early, they won’t be too detrimental to your harvest.
- Cabbage root fly – this common pest will lay tiny white eggs around cabbage stems. Cabbage collars are the best way to prevent them.
- Cabbage white caterpillars – you’ll notice tiny yellow eggs that hatch into green caterpillars, which then turn into white butterflies. An insect-proof mesh over your cabbage plants will prevent them from damaging your crop.
- Slugs and snails – you’ll see ragged holes in your cabbage leaves, as well as the tell-tale slime that these pests leave behind. There are many slug control methods out there, from beer traps to copper tape.
Popular Summer Cabbage Varieties to Grow
Some of the best summer cabbage varieties to grow are:
- Brunswick – a German heirloom variety that stores very well
- Earliana – ready for harvest just 60 days after germination
- Late Flat Dutch – slower to harvest at 100 days, but produces massive heads that can weigh up to 7kg each
- Murdoc – a popular variety for making sauerkraut
- Savoy Faire – an attractive, dark green Savoy-style cabbage
There are also several delicious Chinese cabbage varieties out there that can be harvested in the summer. However, these are grown differently from the other types of summer cabbage.
Conclusion
While summer cabbages do take up quite a bit of space in a garden, store them correctly and they’ll feed you throughout the winter. Growing your own cabbages will also give you the opportunity to try a magically diverse range of different varieties, resulting in some delicious new ingredients to experiment with in the kitchen.