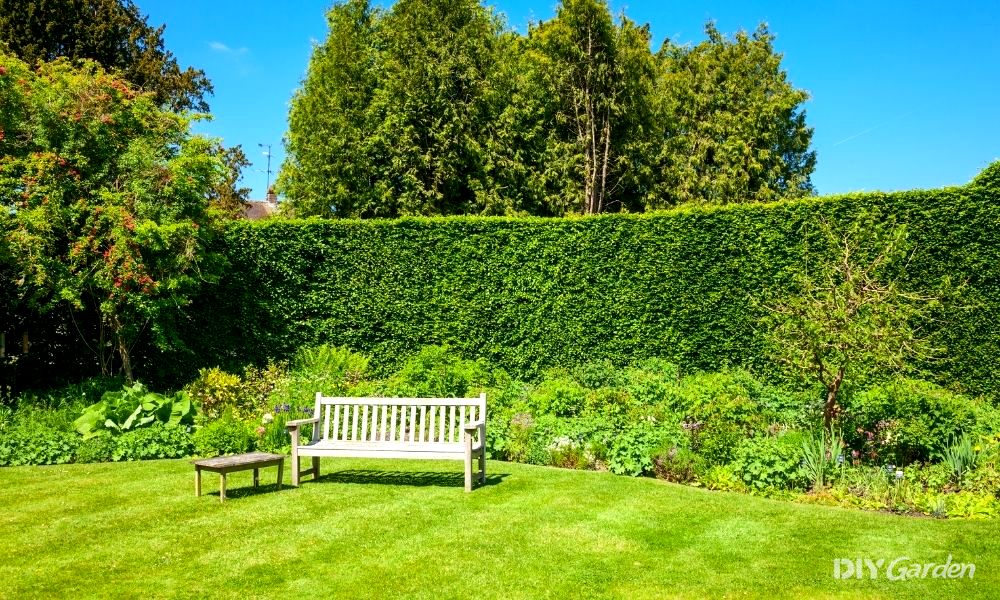
Hedges are a great way to stop your neighbours from peering into your garden. But they take up a lot of room and can suddenly feel like they’re closing in on you.
Removing a hedge isn’t easy – it takes commitment. It requires a combination of strength, stamina, and the right tools for the job.
This article takes you through how to remove a hedge. Just follow the steps, and you’ll have a hedgeless garden in no time!
Step 1: Consider Why You Want it Gone
Once it’s gone, there’s no going back, so you best be sure! Before eradicating it, try pruning it back. This may open up your garden while continuing to keep your neighbours’ watchful eyes out.
Instead of removing it because of disease, try curing it. This may save you a lot of time and energy. And if it’s in an awkward place, why not move it instead? Just dig a wide hole around the roots and lift.
Step 2: Do Your Research
Set on hedge removal? First, do your research. You need to know what plant species it is and whether it’s covering anything important like a drain. Check for cables, too.
Pulling out a hedge covering a drain or cutting an electric cable could cost you dearly. Count yourself lucky if the only thing underneath your hedge is soil!
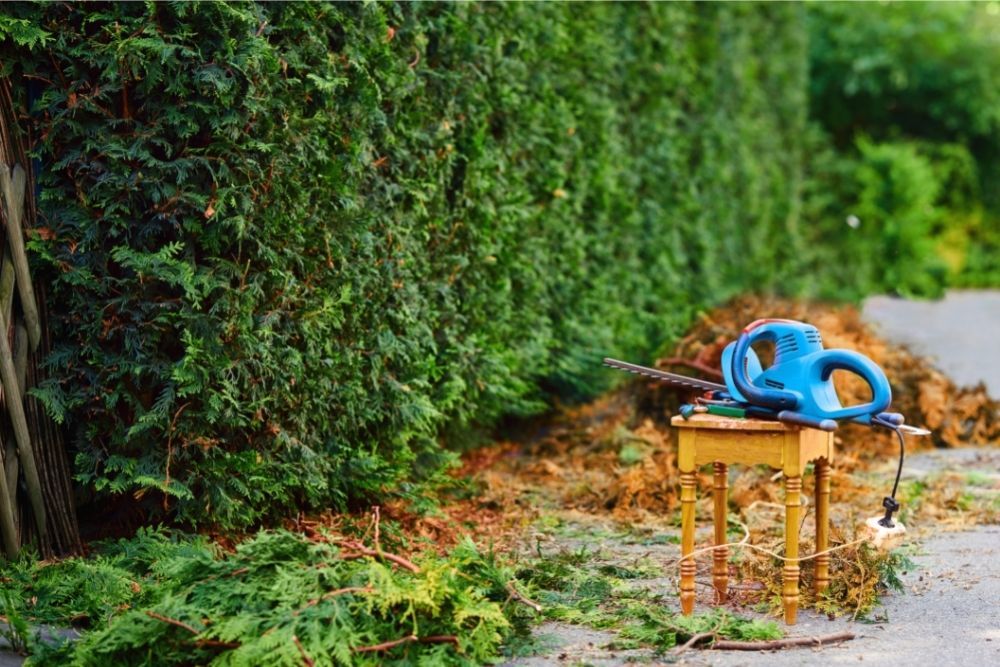
Step 3: Gear Up
Before you get geared up and ready to go, take a moment. Have you thought about hiring a tree surgeon? After all, they are specifically trained for the job. They’ll remove your hedge with no fuss.
But if you’re more of the hands-on type, make sure you kit yourself out with the proper safety equipment. Safety goggles and steel-capped boots are a must, and don’t forget to cover your arms and legs to avoid nasty cuts and splinters.
Step 4: Prep the Hedge
Before you have at it with your shears, spray mature hedges with a glyphosate-based herbicide. This will kill off the hedge’s luscious leaves, allowing you to get a clear view of the branches behind.
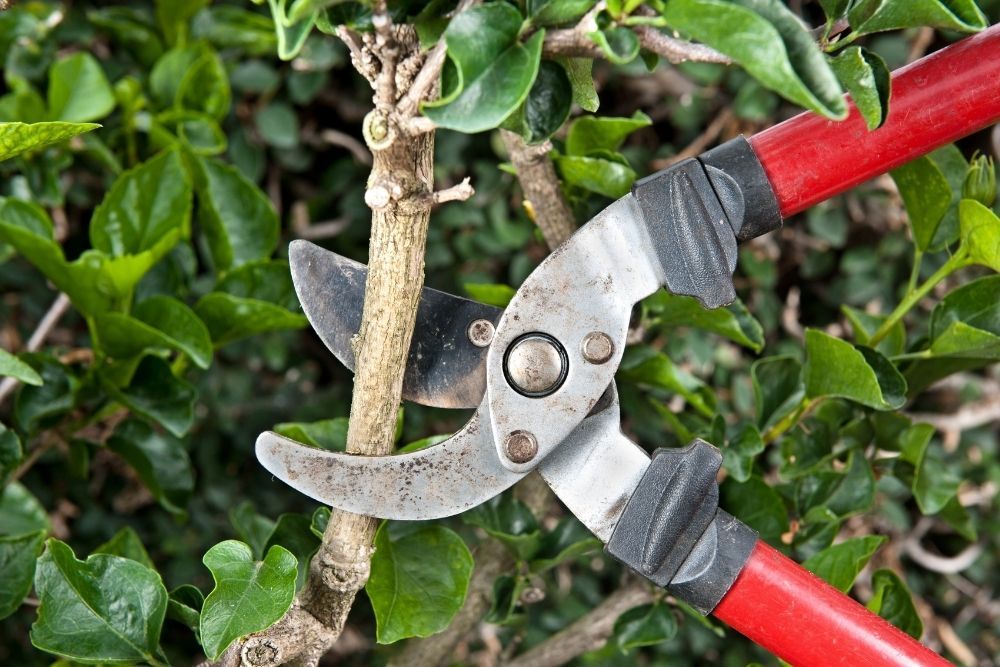
Step 5: Get Rid of the Branches
Shears (or a chainsaw) at the ready, begin cutting down the branches. Starting with the top branches will make your life a whole lot easier. Likewise, using a step ladder will save your arm muscles.
Cut the branches right back, so all you’ve got left is the stump. Then, you’re ready for the 6th and final stage.
Step 6: Remove the Stump
Well-established hedges have big stumps anchored to the ground with extensive root networks. Wondering how to remove hedge roots? Paint your hedge stump with a herbicide made specifically for stumps. This will kill the roots, saving you time on removal!
It’ll also stop new growth, solving your hedge problem for good. Allow the herbicide time to set in, then dig a hole around the stump to release its roots from the soil.
Now, try to wriggle it free. If it’s not budging, dig some more. Repeat this process until you’re able to move the stump. Then, pull!
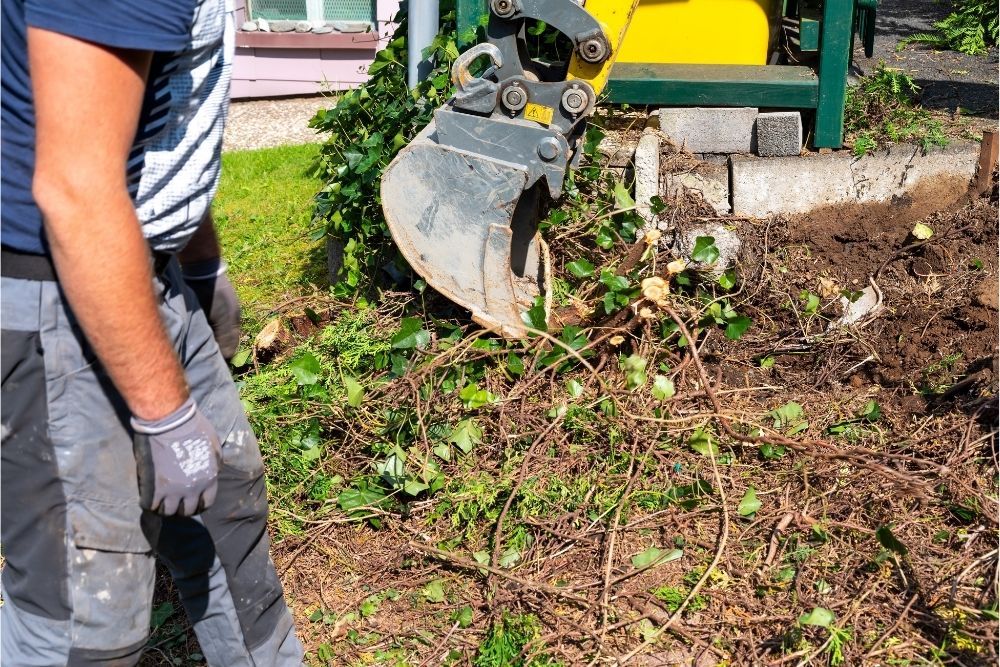
If the hard graft isn’t really your thing, try a mini digger or stump grinder instead. These mechanical helpers will take the strain off of you. But beware – mini diggers can significantly damage your garden, and stump grinders can be dangerous when not handled with care.
Happy and Hedgeless
Happy and hedgeless comes at a price – time and hard labour. To save yourself the hassle, compromise with heavy pruning, curing your hedge’s diseases, or moving it from an awkward space.
If you’re adamant it’s going, avoid expensive disasters with research, and reduce the risk of injury with the correct safety equipment. Apply glyphosate-based herbicide to mature hedges, then hack the branches away.
Last but by no means least comes the stump. The hardest step of all, this takes some real effort. To simplify this strenuous task, use stump-killing herbicide or bring in the mechanical assistants.