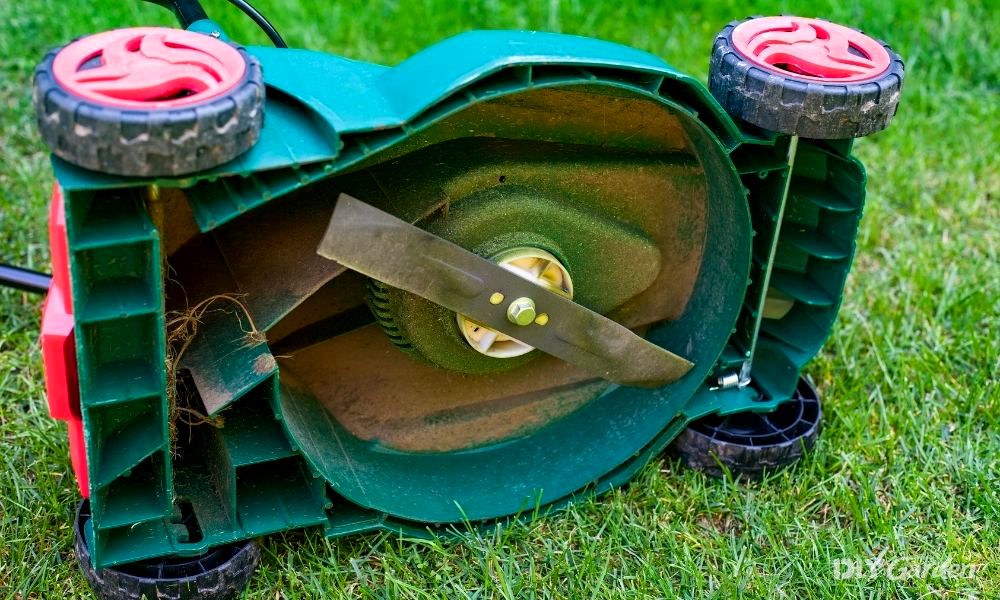
It’s recommended that lawn mower blades are sharpened biannually. I know, that seems like a lot of work. But it’s for a good reason – dull lawn mower blades result in a rough cut, tearing the ends of each individual grass blade.
Not only does this make grass more susceptible to disease and pests, it also has a tendency to turn your grass brown – definitely something to avoid!
Do I Have to Remove the Lawn Mower Blades to Sharpen Them?
Most people don’t sharpen their lawn mower’s blades regularly because of the effort it takes. I mean, who wants to take their lawn mower apart just to sharpen the blades?
But what if you could sharpen your lawn mower blades and it not require particularly high levels of motivation? It’s a common misconception that lawn mower blades have to be removed from the machine to be sharpened.
Below, we’ll take you through a step-by-step of how to sharpen blades without removing them (full disclosure, you’ll need a rotary mower for this – we won’t be covering cylinder mowers on this page).
So, first of all, when should you sharpen the blades?
When Should I Sharpen the Blades?
So, you know that you should sharpen the blades of your lawn mower twice a year. But when? The rough guidance is after every 20 hours of mowing.
Alternatively, if counting hours doesn’t seem that logical, you can sharpen your mower’s blades after 20 uses for if you have a large garden and 40 uses if you have a small garden. It’s worth sharpening the blades before the peak growing season and once during summer.
To allow your blades to keep on giving, clean them after every use. Removing rocks and other hard materials from your path will also improve the longevity of your mower.
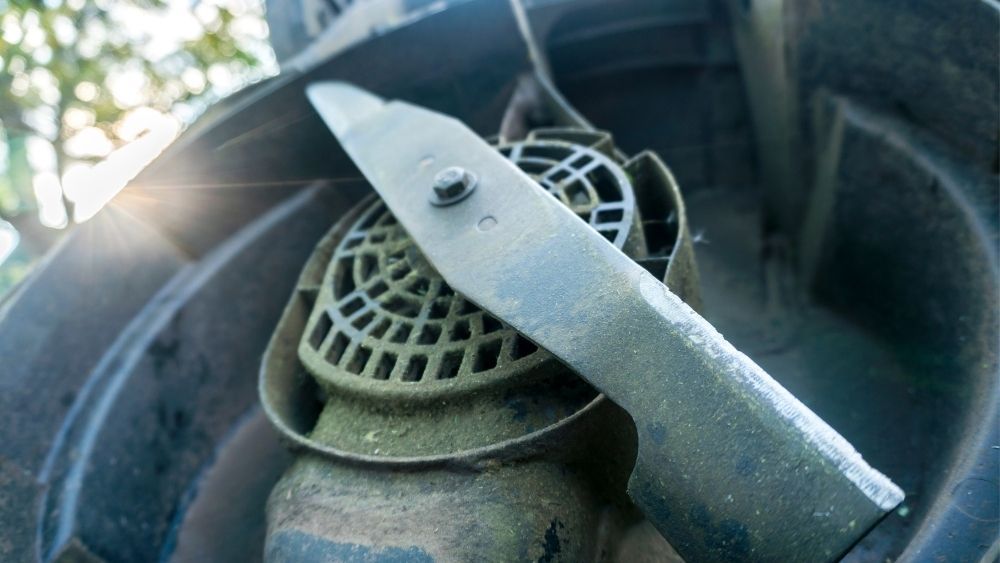
Keeping an eye on the blades will also give you a good idea of when they need to be replaced. If they’re covered in notches, are unbalanced, or bent, it’s time to replace them!
READ NEXT: This Year’s Best Lawn Mowers
Sharpening Lawn Mower Blades Without Removing Them
Step 1: Get Prepped!
To sharpen up those blades, you need some tools:
- Angle grinder/flat file (a 25 cm/10-inch flat file will do nicely)
- A bucket filled with water
- 2 x wooden blocks
- Brush/steel wire brush
And for safety purposes, remember to kit yourself out with safety goggles and cut-resistant gloves!
There’s one more thing you’ll need… a lawn mower!
Step 2: Get Your Lawn Mower Ready
Place your lawn mower on a flat surface. If it’s a sunny day, feel free to do this outside. For the colder, wetter months, you’ll be glad to have the shelter of a garage!
Now, to ensure that the mower doesn’t start midway through, it’s vital to remove the spark plug. This is absolutely vital – don’t skip this step!
Once the spark plug is out, seal the gas tank by removing the lid and covering the mouth of the tank with a plastic bag. Put the lid back where it was, and voilà, you’ve sealed the gas tank!
Step 3: Position the Mower Just Right
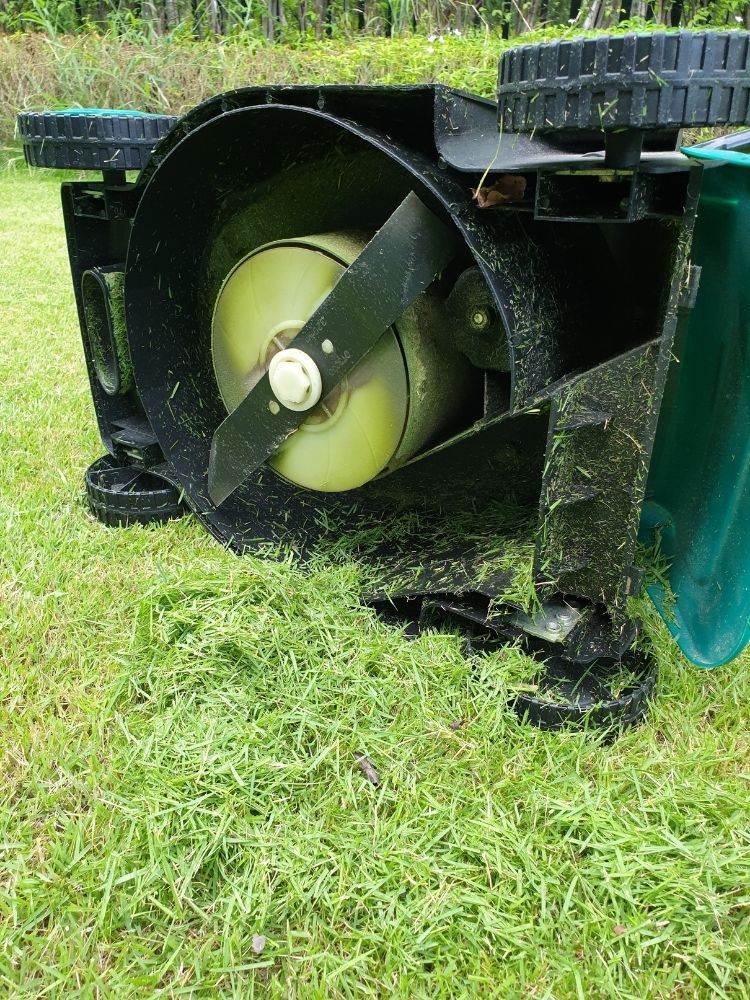
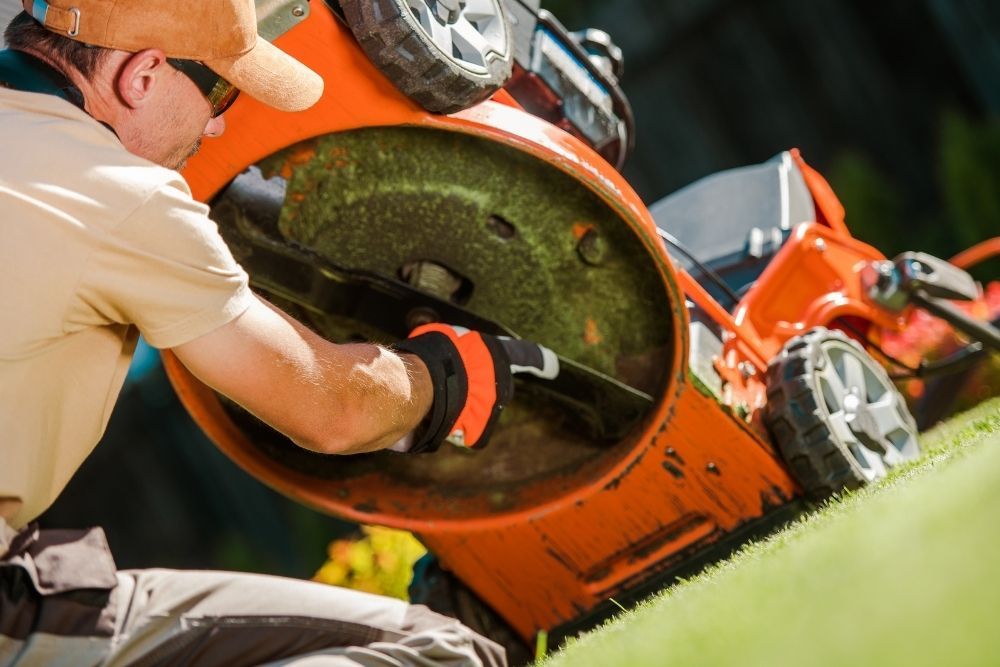
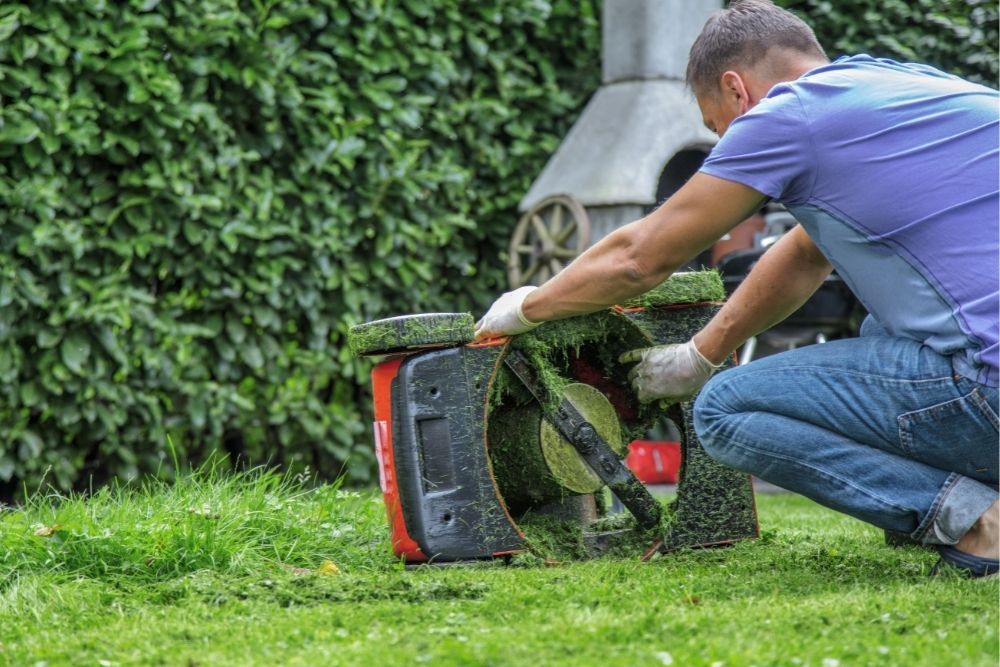
Ensuring the carburettor is pointing upwards, place the lawn mower on its side. This will allow easier access to the blades.
Then, make your lawn mower more stable by positioning the first wooden block underneath it. This will stop your mower from wobbling everywhere while you’re sharpening the blades.
Step 4: Prevent Blade Rotation
You can’t sharpen a blade that won’t stop moving. So, take your second wooden block and place it under the blades. Then, give the blade a wiggle to see if it moves in any direction.
If it moves, reposition the wooden block. Do this until the blade doesn’t move at all.
Step 5: Get Cleaning!
If you haven’t cleaned the blade before you begin, you’ll be filing off dirt rather than sharpening the blade.
So, get your brush and bucket of water and remove the dirt from the blade. If there’s rust on there, too, now is the perfect time to get it gone!
It pays to take a look beneath the mower deck at this point; any dirt or debris can easily be removed at this stage.
Step 6: Sharpen Those Blades!
With your angle grinder or flat file at the ready, now is the time to get sharpening! You want your tool to be correctly angled over the mower blade’s cutting edge. Get to work sharpening one side, then do the other.
Not sure how to use a grinder/flat file? Here are some tips:
- Only move the grinder/flat file in a single direction – sharpen downwards, lift the tool off the blade (don’t drag it back up!), then sharpen downwards again.
- Keep it slow and steady – this will win the race when it comes to sharpening mower blades!
- Use the tool’s whole length – sharpen the blade using the entire length of your file/grinder. The tool is that long for a reason!
- Maintain a 45° angle as much as possible. This is the ideal angle for sharpening mower blades.
- Stick to the blade’s top face – if both sides are sharpened, the blade will dull quicker.
Your lawn mower blades are ready when the face you’ve been sharpening has a noticeable shiny appearance.
Step 7: Get the Mower Reading for Mowing
Once you’re done sharpening the blades, return your mower to its upright position and unseal the fuel tank. That means taking the cap back off, removing the plastic bag, and then placing the lid back on.
You’ll also need to put the spark plug back in; otherwise, your lawn mower won’t be cutting any grass!
READ NEXT: How to Service a Petrol Lawn Mower
Get Mowing!
As you can see, it’s possible to sharpen mower blades without the extreme effort of removing them. Just get your tools ready, and sharpen away! Remember to kit yourself out with safety gear, and always, always remove the spark plug, seal the fuel tank, and stop your mower from wobbling all over the place.
Then, just stick to our 5 simple tips to ensure you’re sharpening correctly! Sharpen twice a year or once every 20 or 40 uses, depending on your garden’s size.
With clean and sharpened lawn mower blades at the ready, it’s time to get mowing.
