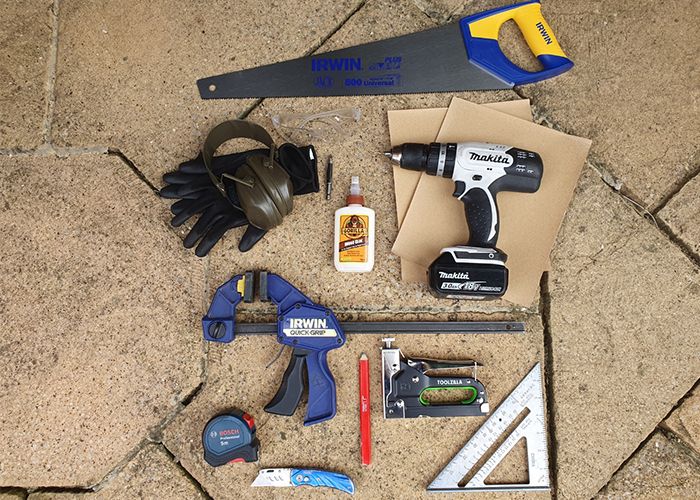
List of Tools You’ll Need to Build Your Wooden Planter Box
- Drill Driver
- Drill Bit
- Handsaw
- Stable Gun
- Wood Glue
- Clamp
- Speed Square
- Tape Measure
- Pencil
- Utility Knife
- Sand Paper
- Screwdriver
- Safety Glasses
- Ear Defenders
List of Materials You’ll Need
- Decking
- Batten
- Plastic Liner
- Screws
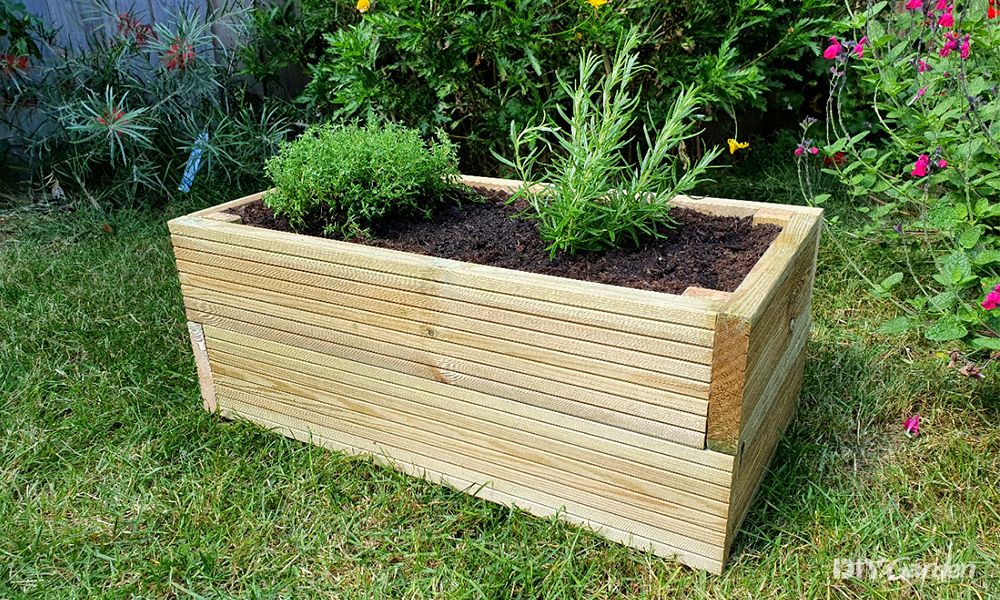
Step-by-Step Wooden Planter Build Guide
You’ve got your tools and materials ready. You’ve even found a spot in that garden that’s perfect for your new planter! Here’s how I made mine.
Step 1: Planning the planter
Whenever you start a project like this, it’s easier (and cheaper) to let the materials you have decide the size of the finished piece. The bits of decking that I looked at online were either 1.8, 2.4, or 3.6 metres long. These are standard sizes for timber products like this.
With a bit of head scratching, a fresh cup of tea, and a scrap of paper, I worked out that I can make a planter that’s 600 mm long and 300 mm deep with a single 3.6-metre-long piece of decking. Brilliant! Add to that a pair of 1” x 1½” (or 25 x 38 mm in decimal) treated battens at 2.4 metres long, and that’s it for the wood materials.
The height of the planter is determined by the width of the decking boards. The ones I got are 120 mm wide, but 140 mm ones are common too. To hide all the fixings, I screwed everything from inside through the battens. The pieces of batten sit inside the corners of the planter and act as legs for the planter to stand on.
Giving the planter sturdy legs raises it up off the floor to keep it out of any standing water. It also means I can position it on an uneven floor and still be able to level it by adjusting the feet.
It’s a really good idea to use treated outdoor wood screws for a project like this. Regular screws will work, but they’ll corrode over time. I bought a pack of 40 mm long ones and pack of 50 mm long ones. Slightly more expensive that regular screws, they earn their keep over time.
Bear in mind that this planter plan can be scaled up or down in size to fit the space you have in your garden. With more decking, you could make it as long, wide, or deep as you like!
I decided to make this a really solid planter using glue and screws to hold it together. You don’t need to, but it will help to keep everything stable when it’s out in the elements.
Top tip for buying timber
Try buy timber that’s straight and doesn’t have too many knots in it. The easiest way to check this is to grab one end and look down the length of the wood. It’ll be easy to see if it’s twisted, cupped, or bowed. There’s no such thing as a perfectly straight bit of wood, but you’ll save yourself a lot of pain if it’s straight-ish.
Step 2: The cut list
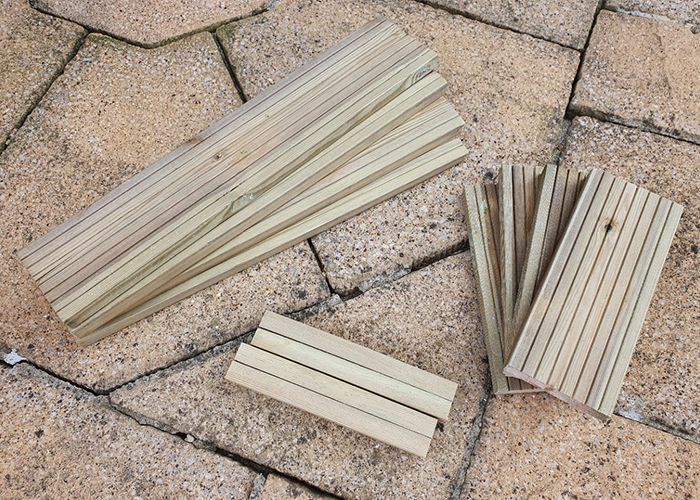
Making a cut list is an important early step. It means you can gang up your work and you’re not cutting then fixing, then cutting again.
4 x 600 mm decking pieces that make up the front and back of the planter
4 x 300 mm decking pieces that make up the sides
4 x 260 mm batten that make the legs (whatever width two boards are, add 20 mm for the legs)
4 x 180 mm batten for making the base frame side pieces
4 x 224 mm batten for making the base frame cross pieces
1 x 130 mm batten that holds the base frame together
Step 3: Cutting the timber
Now for the fun bit! I grabbed my tape measure, pencil, and speed square, and measured out 600 mm on a piece of decking.
Measure twice, cut once, as my dad always says.
When I was happy with the measurement, I marked the length and made my first cut. You can use your clamp to hold the decking steady, or a workbench if you’ve got one.
Now, instead of measuring and checking the next piece of timber, I used the one I’d cut already as a guide. I put it on top of the next bit of decking, drew my line, and sawed it through. You could even use the cut bit of decking to keep your saw blade straight as a guide.
Once I’d cut my front and back pieces, I did the same for the sides. If you’re on the money, you’ll have no more bits of decking left over. Cutting the batten legs was straightforward, I simply measured out 260 mm for the first leg, cut it, and used it as a guide for the rest.
For the base, I cut out the four pieces of 180 mm, then the single 130 mm piece. The 224 mm cross pieces were determined by the inside diameter of the planter. You want them to be a tight fit so they add more strength to the base frame.
Step 4: Laying out the timber
I like to “dry fit” any project like this before jumping straight into gluing and screwing. This way, you can check your measurements and make sure everything looks right without making any permanent bonds.
Rather than laying each board directly on top of each other, I staggered them around the edge of the planter.
This does three things: It adds strength at the corners because there’s more surface area for the glue, it exposes less end-grain to the elements, and I think it looks pretty good too.
I laid the first course of boards edge down on a flat surface and carefully placed the second course on top. Putting the planter together like this made it easier to visualise where all the screws would need to go.
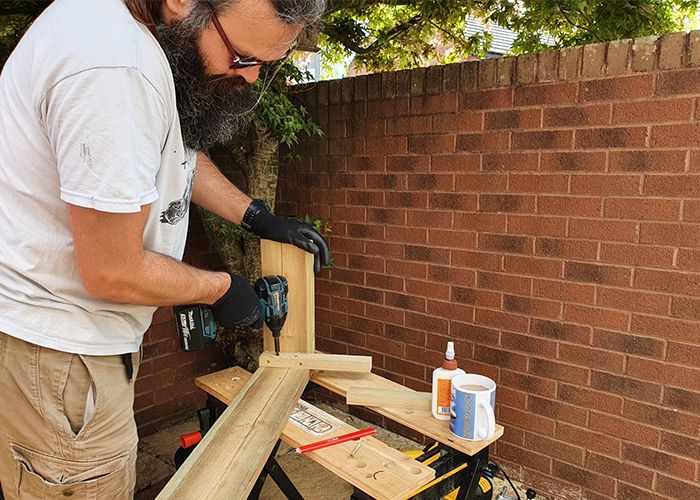
Step 5: Pre-drill the screw holes
After laying out the front, back, and sides, I positioned the batten legs in the corners and marked with my pencil where I wanted the screws to go. Pre-drilling holes helped to avoid splitting the battens and makes snugging down the screws that much easier.
So that meant making eight holes in each leg. I lined up one leg as best as I could with the pilot holes evenly spaced out and used this as a guide for the other three legs. Ganging up the work and drilling all the pilot holes in one go saved time and thinking.
Top tip for saving time when screwing
Starting your screws before putting your timber in place is a great way to save time. You can also avoid trying to start off screws at really awkward angles. After drilling the pilot holes, I drove the screws through the batten until the tips were just poking through the other side. These little spikes stop the batten from sliding around as well.
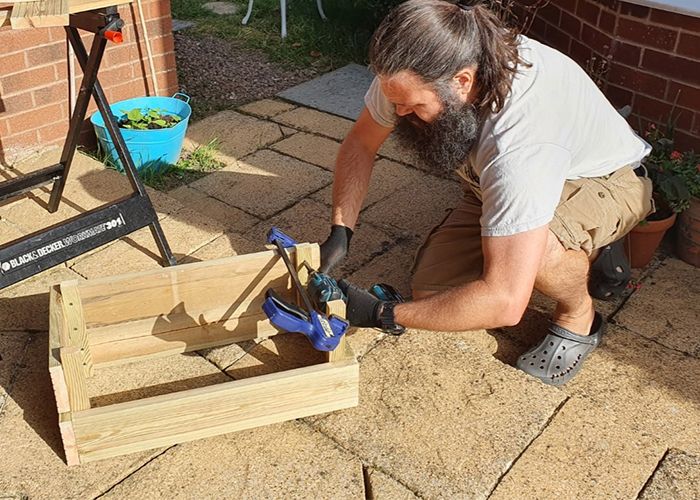
Step 6: Glue then screw the first layer

Glue doesn’t just make for much stronger joints, it also helps to hold the workpiece together when you add the screws. On my flat surface, I squeezed a line of glue along the end grain of one of the end pieces and squidged it onto the end of one of my front pieces at a right angle.
I then squeezed more glue along two sides of the batten and pushed it snugly into the corner. The square batten helped to keep things at a proper right angle, and the clamp across the short end made sure it was secure.
I used four screws for each board- two 50 mm through the long side of the batten, and two 40 mm through the short side of the batten. Leaving the glue to cure for a bit, I helped myself to another cup of tea.
Remembering to stagger the boards on the first course, I repeated this step for the other four corners. It got easier to keep things square, but as the box shape came together there was less room to get the drill driver in there.
I was glad I drilled pilot holes and started the screws, because I needed to drive the rest of fixings in by hand! Once the bottom layer of decking was firmly in place, it was time to put together the base frame.
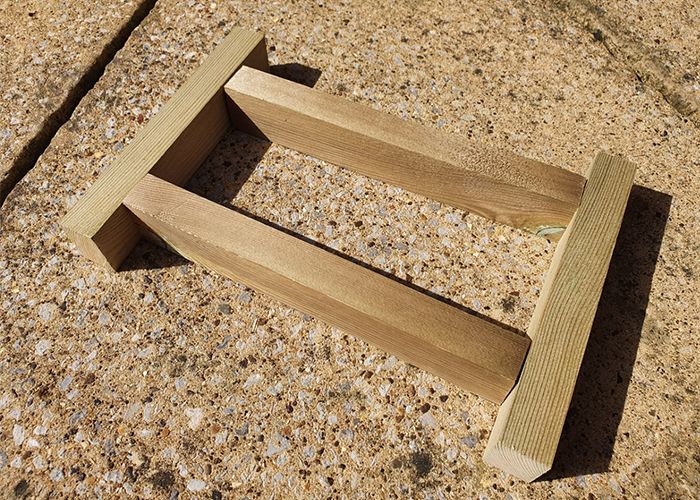
Step 7: Making the base frame
Hold on, why make the base before the top layer of decking has been glued and screwed into place?
It made sense to me to get the base in while the access was good. Once the top layer was in place, getting at the screws was a lot more difficult!
One of the problems I’d had with making planters in the past was adding in enough drainage. Even after drilling a whole bunch of holes in my first batch of planters, they still got clogged up. I decided this time around to make sure that this planter was as free-draining as possible.
Because all the screwing is done from the inside out, I needed to make a small frame and wedge it into the gap between the two long sides of the planter. Looking a bit like the Roman numeral for “2”, the two 180 mm battens made up the horizontal pieces and the 224 mm pieces were the verticals.
I divided the 180 mm pieces in half, then half again to even space out the fixings. Marking 45 mm from each end made sure they were equal. I glued then screwed the two bits of 224 mm batten on, making sure they looked right with my speed square. Adding the other bit of 180 mm batten made a little frame.
This frame wedged nicely inside the planter, and with a bit of glue and a few screws into the frame, it was as solid as I could make it. There are two of these Roman numeral frames, connected by the 130 mm piece of batten.
Step 8: Glue then screw the top layer of decking
Adding on the next layer of the decking was easy enough, but there wasn’t much clearance left for power tools. I started the screws in the legs, spread glue over all the surfaces, then finished off the screws by hand.
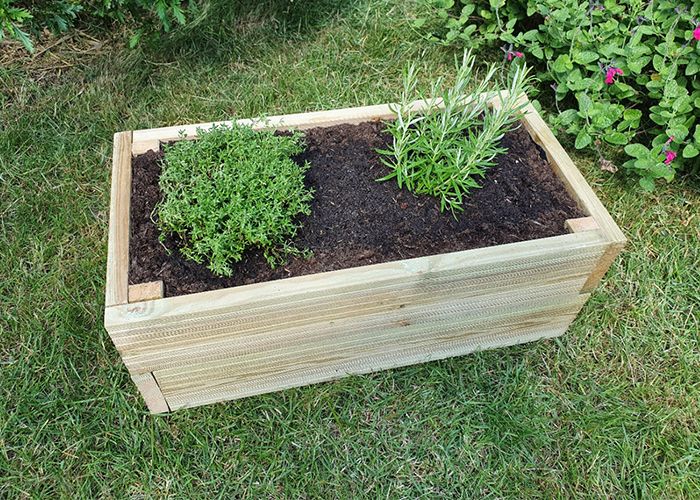
Step 9: Lining the planter
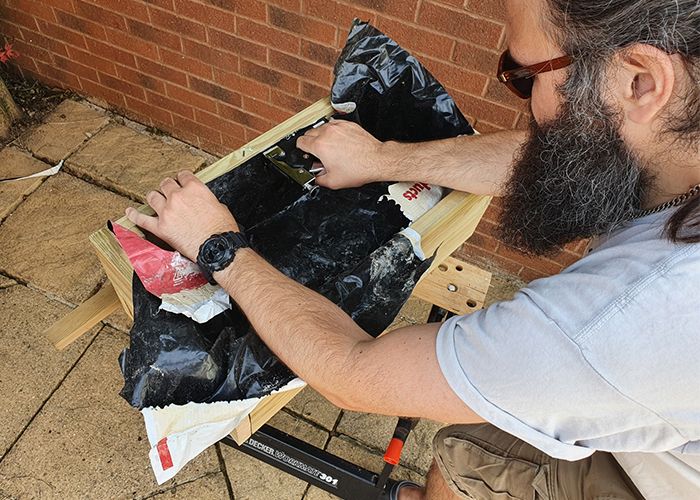
One of the best ways to make sure a planter will last for years and years is to line it with plastic. It doesn’t matter whether it’s old compost sacks or expensive damp proof membrane, it just needs to keep the soil away from the timber.
See here for our detailed guide on how to line a wooden planter box.
I pushed my old compost sack into the corners and stapled it to the walls starting from the top down. It didn’t need to look good because no one’s ever going to see it! I probably used too many staples, but at least it won’t come loose any time soon.
Step 10: Trimming the liner and filling with compost
I started off by poking lots of holes in the liner. You could use anything for this, a sharp knife or a thin screwdriver will do the trick. I used my utility knife to trim the plastic liner just below the top of the planter. Again, it doesn’t need to be neat!
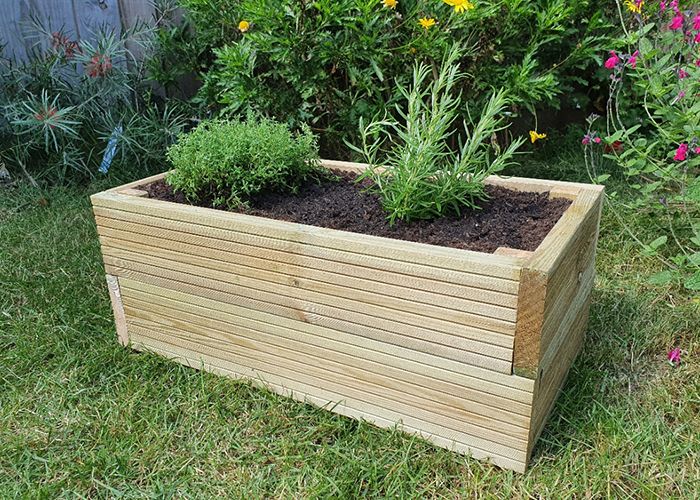
After dumping a whole load of compost into the planter, it was time to add some plants! I went for rosemary and thyme to add to my growing herb garden. You can choose whatever you like!