
Alpine planters are interesting and attractive additions to all types of gardens – in fact you don’t even need a garden! A balcony, patio or even a large window sill will display an alpine planter to great effect.
What Is An Alpine Planter?
It’s a bowl, trough or container filled with little plants that grow in alpine conditions.
Alpine plants are tough low-growing guys that like lots of drainage and light.
Imagine growing in the Alps. It’s a dry, mountainous terrain, probably windy, and all the rain quickly runs off. That’s the conditions alpine plants thrive in and it’s what you need to replicate.
Here’s what you’ll need:
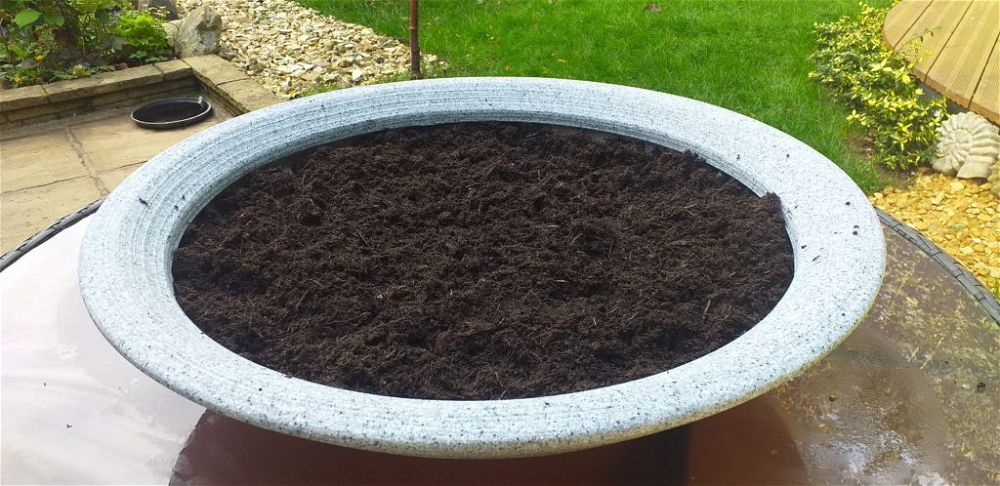
A container
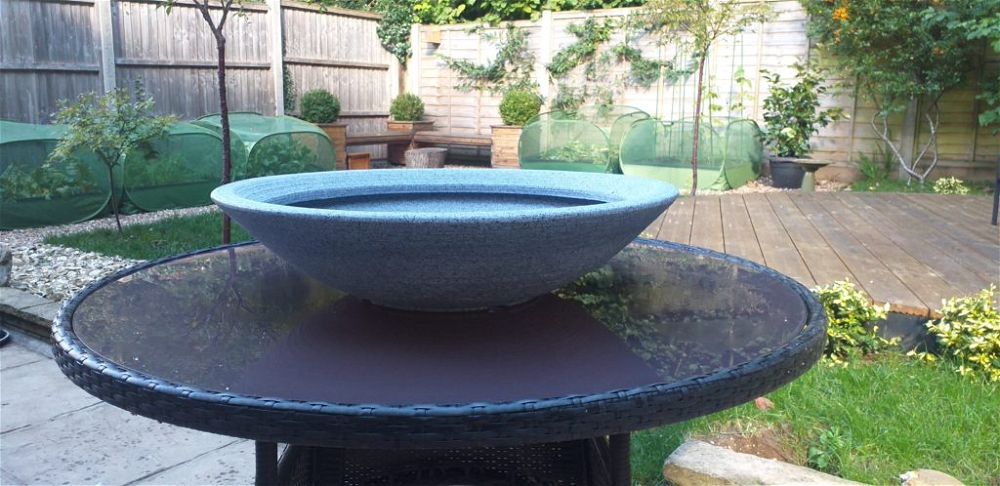
This one is fibreglass and resembles stone but it’s really light. It doesn’t really matter what your planter is made of so long as it has lots of drainage.
If your planter doesn’t have holes in the base rain will fill it up and drown those little plants – remember they like drainage! Drill some holes if necessary.
Alpine plants
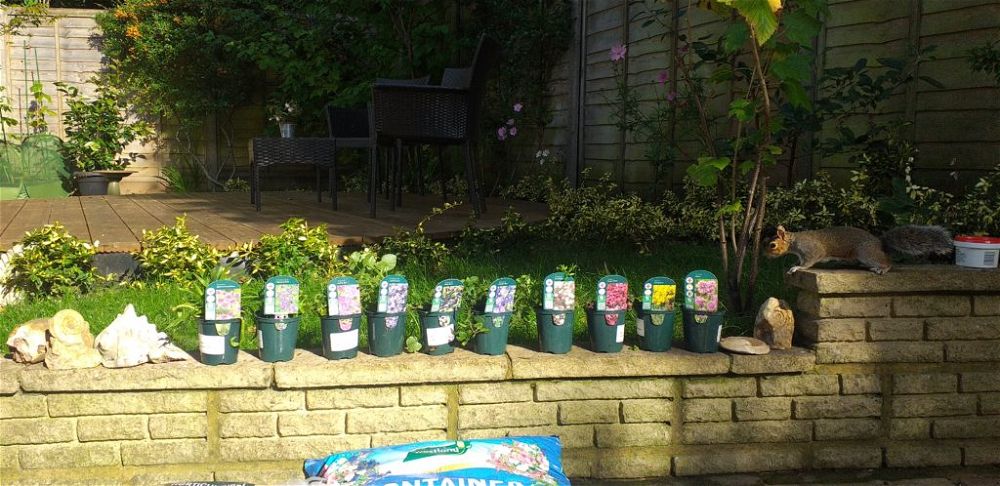
Here are a few suggestions:
- Lychnis alpine – textured foliage and pink fluffy flowers
- Sedum rectangular – fleshy leaves with yellow flowers
- Sedum purper winter – fleshy leaves and dark pink flowers
- Armenia ballerina purple rose – textured foliage with pink flowers
- Leptinella Platts Black – dark foliage with tiny white button flowers
- Veronica Georgia Blue – pale green foliage with blue flowers
- Erigeron sea of blossom – green foliage with small daisy heads
- Aubretia – all types – green foliage purple or pink flowers
- Campanula – all types – green foliage purple flowers
You can buy alpine plants individually or an ‘alpine starter pack’. Alpine plants are really pretty. They usually have interesting foliage and bright little flowers. They are addictive!
Compost and grit
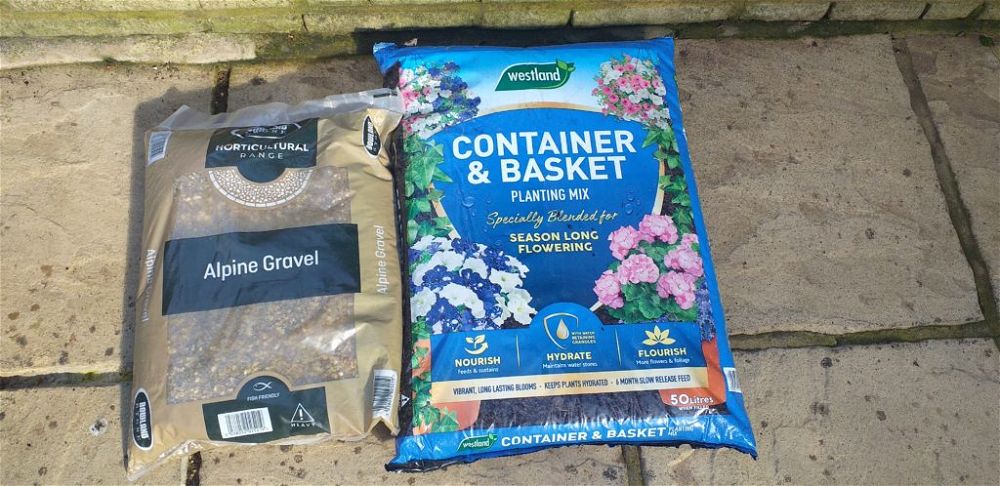
You’ll also need alpine grit for drainage and top dressing plus some good quality container compost.
I tried to get peat free but there wasn’t much choice. This one is at least reduced peat and the best I could do. Little steps all add up.
Let’s make the alpine planter!
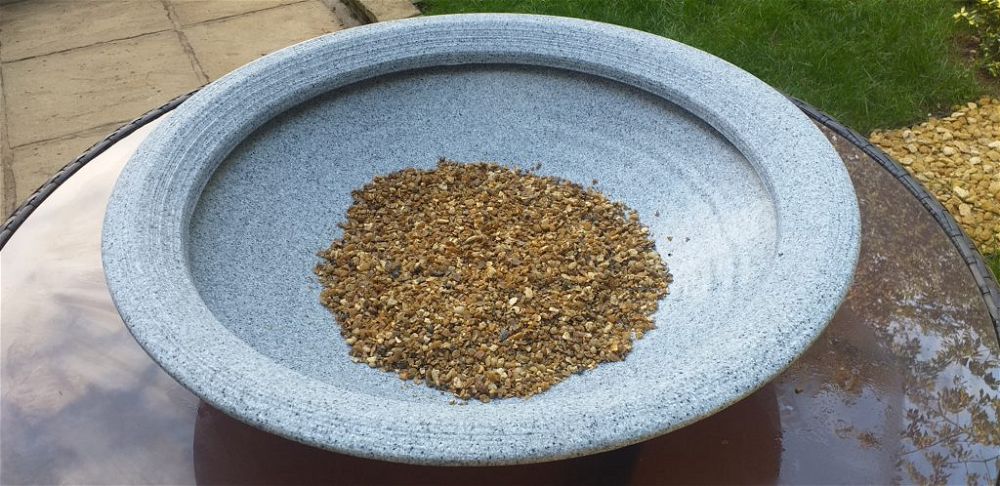
1. Put grit in the base of your container to create really good drainage and stop the compost washing out the drainage holes.
2. Fill with soil about 2/3rds of the way up. Mix in some more grit with the compost to keep it nice and airy.
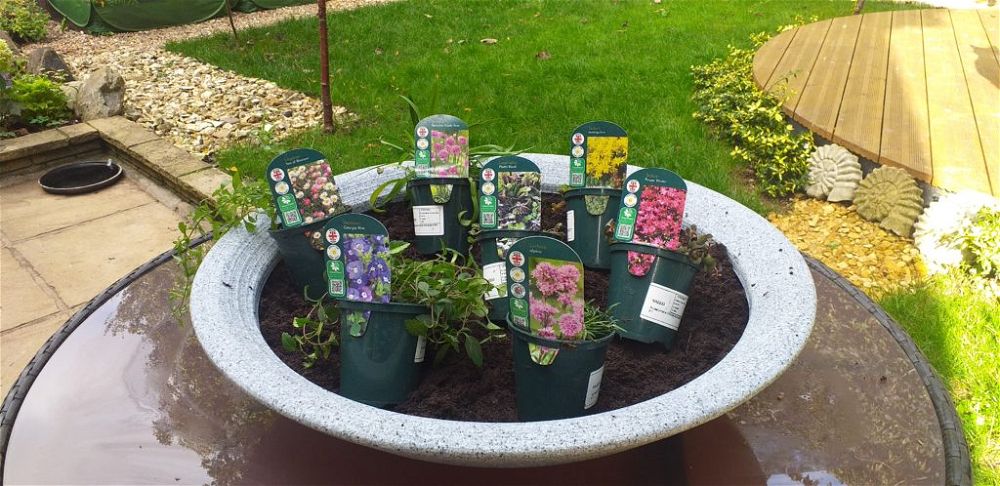
3. Take your plants and arrange them. It’s best to leave them in the pots for now so you can move them about.
Use the ones that drape near the edge – erigeron is draping here, and try not to place the same colours together (unless you’ve opted for a pink or purple only planter).
Leave space between each plant for growth. I’ve left out aubrieta and campanula for now as there isn’t enough room and they are spreaders. If something doesn’t take, I’ll replace it with one of them.
4. Take the plants out of the pots and rest them on the soil. Do they still look good? If not move them around. Take your time here and look at the planter from all angles.
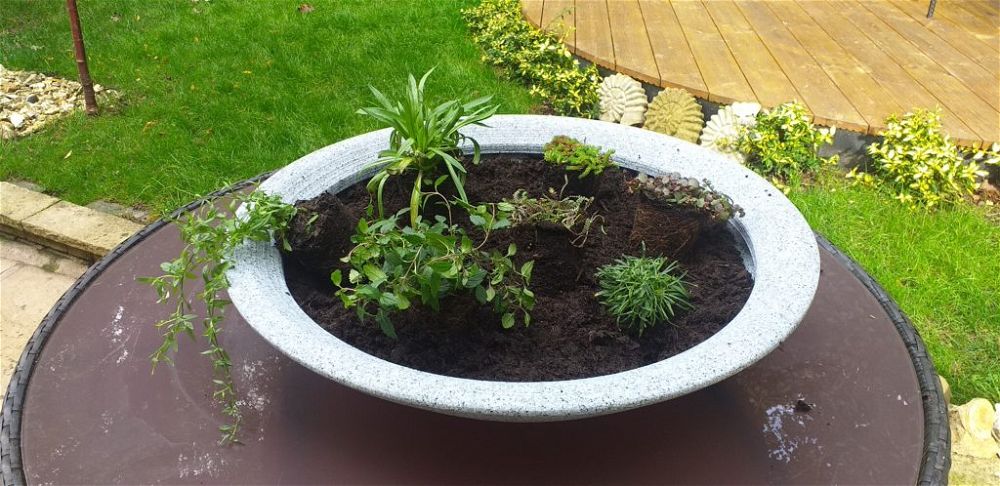
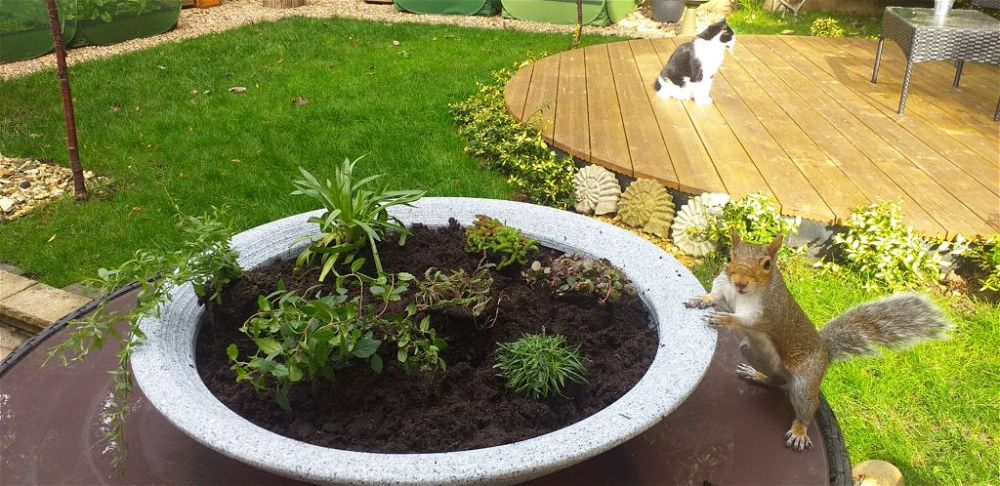
5. Now it’s time to plant them. There’s no need to dig, just place more compost around the roots until they are buried and gently press down so the roots get contact with the soil.
Can you spot Noodle the squirrel helping me here? She’s one of my regular garden visitors and will do anything for a peanut.
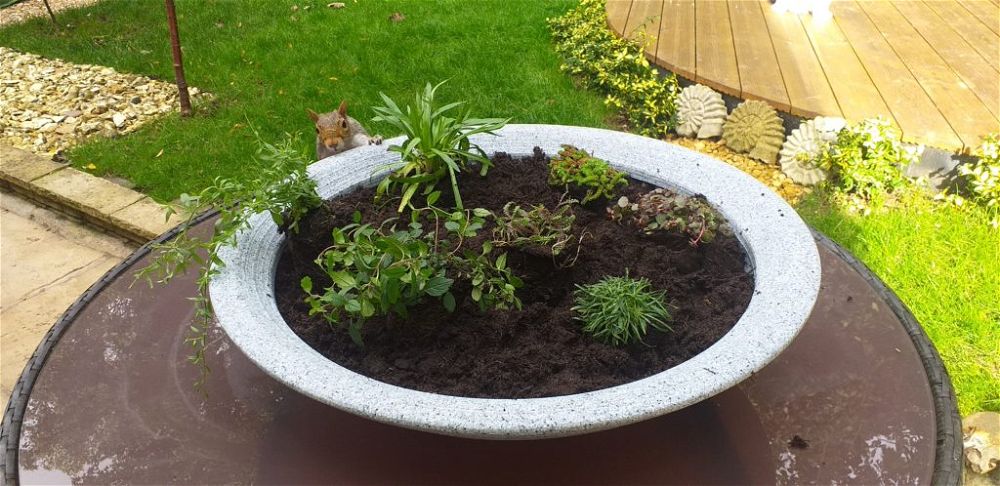
6. Step back – the planter is looking good, but Noodle thinks there should be more peanuts involved!
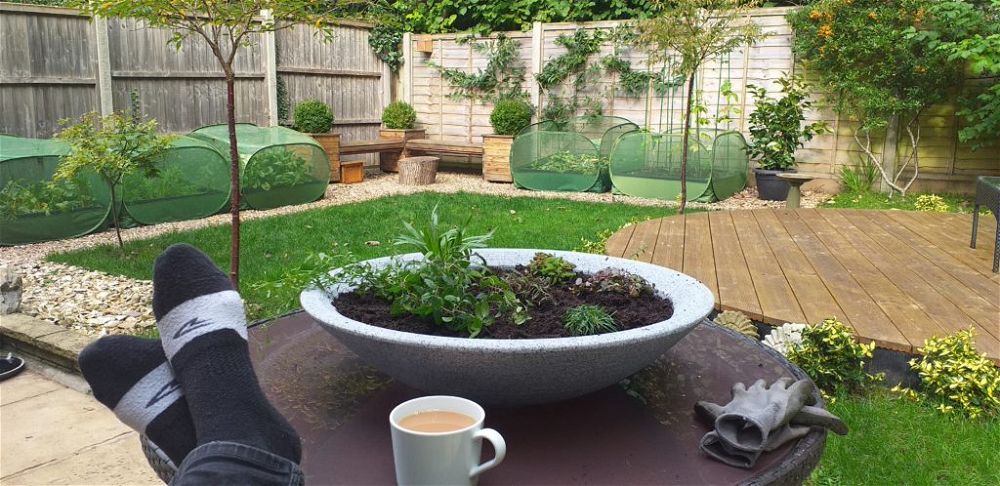
7. Now for the most important step.
Take off your gloves, crocs and make a cup of tea. Put your feet up and take some time to admire your garden.
Done correctly this step can take an hour or so depending on weather conditions.
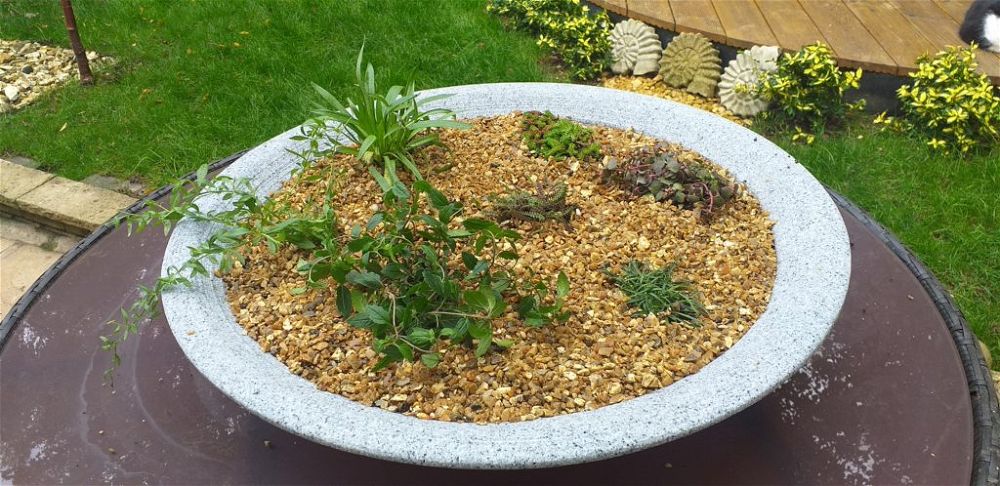
8. Now it’s time to top dress.
Take handfuls of grit and arrange it straight on top of the soil. Go slowly and lift up leaves so you can get the grit right up to the roots.
Top dressing not only looks good, it stops wet compost splashing onto the foliage when it rains and prevent the leaves resting on damp soil. Top dressing also aids drainage and reflects heat onto the heat loving alpine plants. Definitely top dress!
9. This is your alpine planter so add any extras you like.
I’m a fossil fan so I’ve popped a few ammonites here. You could add small ornaments, fairy houses, Greek style mini urns, whatever your vibe – go for it.
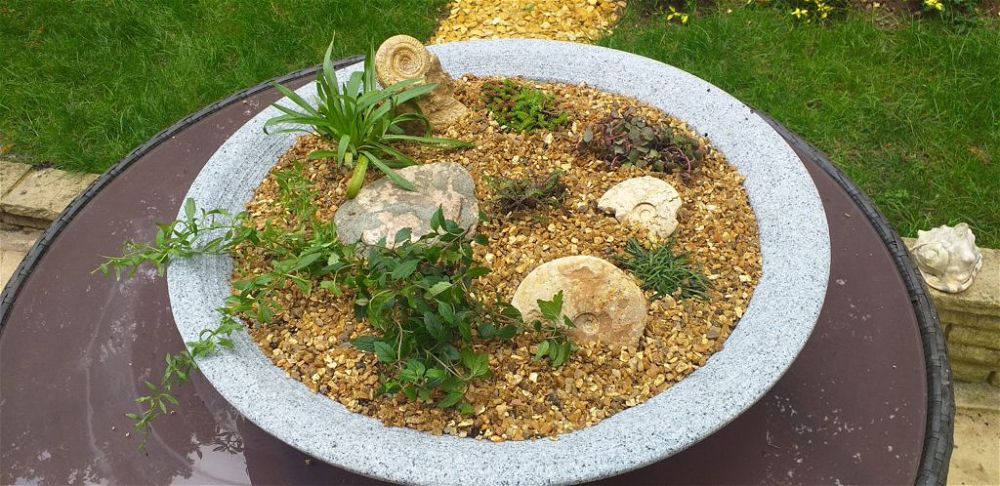
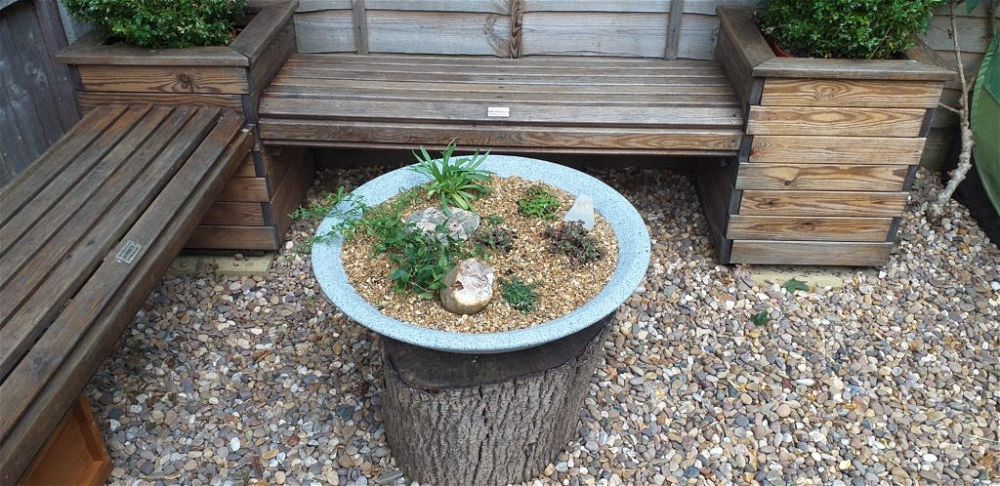
10. All done!
Now it’s time to find a place to display your alpine planter. Make it somewhere that catches the sun because we know that these alpine plants like warm, dry conditions.
I’ve chosen an old tree stump near some seating. To aid drainage the planter is on planter feet that raise it up an inch or so.
That grit looks like it’ll easily support a morning cuppa or an evening glass of wine doesn’t it? Perhaps a coaster in there would make it a multi-tasking mini garden?
So that’s your step-by-step guide to building an alpine garden. If you enjoyed it, follow the same steps but replace alpine plants with succulents to create a succulent planter. Both species enjoy dry, sunny conditions.
Alpine planters are an easy and enjoyable way to start gardening and a fun project for kids too. Just remember to make sure the soil can drain and there’s lots of grit involved.
In harsh weather you could tuck a sheet of bubble wrap over the top for extra protection throughout the winter or move the planter into the shelter of a house wall or cold frame.
It’s not essential because alpine plants are tough, but it might help keep the worst of our rain off. Wet conditions are alpine plant killers, not the cold.
Let’s see what spring time brings! We’ll add some photos of the planter in bloom.