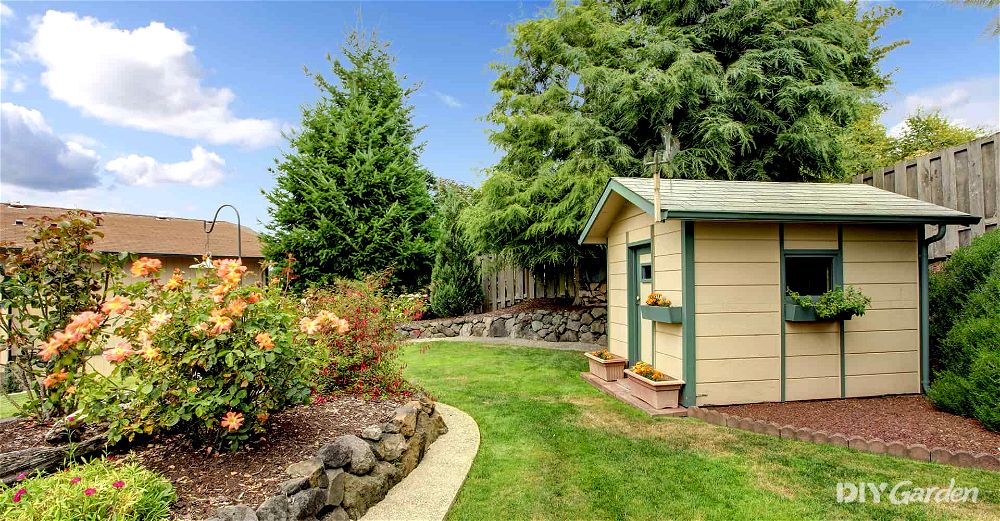
If you need to move your garden shed, there’s a clever little technique you can follow.
All you need is an auto-jack, two wood tracks, wood blocks, and at least three pipes that are wider than the shed. You’ll also need some muscle.
First things first – anything that stands between your shed and its new location has got to go. Move all of that mess away. Make sure the path in between is clear, relatively flat and wide enough for everything to fit through. Also, take a look upwards to make sure there’s nothing above that could get caught on your sheds roof, like tree branches.
Now it’s time to clean out your entire shed. It might be tempting to leave some tools in there and hope for the best, but removing everything now will make the shed much lighter to move. Also, keep in mind that items inside could fall or bang against each other and possibly get damaged during the move.
Once the space is clean and the shed is empty, you’re going to need another paid of hands! You’ll probably need two or three friends for small or medium sized sheds.
Start by jacking up the back of the shed, and insert the wood blocks underneath the back of your shed to hold it up. Then jack up the front of the shed, and repeat. Insert your wooden tracks, and slide the pipe rollers in on top of them. You’re going to use them as make-shift wheels to roll your shed. You want to make sure that your pipes extend wider than the end of the shed. That’s so the shed doesn’t fall to the side if one of the pipes moves one way or another.
Now it’s time to get moving. Push the shed forward on the pipes, so it rolls forward with them underneath. Once you start moving forward, each pipe will gradually move backwards until they’re no longer under the shed. As each pipe comes out from behind it, add more pipes in front of the shed. The shed will roll over those new pipes and continue moving forward. You can also reuse the same pipes by grabbing pipes from the back (once the shed has completely rolled over them) and putting it back in front. Make sure there are at least two or three pipes under the shed at all times, so you don’t have to jack the shed up again to slip another pip underneath.
If you need to turn the shed, have your friend at each corner push to rotate the shed until it’s pointing in the direction you want. Just be careful that it doesn’t slide off of the pipes on either end while you’re turning. Once your shed is in the new location, put each wood block back under each corner and use the jack to lower it down to ground level on each end.
Here’s a useful explainer video to talk you through:
