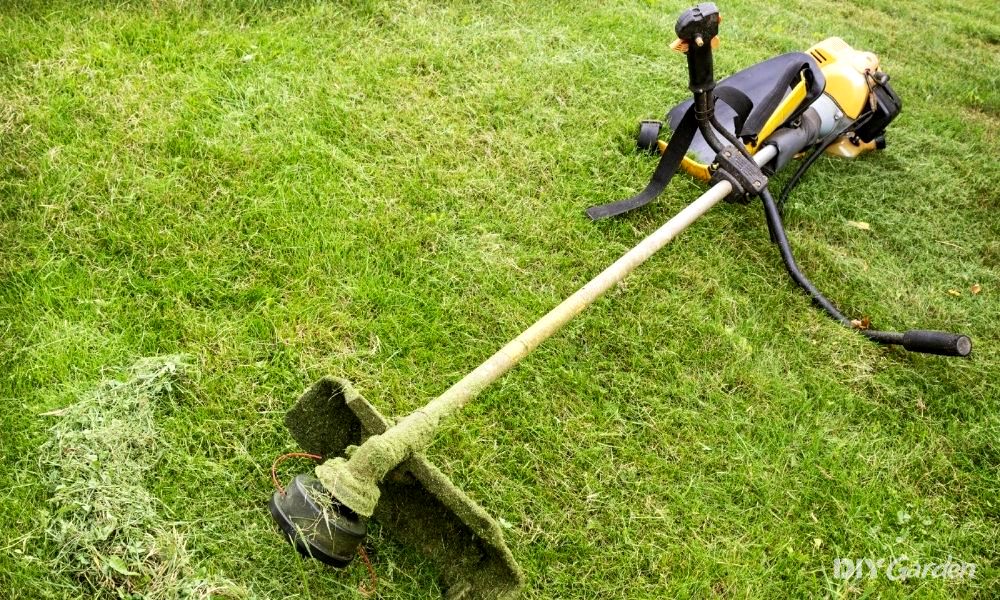
We spend so much energy tending to our gardens that we neglect the poor tools that help us achieve such Edens. Strimmers are no exception. The rapidly spinning cord makes light work of weeds, borders and edges.
But to keep your trimmer doing what it does best, you need to service it. Regular servicing will enable your strimmer to work optimally for longer. And servicing only takes several minutes!
Here, you’ll find out exactly how to service your petrol strimmer. Follow this quick and easy 7-step guide to keep your trimmer cutting nicely.
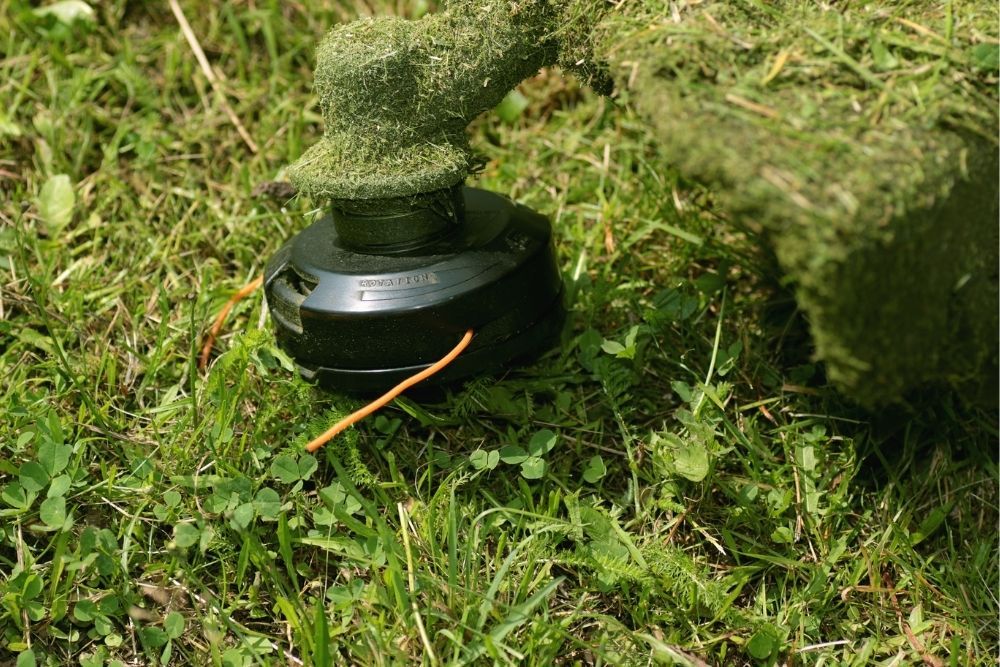
Step 1: Examine the Nylon Cord
Your strimmer won’t be of any use if its nylon cord isn’t functioning correctly. So, this is the first step to servicing your petrol strimmer. After every use, this should be done to keep your trimmer spic and span.
Before you begin, ensure your tool is turned off and unplugged – we don’t want any strimmed fingers, do we?
Now, check the quality of the nylon cord. Is it frayed? Are there visible signs of damage? If so, lengthen the line and remove the damaged part. You can use garden scissors for this, or a pair of pliers.
Get yourself a new cord if you’re almost at the end.
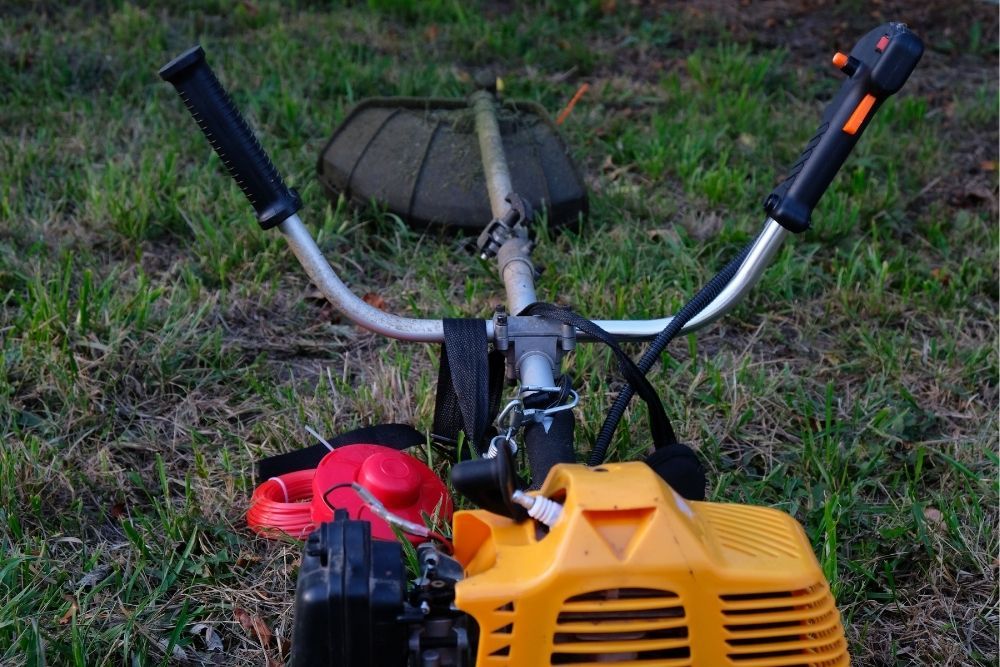
Step 2: Check the Spark Plug
The first thing to do for this step is to remove the spark plug and check whether it has any visible damage. If there’s any damage at all, however small, replace it. You don’t want a faulty spark plug.
This step takes a couple of seconds and only needs to be done after every 25 hours of use.
Step 3: Inspect the Air Intake
When strimming, you may have noticed that the cuttings get thrown up into the air. It’s only natural for the detritus to get caught up in the air intake.
If you’ve only got a couple minutes before getting back to your busy life, have a quick look at your petrol strimmer’s air intake. But remember to switch the strimmer off first! If anything is clogging up the air intake, remove it.
Inspect the air intake preceding and succeeding every use. That’ll keep it in good shape.
Step 4: Assess the Air Filter
You can quickly clear the air filter using your hands or blowing into it. This will improve the efficiency of your tool.
But if you’ve got a little more time to spare and your strimmer needs a thorough service, remove the air filter and soak it in warm water. Do this for up to 10 minutes, wring out as much water as you can, then allow it to air dry before attaching it to your strimmer once more.
Don’t worry, this doesn’t have to be done after every use. The air filter only needs attending to after every 10 hours of usage.
Step 5: Grease the Gearbox
Is your strimmer making a weird grinding noise? That could be a sign the gearbox is lacking lubrication. If this isn’t tended, the problem can escalate to jams.
Even if your trimmer isn’t making any strange noises, it pays to check the gearbox to prevent this from happening in the future.
So, take out the cord head and remove the cover plate. Then, get to work greasing the gearbox with lithium grease. The bearing mechanism will benefit from better longevity as a result.
Return the cord head and cover plate back to their former position, and your strimmer is good to go!
Step 6: Carry Out a Comprehensive Inspection
You’ll want to carry out a comprehensive inspection of your petrol strimmer every 40 hours of use. Do all the steps listed above, rather than just one or two.
This will keep your strimmer working well for the next 40 hours of use until it’s time to recheck it.
Step 7: Get Your Petrol Strimmer Winter-Ready
You’ve put your petrol strimmer to good use over the growing season, but now it’s time to store it safely. It’s not just a case of shoving your strimmer in your shed and hoping it works just as well next growing season.
Any detritus should be cleaned off before storing it, as debris left behind can harm your tool when it’s left sitting unattended for months.
Rust is a strimmer killer! Apply oil to your strimmer’s metal components to prevent rust from manifesting. Remove any fuel left in the tank, either by syphoning or letting it run itself dry.
Then, once you’re done with that, position it upright in your garage/shed, in a place where it won’t fall over. Stop any moisture from getting into the machine by covering it with a tarp or other form of protective sheeting.
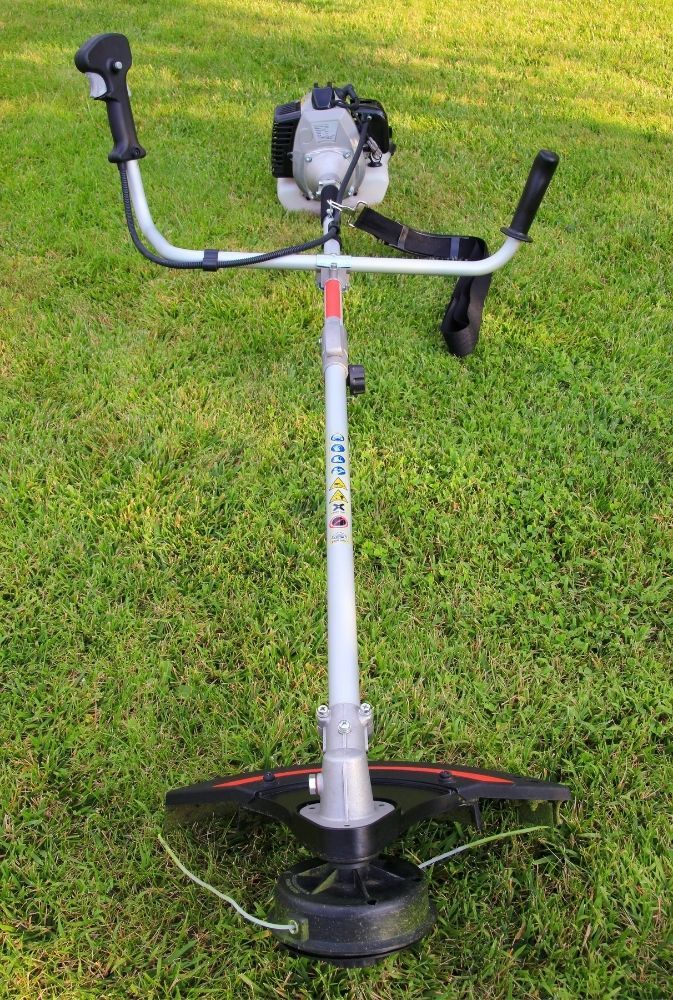
Service Away!
Who knew servicing your petrol strimmer could be so easy? All it takes is 7 simple steps, and your strimmer will live a long and helpful life.
If you’ve neglected your current strimmer and there’s no hope of resurrection, purchase a new one. But don’t make the same mistake as last time. Keep on top of the servicing!
For guidance on the best petrol strimmers, click here.