Strimmers are hand-held tools designed to cut grass and weeds, making them a useful way to keep a garden looking tidy. Most strimmers are easy to use, but if strimming is new to you, here’s what you’ll need to do to get started:
1. Prepare Your Garden
If you have garden furniture or any other items around your garden, now is the time to move them away. Some strimmer cables and blades are strong enough to hit harder objects without breaking, but it’s better to avoid doing this – you won’t have to replace your line/blades quite so often.
2. Wear Protective Gear
Although most strimmers are designed with several safety features, a strimmer head rotates at an incredible speed, meaning that debris can sometimes end up flying towards you. This makes face and eye protection a must.
You may also want to wear strong gloves and shoes, and avoid any loose clothing.
3. Prepare Your Strimmer
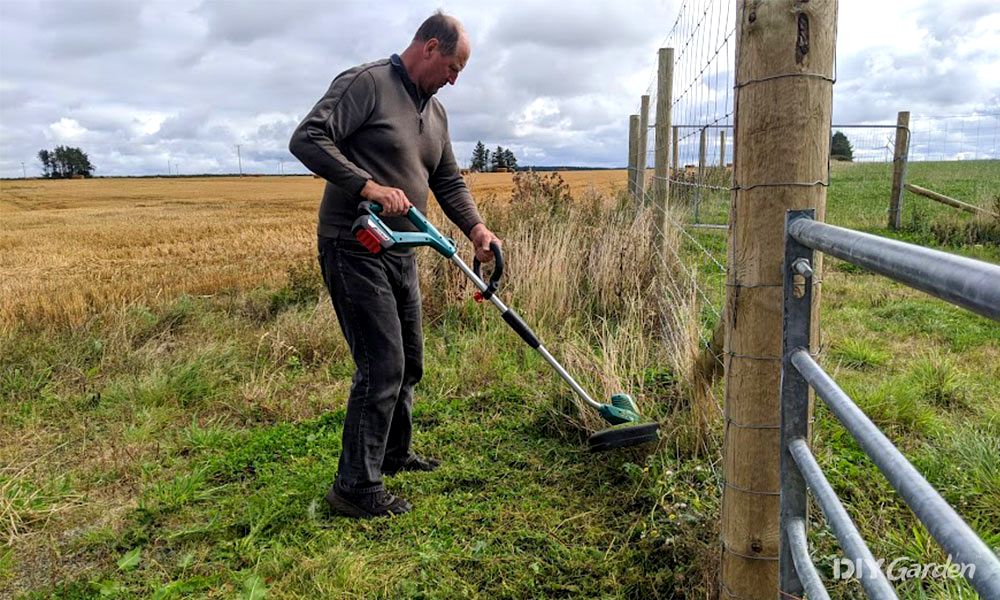
Strimmers come in all shapes and sizes, from large petrol strimmers to lightweight cordless strimmers. Whichever yours is, make sure that it has been assembled and set up correctly. Refer to your strimmer’s instruction manual if you need any help with this.
If you have a petrol strimmer, make sure that you have added enough fuel. On the other hand, cordless strimmers will need a charged battery in order to run.
4. Turn Your Strimmer On
Most strimmers will have a trigger that needs to be pulled to get things going, as well as a button that needs to be pressed at the same time. Make sure that the strimmer head is held away from your body when it’s being turned on.
5. Start Cutting
If you want a neat and even finish, there are a few different cutting techniques that you can utilise when using a strimmer. A parallel cut is great for grass on flat ground, while a tapered cut works well on grass that’s on a slope. For this, you’ll need to adjust the angle of your strimmer’s cutting head.
If you’re using your strimmer to take down overgrown weeds, then the cutting angle isn’t quite so important.
Once you’re done in the garden, give your strimmer a quick clean and then store it in a safe and dry place.
6. Replacing the Line or Blades
If your strimmer has run out of line, or has broken a blade, then you’ll need to replace this. Plastic blades usually snap on and off quite easily – check your instruction manual for details on how to do this.
With a line strimmer, you’ll need to purchase a new reel – some strimmers will work with any generic strimmer reel, while others require a particular brand. Again, check your instruction manual for more information on the strimmer that you have.