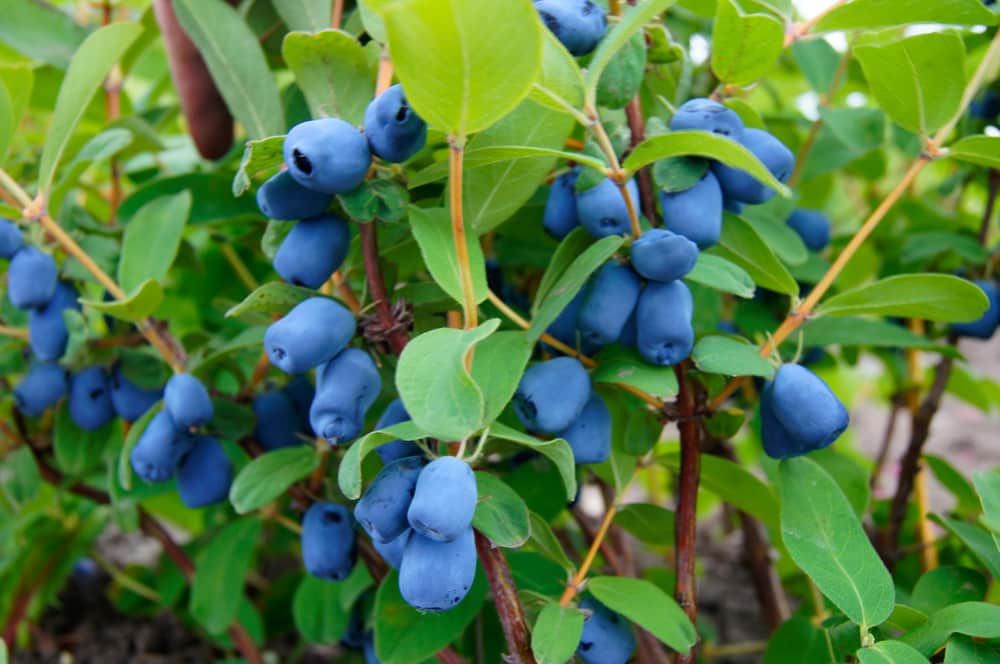
You may have only recently heard about them, but they’ll soon be everywhere. Reputed to be the next big superfood, honeyberries aren’t just packed with heaps of nutrients, but they’re also deliciously sweet and juicy. With a flavour that sits somewhere between a raspberry, a blueberry, and a cherry, it’s surprising that this fruit isn’t in higher demand. Fortunately, while you may not be able to find fresh honeyberries on supermarket shelves near you, these plants are extremely hardy, adaptable, and easy to grow.
Growing Honeyberries: A Quick Snapshot
When to Sow – Aug-Mar
When to Plant – Mar-Oct
When to Harvest – May-Jul
Average Yield per Plant – 1-6kg (depending on age)
Spacing – 1.5-2m
Depth – 1cm
How to Grow Honeyberries at Home
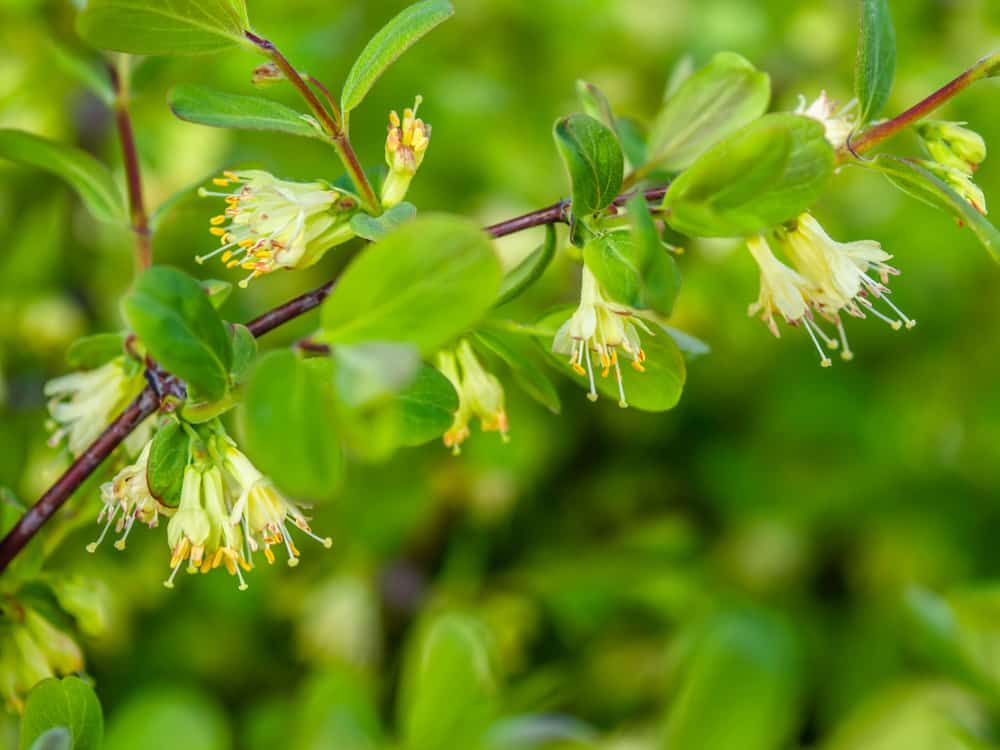
Native to Siberia, honeyberries have evolved in the harshest of climates, making them a very low-maintenance plant. Being a type of honeysuckle means that they’re highly ornamental too, with their rich blue/purple berries adding so much colour to a garden.
Growing Requirements for Honeyberries
Their Siberian roots have enabled honeyberries to be extremely cold-tolerant – they’ll cope with winter temperatures as low as -40°C. Likewise, they’re also fine with the heat, so you won’t need to worry about them if you regularly experience scorching summers.
Honeyberries do best in partial shade. They enjoy morning sun, but then prefer to be sheltered during the afternoon.
Although many compare honeyberries to blueberries, the former isn’t quite as finicky when it comes to soil pH. So long as the soil you plant your honeyberries in is well-draining, they should be able to access everything that they need.
When choosing a growing location for your honeyberries, keep their mature size in mind. This varies depending on variety, but they can grow to around 2m in both height and width, so will need plenty of space. Ideally, you should also grow a few honeyberry plants, rather than just one. Since they’re not fully self-fertile, having multiple plants near each other will significantly increase yields.
How to Grow Honeyberries from Seed
While many fruit bushes can be challenging to grow from seed, honeyberries are relatively easy. They have a good germination rate and the seedlings are tough, meaning that they won’t require constant care.
If you’d like to give this a try, you have two options:
Sowing Fresh Honeyberry Seeds in the Summer
Using fresh honeyberry seeds will give you the best germination rates. However, this means that you’ll need access to honeyberries, so that you can extract the fresh seeds. The extraction is easy – simply open up a few berries and remove the seeds tucked into the flesh.
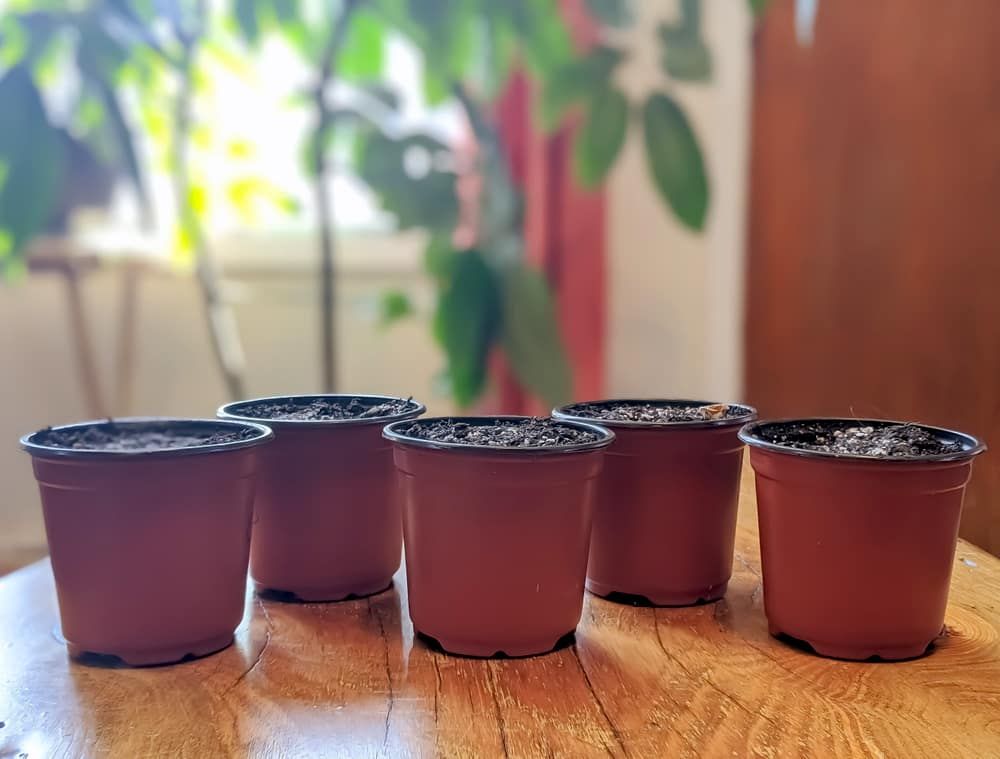
If you manage to find some fresh seeds, these can be sown in small pots of multi-purpose compost. Sow just one or two seeds per pot – honeyberry plants produce a very fibrous and dense root system that will quickly end up tangled, meaning that you’ll damage the plants if you try to separate them. If you do end up with both seeds germinating, thin one out to leave the healthiest to grow.
Sow your seeds about 1cm deep and keep your pots somewhere warm and protected. Temperatures of around 18-25°C will give you the best germination rates, making a heated propagator useful. On the other hand, anything colder than 12°C or hotter than 30°C will inhibit germination.
Keep the compost moist and your fresh honeyberry seeds should germinate in about 3-4 weeks. Seedlings should be given plenty of light and water – they’ll need protection for about four months before they’ll be strong enough to be planted out.
Sowing Stored Honeyberry Seeds in the Winter
If you’re not able to find any fresh honeyberry seeds, then you’ll need to buy some instead. Seed quality can be difficult to determine – they store well for up to one year, after which germination rates will start to rapidly drop.
The process for sowing honeyberry seeds that have been stored is a little longer, as the seeds will need to be cold stratified first. Don’t worry, this is easy – simply place them into a container and put them into your fridge for 2-3 months.
Then, sow them as described above – in small pots of multi-purpose compost, about 1cm deep. Just like with fresh seeds, you’ll need to give these heat too. Don’t plant your seedlings outside until they’re at least four months old.
How to Grow Honeyberries from Cuttings
Honeyberries grow very well from cuttings, making this an easy way to quickly amass some new plants.
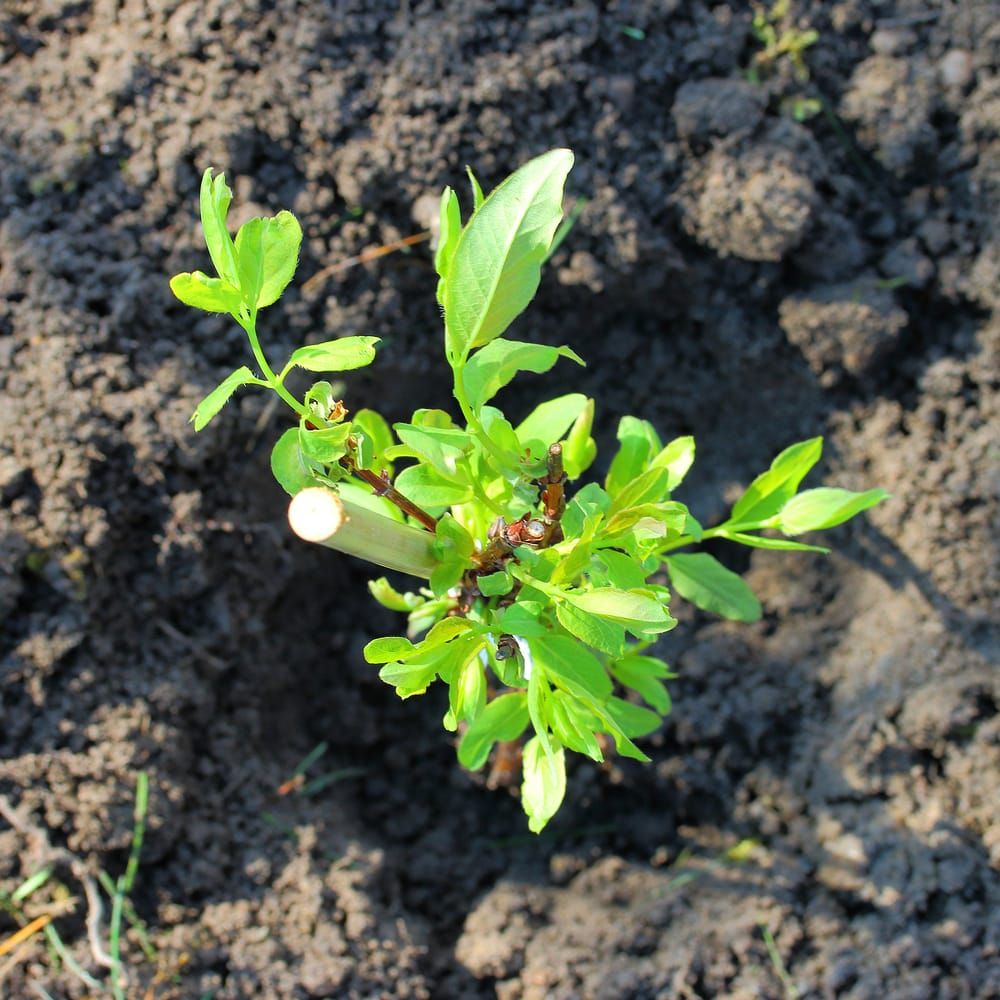
There are two ways of doing this – you can either place your cuttings into a jar of water and wait for them to produce roots before potting them up, or you can simply dip your cuttings into some rooting hormone powder and stick them straight into the ground.
How to Plant Honeyberries Outside
Honeyberry plants should be at least four months old before being planted outside. If you’ve been growing seedlings indoors, then make sure that you harden them off for one to two weeks before planting out. This will help them to adjust to outdoor conditions, saving them from transplant shock.
Before planting your honeyberries, make sure that your growing area is free of any weeds, and that your soil is well-draining. Then, dig holes that are just slightly larger than the pots that your plants are currently in. You’ll need to space each plant about 2m apart, although you may be able to go with a slightly smaller spacing if you’re growing a smaller variety.
Be very careful when removing your honeyberry plants from their pots – their root systems are so easy to damage. Place your plants into the holes that you’ve dug and then cover the roots over with soil. Firm the soil down over the roots and water your plants well. You’ll need to keep them well-watered until they’ve settled in.
If you live in an exposed area, then it would be worth staking your honeyberries when planting them. They’ll be able to stand up to strong winds once mature, but young plants could struggle.
How to Plant Honeyberries in a Greenhouse
Since honeyberry plants are so cold-tolerant, they aren’t usually grown in a greenhouse by home gardeners. However, greenhouse growing is common among commercially-produced honeyberries, as this enables growers to provide their plants with consistently optimum conditions.
If you would like to try growing honeyberries in a greenhouse, follow the same advice as to when growing outside. Since you’ll be giving your plants extra warmth, you can expect to be picking your fruits earlier in the season.
How to Care for Honeyberries
Honeyberries are a very low-maintenance plant, especially once established. However, if you want to ensure that harvests are as big as possible, here’s what you’ll need to do:
Watering Honeyberries
Although mature honeyberry plants are drought-tolerant, they’ll still do best when given a consistent supply of water. This is especially the case for young plants – you’ll need to regularly water these until they’ve established.
Feeding Honeyberries
Honeyberry plants don’t require much fertiliser. In fact, your plants will probably do just fine without any at all.
However, giving them an annual application of a balanced, slow-release fertiliser can help with growth. Don’t be tempted to overdo it – over-fertilising your honeyberry plants could cause them to produce lots of leafy growth, at the expense of flowers, and therefore berries.
Weeding and Mulching Honeyberries
Not only will weeds steal precious nutrients and moisture from your honeyberry plants, but they could also physically smother out young and delicate plants, making it important to keep your growing area weed-free.
Mulching your plants can really help with this. Using an organic mulch will not only suppress weeds, but it’ll also feed your plants as it breaks down, meaning that you likely won’t need to fertilise your honeyberries at all.
Pruning Honeyberries
While pruning isn’t essential, it can help to increase yields. That said, never prune a honeyberry bush until it’s at least five years old. Any younger than this and that new growth that you’ll be clipping away will be greatly missed by the plant.
However, older plants do benefit from a haircut. Don’t go overboard – simply cut away any old and spindly branches to allow for new growth to easily come through.
How to Harvest Honeyberries
Honeyberries are usually harvested in the spring. They’re often one of the first fruits of the year to be picked, making them feel extra-special. However, keep in mind that honeyberry plants grown from seed won’t produce fruit until they’re about two years old. Even if you’ve planted an older plant that you’ve purchased, this won’t fruit until its second year after planting.
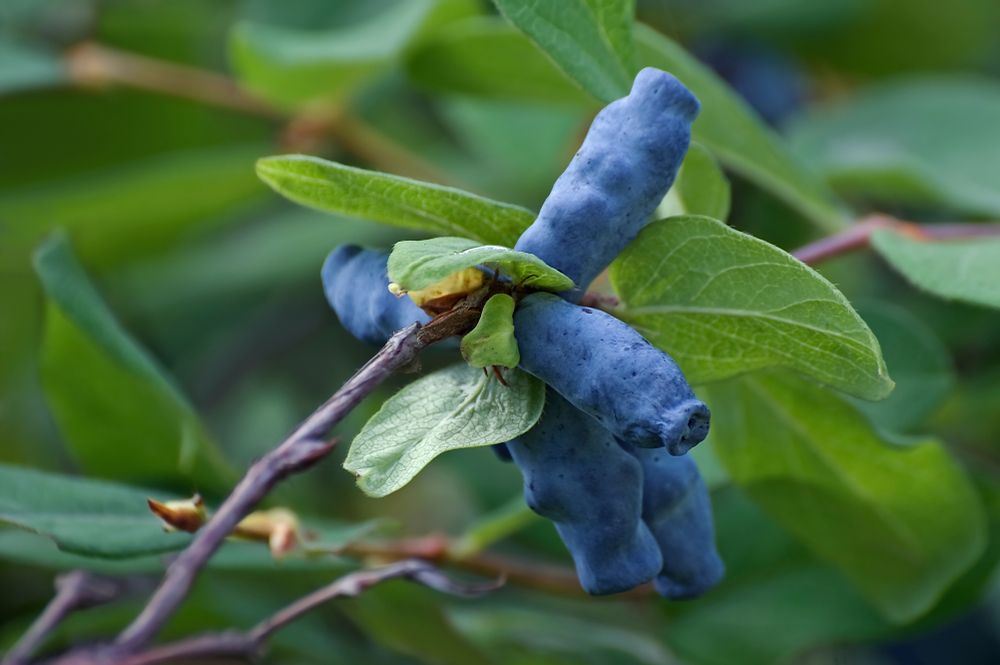
One mistake that many make when harvesting fresh honeyberries is picking the fruit too early. They start off green before turning a light blue. Then, as they ripen, their colour deepens into a vivid shade of blue.
However, don’t be fooled – just because they’ve turned blue doesn’t mean that your honeyberries are ready to be harvested. Take a look inside and you’ll see that the flesh is still green. Give the fruit a few more weeks before checking them again – once the flesh has turned red/blue in colour, then the berries are truly ripe. Picking them too early will give you fruit that’s very tart rather than deliciously sweet.
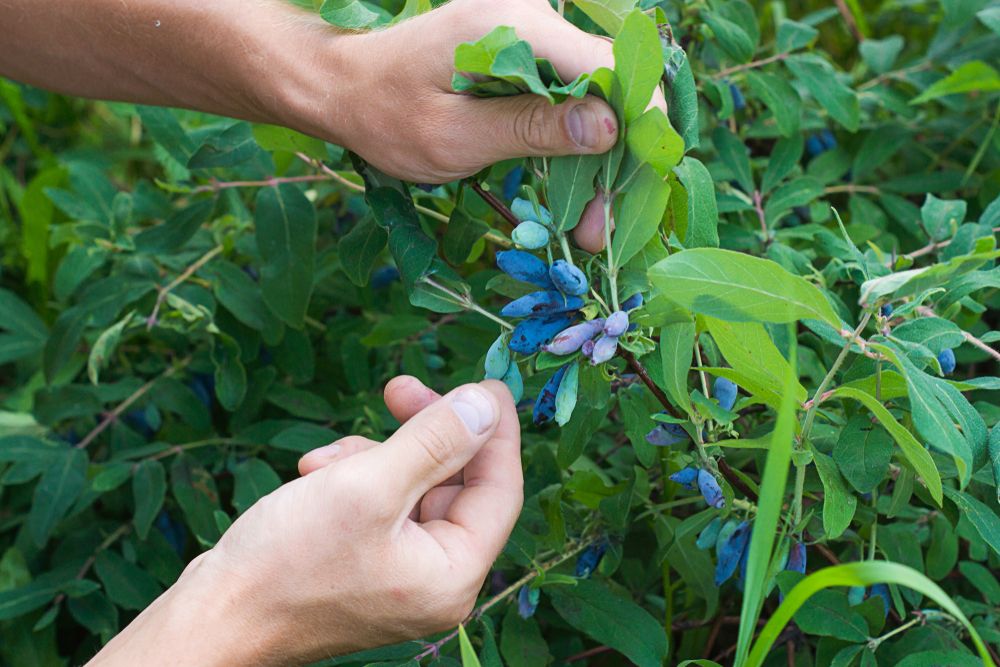
To harvest honeyberries, simply pluck the ripe fruits off your plants. Alternatively, place a tarp underneath your plants and then give those branches a shake – the ripe fruit will fall off.
Although your initial yield will be quite small, your plants will continue to produce more and more fruit each year, up until they’re five years old. After this, their yields will remain quite consistent.
How to Store Honeyberries
Honeyberries taste best when eaten fresh. However, considering that a single mature plant can produce up to 6kg of fruit in a good year, it’s always worth having some preserving techniques up your sleeve.
For short term storage, keep your honeyberries in an airtight container in the fridge. They’ll be good to eat for about a week.
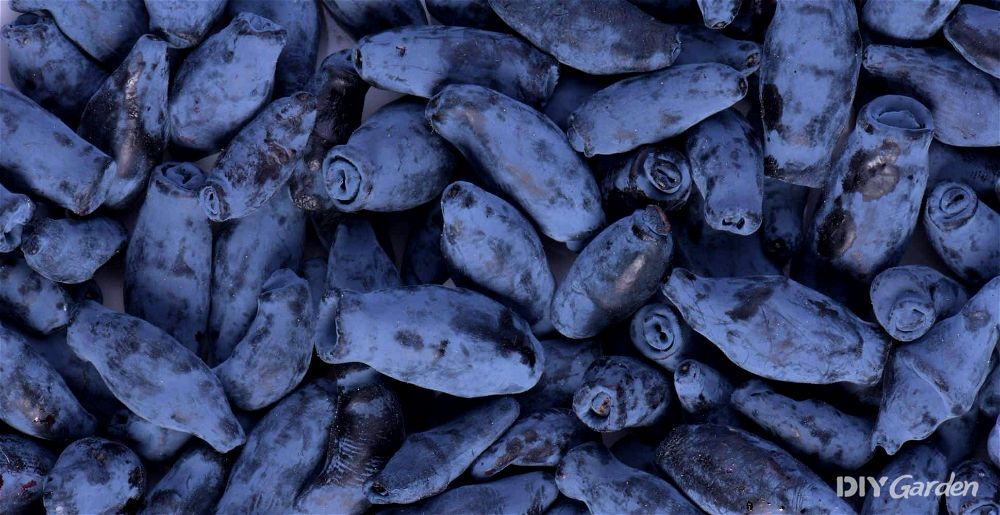
For long term storage, freezing is your best option. The berries will need to be flash-frozen first, meaning frozen in a single layer on a tray, before they can be placed into a bag or container. This is to prevent the berries from clumping together once frozen. When frozen, honeyberries will last for about a year. Keep in mind that, like other berries, they do turn very soft once defrosted.
How to Prepare & Cook Honeyberries
There’s nothing quite like the taste of a fresh honeyberry plucked straight from the plant, but there’s so much more that you can do with this versatile fruit. Since they don’t need to be peeled or de-seeded, preparation is minimal – simply give the berries a quick rinse under running water.
Then, give one of these ideas a try:
- Honeyberry jam
- Honeyberry ice cream
- Honeyberry muffins and pastries
- Honeyberry pancakes
- Honeyberry liqueur or wine
Common Honeyberry Problems
There aren’t any known diseases that affect the honeyberry, which immediately makes the plant even more appealing to gardeners. Just like with other honeysuckles, pests don’t find the honeyberry very attractive either. You may need to protect young plants from slugs and aphids, but the plants will pretty much look after themselves once they mature.
The main problem that you’ll likely experience when growing honeyberries is birds. Just like with other berries, your local birds will be keeping a close watch over your ripening honeyberries. They’ll wait until they hit the stage of being perfectly ripe before swooping down and clearing entire plants in a matter of minutes.
To prevent birds from decimating your crop, place fruit netting over your plants once you notice that the berries are starting to turn blue. This will prevent the birds from accessing your plants, leaving all of the berries for you to harvest. Once you’ve picked what you need, you can then remove the netting and let the birds feast on the rest.
Popular Honeyberry Varieties to Grow
That deliciously sweet flavour, as well as the plant’s incredible hardiness, are features shared by all honeyberry varieties. Where they differ is in terms of usage – some ripen early but are best eaten raw, while others ripen later in the season and are tastiest in jams. To extend your growing season, try planting a few different honeyberry varieties.
Some of the most popular honeyberry varieties to grow are:
- Honey Delight – one of the earliest varieties that’s loved for its intense sweetness
- Blue Belle – this one has quite a tart flavour but a high pectin content, making it great for jams
- Jugana – a sweet variety with a complex flavour, which is why it’s popular for wine-making
- Blue Forest – one of the smallest varieties, with plants growing to just 90cm tall
- Indigo Gem – a variety that loves being grown in clay soil
- Strawberry Sensation – its flavour has sweet strawberry notes
Conclusion
If you’re a fan of berries, then the honeyberry will definitely not disappoint. Granted, it may not be quite as well-known as some of the other berries out there, but that’s only because many countries have only recently started to bring these plants in from Siberia. Thankfully, they’re now becoming much more widely available. Whether you start your plants from seed or purchase a few mature plants, honeyberries are guaranteed to add diversity, colour, and flavour to your garden.
