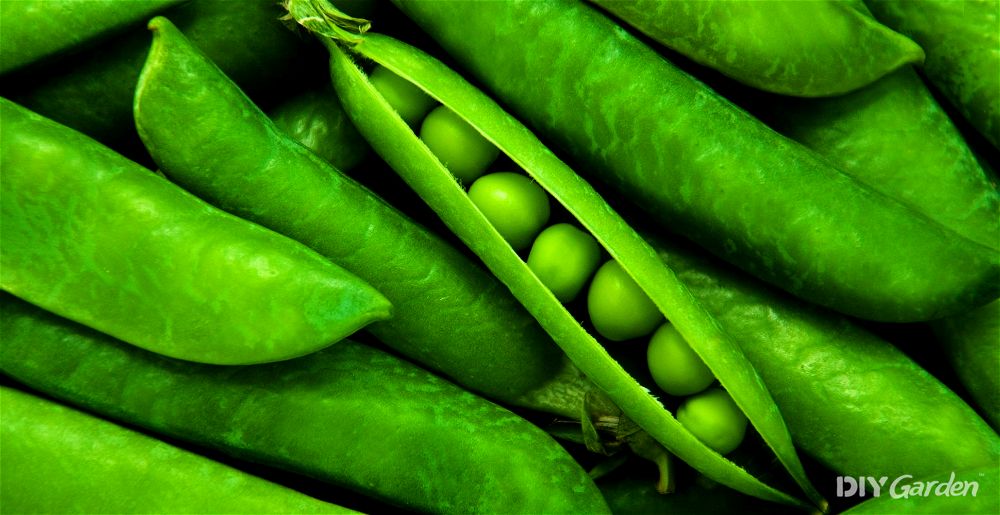
You’ll never fully understand the sweet and complex flavour of a pea until you’ve eaten one that’s been freshly picked. Their natural sugars quickly turn starchy as soon as each pod has been detached from the vine, which is why purchased peas, whether they may be frozen, dried, tinned, or “fresh”, can never compare. In addition to their exquisite taste, peas also happen to be one of the easiest vegetables to grow at home, making them well worth adding into your garden.
Growing Peas: A Quick Snapshot
When to Sow – Feb-Jun
When to Plant – Mar-Jul
When to Harvest – Apr-Oct
Average Yield per Plant – 100g
Spacing – 8cm
Depth – 5cm
How to Grow Peas at Home
Peas are a cool-season crop. They’re usually grown in the spring and early summer, since temperatures above 20°C can cause the plants to stop producing pods.
That being said, in the cooler months of the year, peas prefer full sun, although some varieties will tolerate partial shade too. One way to extend your harvest is to plant early varieties in sunny spots, but then give your summer varieties some afternoon shade to keep them cooler.
When it comes to soil, peas aren’t fussy. They grow best in a fertile and well-draining soil, ideally one that has recently had plenty of organic material incorporated into it, but just about any type of soil should still give you a good harvest.
Companion Planting with Peas
Just like all other members of the legume family, peas are nitrogen-fixing plants. This means that they draw in nitrogen from the environment around them and store this in their roots. Once your peas die back for the year, they release their nitrogen as they break down, which feeds the soil and nearby plants.
Because of this, peas make a great companion plant for just about everything else in your garden, other than anything from the onion family. They’ll help to enrich the soil, allowing other plants to thrive. Since peas grow so well vertically, it’s easy enough to set up supports in each of your vegetable or flower beds, allowing your entire garden to benefit from this extra source of nitrogen.
How Many Pea Plants Do You Need?
This is always a tricky question to answer, because it depends on how you intend to use your harvested peas. If you want enough peas to be able to eat them fresh, while also freezing a good supply for the winter months, aim for about 20 plants per person in your household.
How to Grow Peas from Seed
Peas do well when sown direct. The seedlings can tolerate a light frost, so can be sown outside in early spring. However, for an even earlier harvest, start your first lot of seeds off in modules indoors.
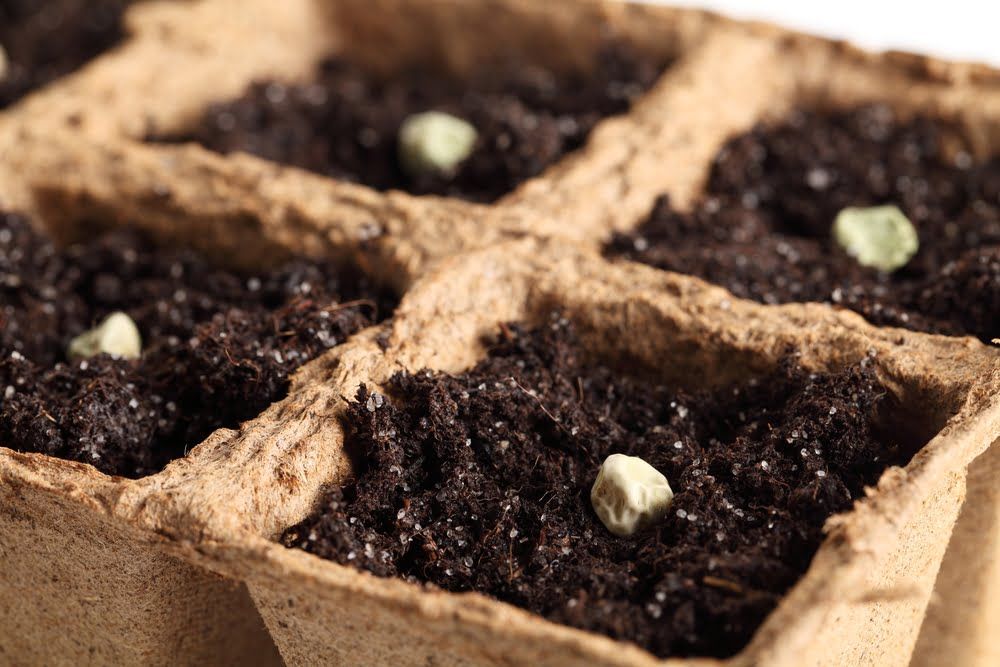
How to Sow Peas in Modules:
- Fill your modules with a multi-purpose compost
- Give them some water, ensuring that excess water is draining freely from the bottom
- Make an indentation in the centre of each module, about 5cm deep
- Place a pea seed into each indentation and then cover back over with compost
- Water lightly and then place in a cool location. Peas will germinate at temperatures between 6-28°C, but aim for the cooler end of that scale
Keep your modules moist but not soggy throughout the germination process, and expect to see seedlings in one to two weeks.
How to Direct Sow Pea Seeds:
- Prepare your growing area by making sure that it’s weed-free
- If you’re sowing climbing pea varieties, set up your supports from now. Bamboo canes or a trellis will work well. Dwarf varieties benefit from supports too, but these only need to be small twigs inserted into the ground
- Dig a shallow trench in the ground, about 5cm deep
- Sow your pea seeds, spacing each one about 8cm apart. Sticking to this spacing now will save you from having to thin your seedlings out in a few weeks
- Cover the seeds over with soil and water well
How to Plant Peas Outside
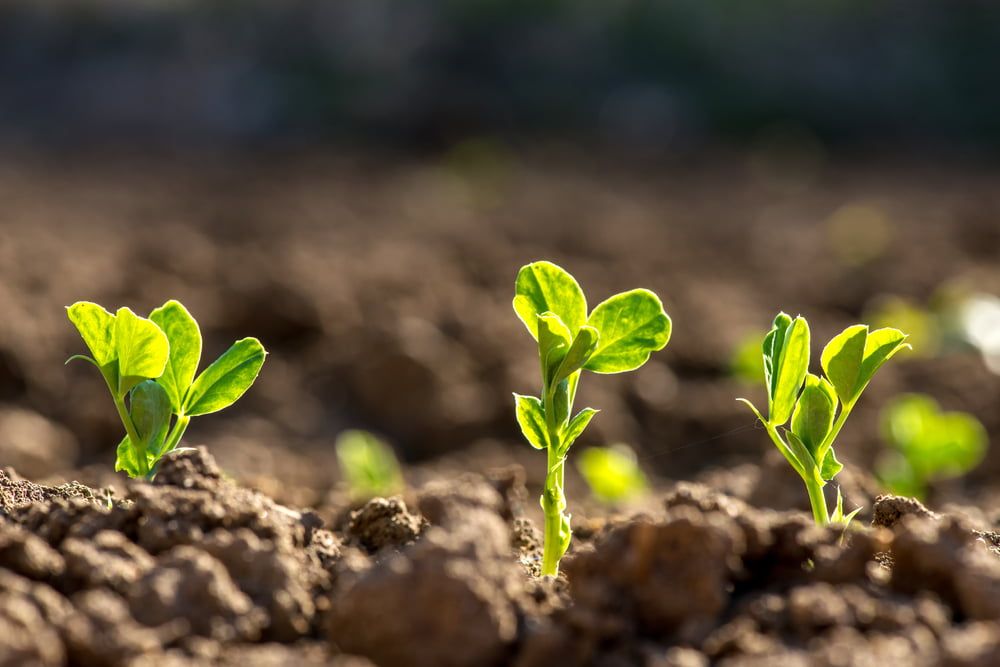
Aim for your pea seedlings to be about 12cm tall before you plant them out. This will make them less irresistible to birds and other pests.
Once you have set up your pea supports, dig holes alongside it, large enough to accommodate each pea plant. Space each hole 8cm apart.
Then, remove your pea plants from their pots and place them into their new homes, before covering over with soil and firming down. If your pea plants are tall enough, encourage any tendrils to lean towards the supports – they’ll soon latch on themselves.
Water your peas well after planting.
How to Plant Peas in a Greenhouse
The steps for planting peas in a greenhouse are the same as when planting outside. However, since a greenhouse offers additional warmth, you can plant your peas earlier in the year than if you were planting outside, with direct sowing working well too.
Keep in mind that, because of the extra heat, your greenhouse pea plants may stop producing pods earlier in the summer than your outdoor plants. For this reason, it’s always worth having a mix of both indoor and outdoor plants to extend your growing season for as long as possible.
How to Care for Peas
Peas don’t need too much in terms of care, but giving them a little extra help will allow you to maximise your yields. Here’s what you need to do:
Watering Peas
Peas need about 2.5cm of water a week. Rainfall will usually provide this earlier in the season, but you’ll need to pay extra attention to water once your peas start flowering and producing pods.
Give them a deep watering once a week, but check soil moisture each day. Never allow the soil to dry out, otherwise this will affect pod development.
Feeding Peas
If the soil in your growing area was of a good quality to begin with, then your peas won’t need a fertiliser. Feeding them can often actually cause more harm than good – all of that extra nitrogen encourages leafy growth, at the expense of pod production.
Weeding & Mulching Peas
Few people actually enjoy weeding, but it’s a job that needs to be done if you want your pea plants to thrive. Weeds will compete with the peas for light, nutrients, and moisture, and some will even pull pea vines down from their supports.
One way to cut back on the amount of weeding needed is to mulch your pea plants. This will not only suppress weed growth, but will also keep the soil cooler in the summer, which should help to extend your harvesting period.
Encouraging Pea Plants to Climb Their Supports
Pea plants produce thin tendrils that wrap around nearby supports and allow the plant to climb upwards. So long as your supports have been set up in the right place, they’ll usually do this themselves.
However, whether due to the weather, birds, or anything else, the tendrils can sometimes end up misdirected, meaning that they’re then unable to find a support to latch onto.
This is easy to rectify – carefully take a tendril and lean it towards a support, ideally so that the two are touching. Give them a day and you should find that the tendril has now wound itself around its support.
If the wind is particularly strong in your growing area, you may need to tie the pea vines to their supports about halfway up the plant. However, keep the ties loose so that the plants can still gently sway in the wind – you don’t want a strong gust to snap your plants in half!
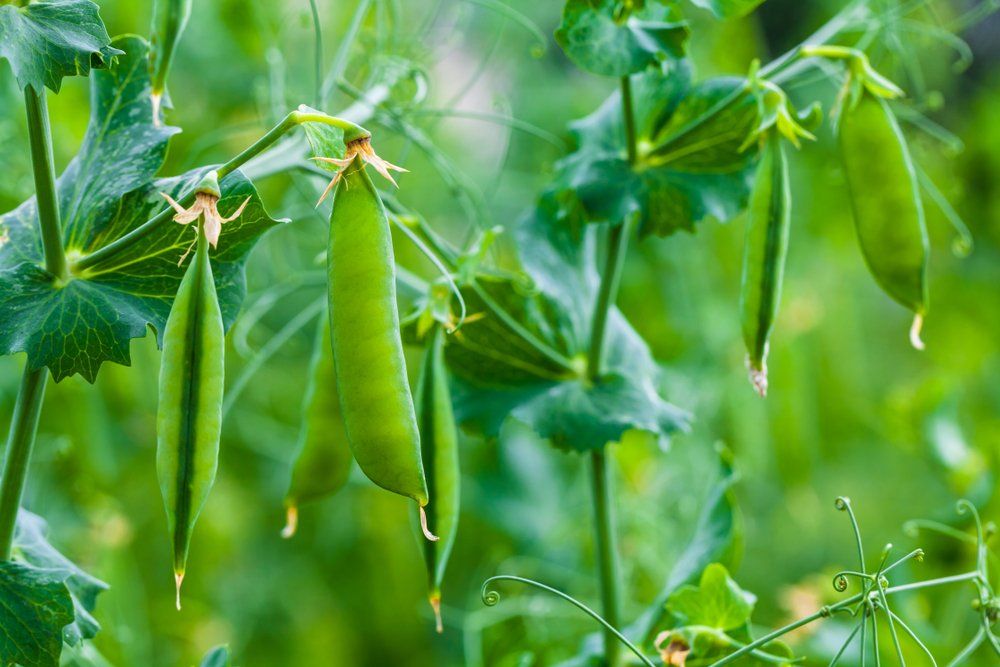
How to Harvest Peas
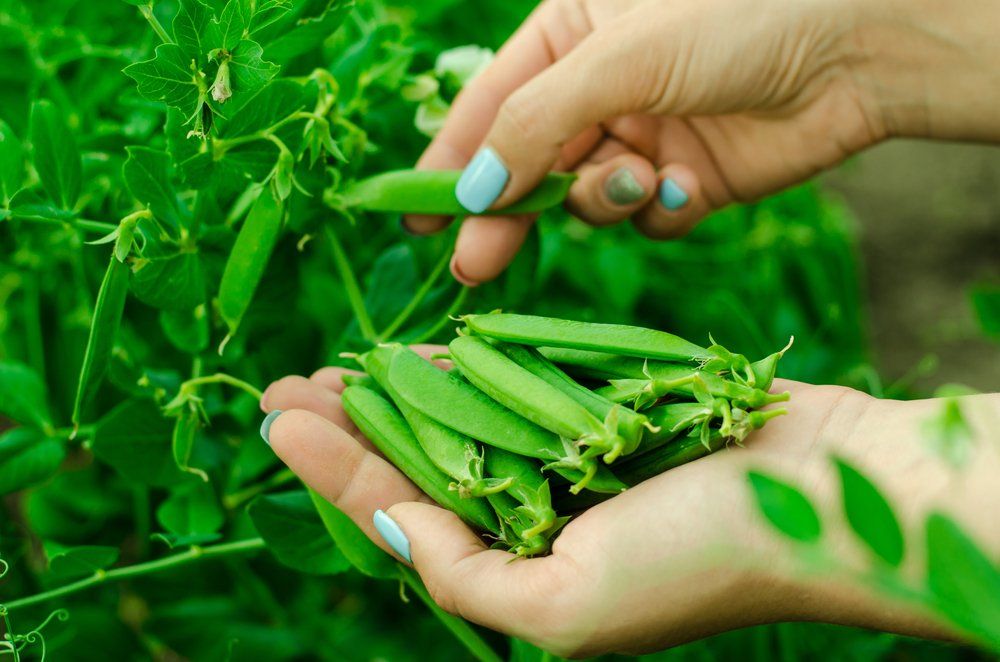
Peas are usually ready for harvesting about three months after they have been sown, or about three weeks after your plants start to produce flowers. Different pea varieties will need to be harvested at different stages, so look this up beforehand. For example, mange tout varieties should be picked while they’re still quite flat, while others need to be much plumper with a heavily swollen pod.
However, peas are edible at every stage, so don’t be afraid to pick a test pod to see how far along the peas inside it are. This will give you a much better idea of when to pick the rest of your peas.
Peas are easy to pick – simply pinch off each pod with your fingers, using the other hand to hold the vine sturdy. Sharp scissors also work well.
How to Store Peas
As mentioned, the sugars in peas start turning into starch immediately after they have been picked. For the sweetest and juiciest peas, eat them within an hour after picking.
Of course, there are only so many peas that you can eat in one go, meaning that the rest of your harvest will need to be stored. Placing unwashed pods into a perforated plastic bag and then into the fridge will allow them to be stored for several days.
When it comes to long-term storage, freezing is a popular option. They’ll need to be blanched first, after which they can be frozen for up to six months.
If you don’t have enough freezer space, peas can also be dried. When done correctly, this will allow them to be stored for at least three years.
How to Prepare & Cook Peas
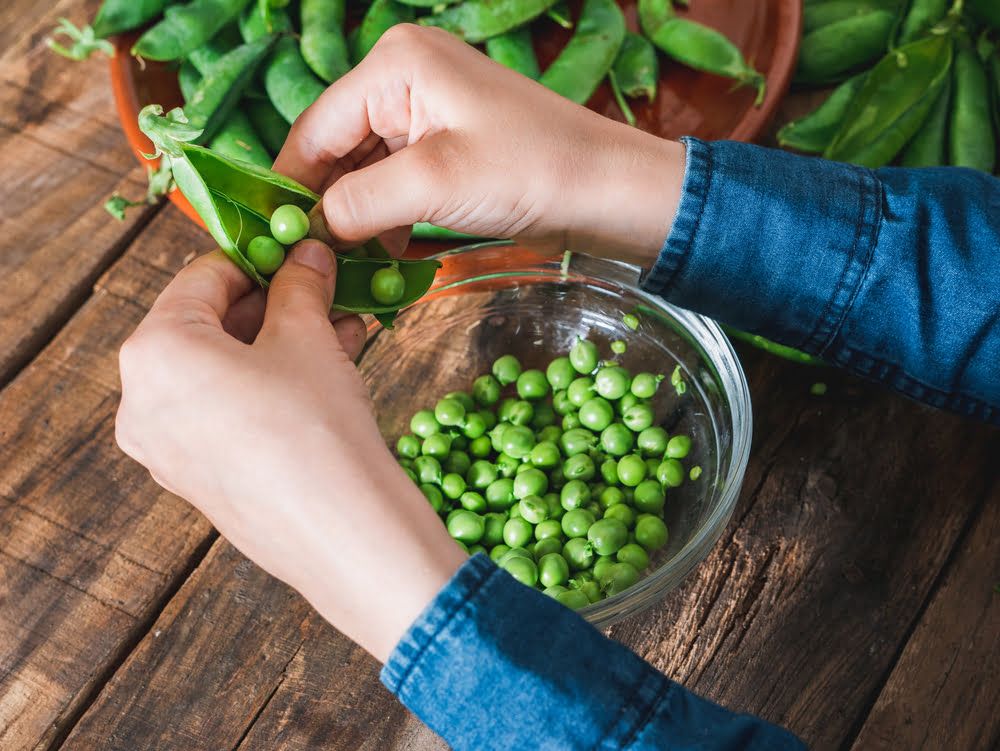
Peas couldn’t be easier to prepare. If you plan on using the pods too, give them a wash and they’ll be ready to go. Alternatively, shell the pods and collect up the peas within – they’ll usually be clean and won’t need to be washed.
Fresh peas are incredibly sweet when eaten raw. You’ll soon see why many gardeners refer to them as nature’s candy!
However, they work well in so many cooked dishes too, such as:
- Boiled and buttered peas
- Pea soup (add mint too for an extra zing)
- Peas added to stews and curries
- Pea and herb frittatas
- Pea and spring onion tarts
Common Pea Problems
There are a few pests and diseases that you may encounter while growing peas. However, putting the right prevention techniques into place will help to keep any damage to a minimum.
- Pea moth – these pests are attracted to flowering peas. They lay eggs in flowers and these hatch into caterpillars, who will gorge themselves on your peas. May to June are the biggest problem months, but covering your plants with some fleece will prevent the moths from accessing them
- Pea leaf weevil – these grey beetles eat notches into leaf edges. Older plants can tolerate this but younger plants should be protected with an insect mesh until they have established
- Powdery mildew – this disease manifests as a powdery white substance on stems and leaves, and is most common towards the end of the growing season. Keep your peas well watered and consider a sulphur spray if the infection is severe. It would also be a good idea to grow mildew-resistant varieties in the future
Popular Pea Varieties to Grow
- Half Pint – a compact early variety that grows well in pots and containers
- Greensage – highly productive with very sweet and tender peas
- Alderman – extremely tasty peas from plants that are resistant to many pests and diseases
- Mammoth Melting Sugar – a mange tout variety with stringless pods
- Thomas Laxton – known for its exceptionally high sugar content
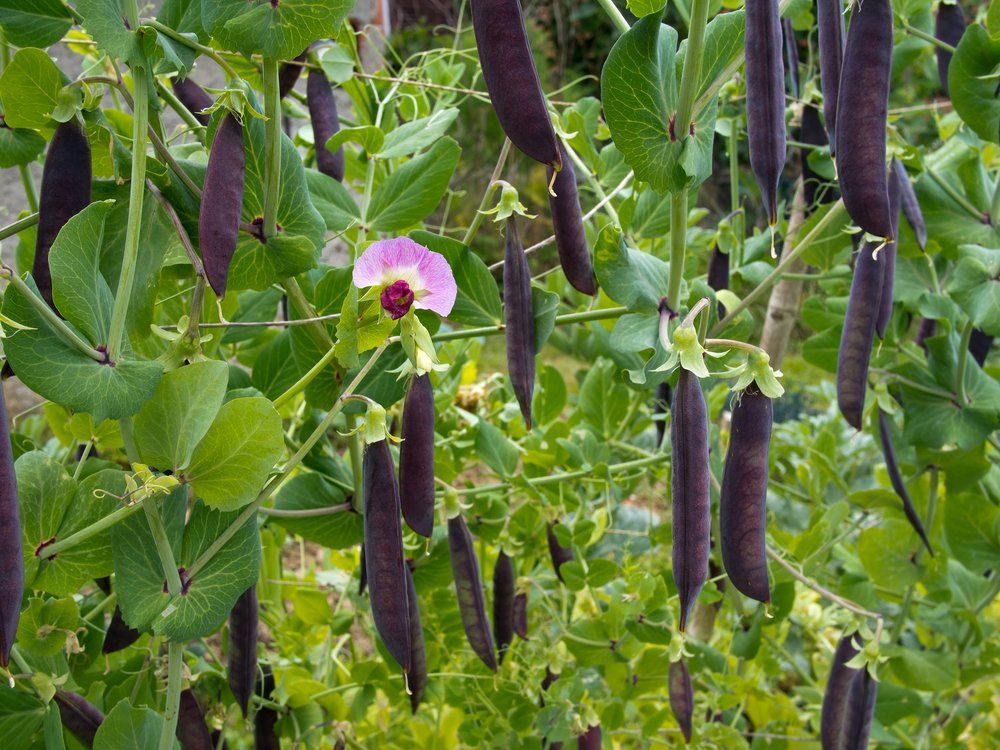
- Purple Podded (pictured above) – a heritage variety that’s not quite as sweet as some of the others, but has beautiful purple pods
Conclusion
Peas require very little effort to grow, especially if you direct sow the seeds. They also happen to be extremely productive and absolutely delicious, making this crop a must-have in every edible garden.