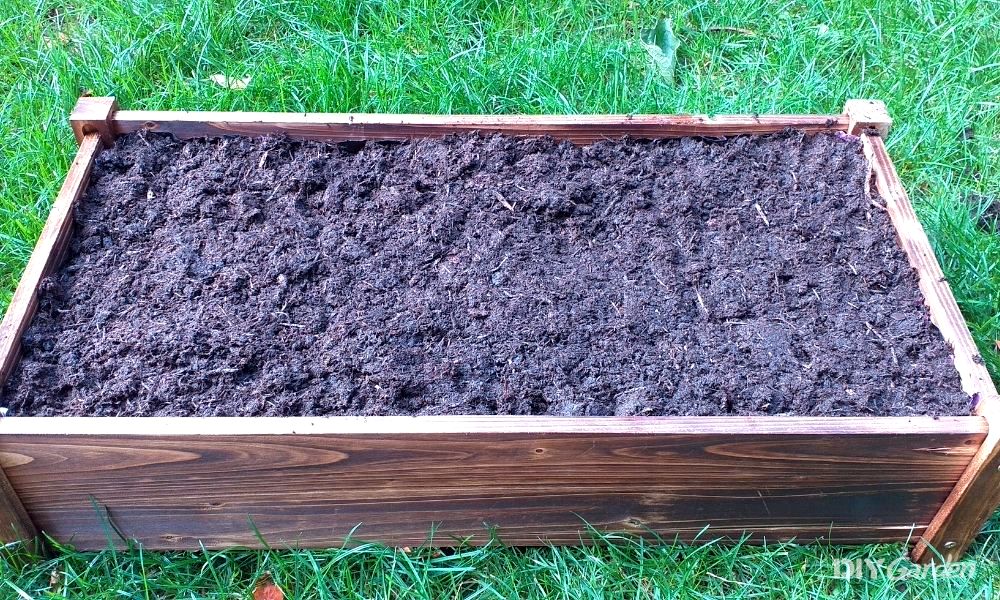
In this article I’m going to show you exactly how to line a wooden planter box – with pictures included! I list all the tools you need, followed by my 5 simple steps to follow. By the end, you’ll know exactly how to line your planter and preserve the wood, whilst creating neat little drainage holes! Let’s begin…
Tools You’ll Need to Line a Wooden Planter Box
- A wooden planter box
- Plastic lining either sheet plastic, a tarpaulin, tough rubble bags, old compost bags. Recycle what you have if possible!
- A staple gun and staples or a hammer and tacks.
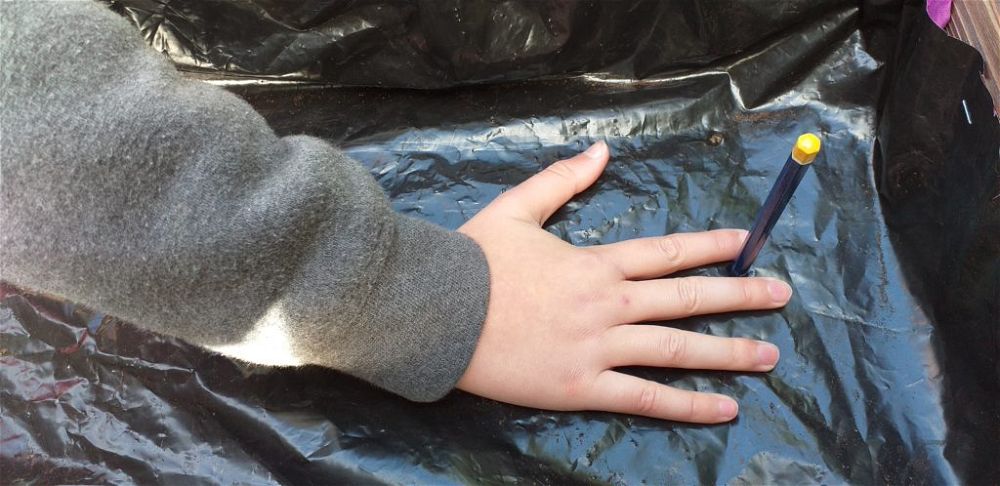
- A pencil or screwdriver to create drainage holes in the plastic liner
- Scissors
- Patience
- A cup of tea
- Potentially a cordless drill
How to Line a Wooden Planter Box
1. Check Your Wooden Planter For Drainage Holes
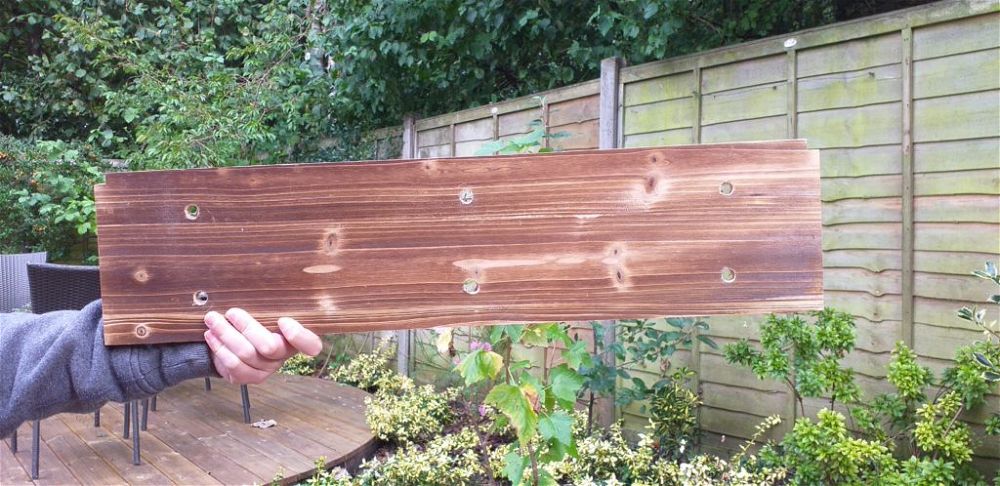
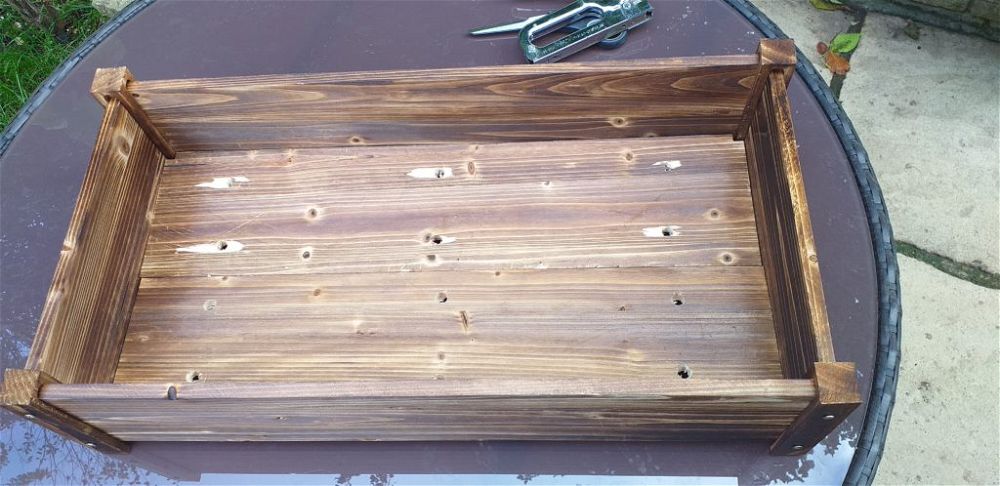
The first step is to check whether or not the wooden planter box has drainage holes. If it doesn’t, you’ll need to drill some evenly across the base. Without drainage, water will sit on the plastic creating almost impossible growing conditions.
Here I’ve drilled regularly spaced holes of a decent size. This should be enough to let water escape.
Drill holes
Box with drill holes
2. Fit Your Chosen Plastic
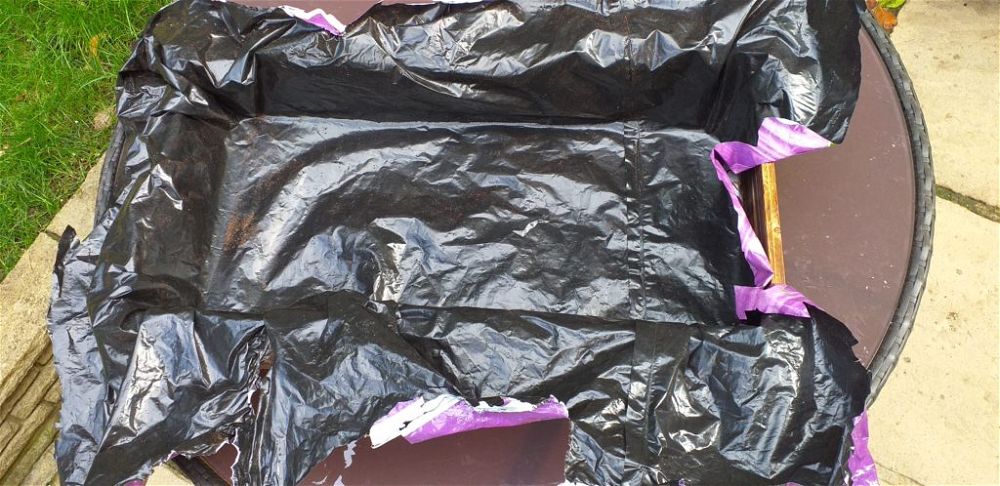
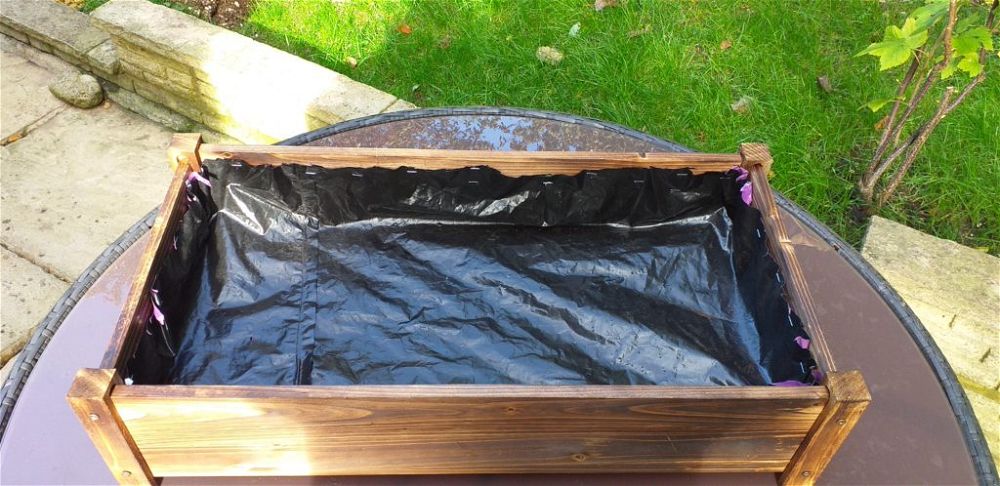
I’m using an old compost bag because they can’t be recycled and they are specifically made to hold compost – in other words they are the perfect choice!
Some gardeners suggest using weed membrane as this lets the water through and prevents soil touching the wood. In my experience, it doesn’t provide as much protection as plastic.
I’ve found the best way to fit the plastic is to lie it across the top and push it gently down in the corners.
It needs to fit well, but not so tightly it’s at risk of tearing. Don’t worry about being too precise, pretty soon it’ll be covered in compost and out of sight.
Don’t go right to the top edge of the box as that looks unattractive. You only need plastic as high as the soil line.
Another problem with filling a container too high is that soil washes from the top when it rains or you water it. About 2-3 cms from the top is usually enough.
3. Fix Your Plastic in Place
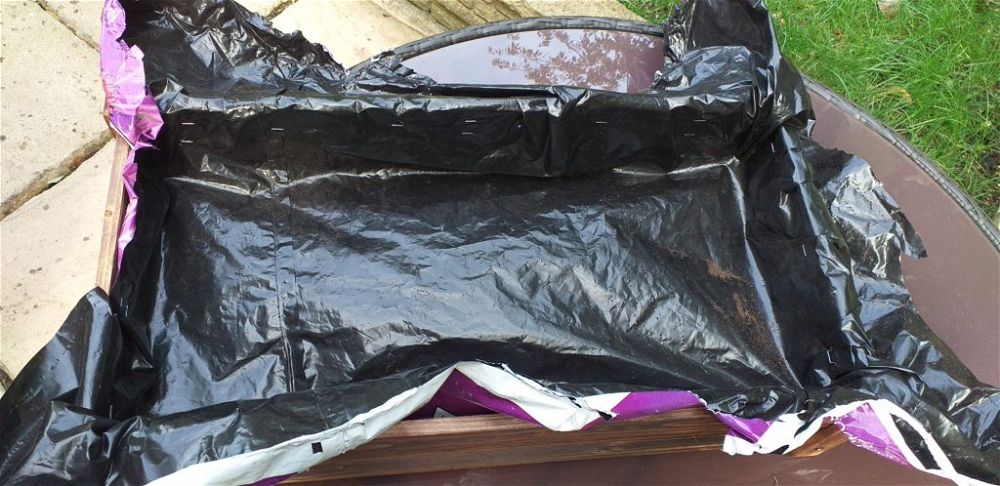
Staple or nail tacks into place, pulling the plastic taut as you go. Leave enough room for it to settle in the corners.
Any kind of metal in wood will cause damage and allow wet to enter – but in my experience glue doesn’t hold the liner in place. Staples cause the least wood damage – but don’t go overboard!
In the past I have stapled perfectly and in a bit of a wonky line – it doesn’t matter too much so long as the staples hold, and like I said earlier, it’ll be covered up with soil soon enough.
4. Trim the Excess Plastic
Trim off excess with kitchen scissors and add staples where needed.
5. Pierce Your Drainage Holes
Use the screwdriver or pencil to push through the plastic in line with the drainage holes.
This is an important step. Without drainage holes in the plastic, you’re creating a swamp and not many plants can survive those conditions!
For the longest life possible, treat the outside of your wooden planter with a wood paint, decking oil, or preservative.
I used decking oil (I applied it before adding the liner) as I had some left over from oiling the decking.
Decking oil forms a barrier between wood and the elements and leaves the lovely wood colour in place. Alternatively, you could paint your planter with wood paint to match a colour theme.
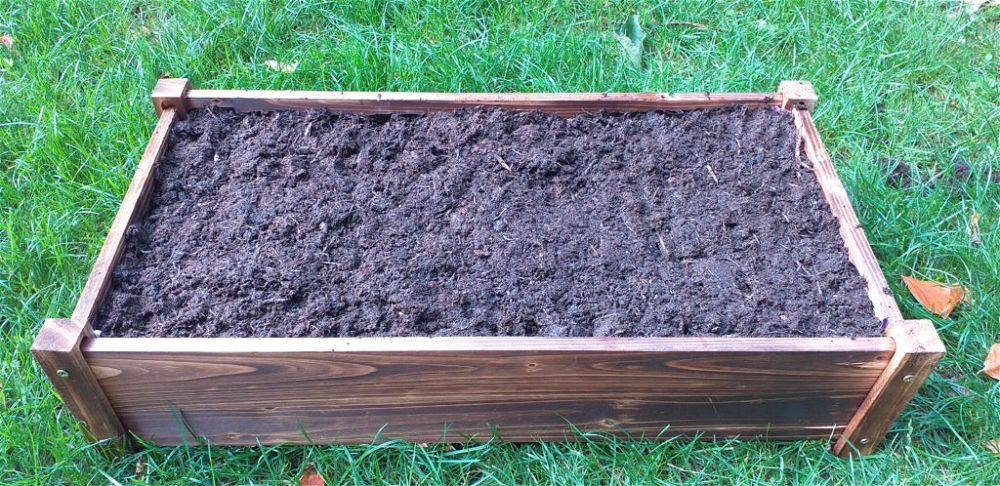
That’s it – now is the fun part of filling the container with soil and planting it up to creating something interesting.
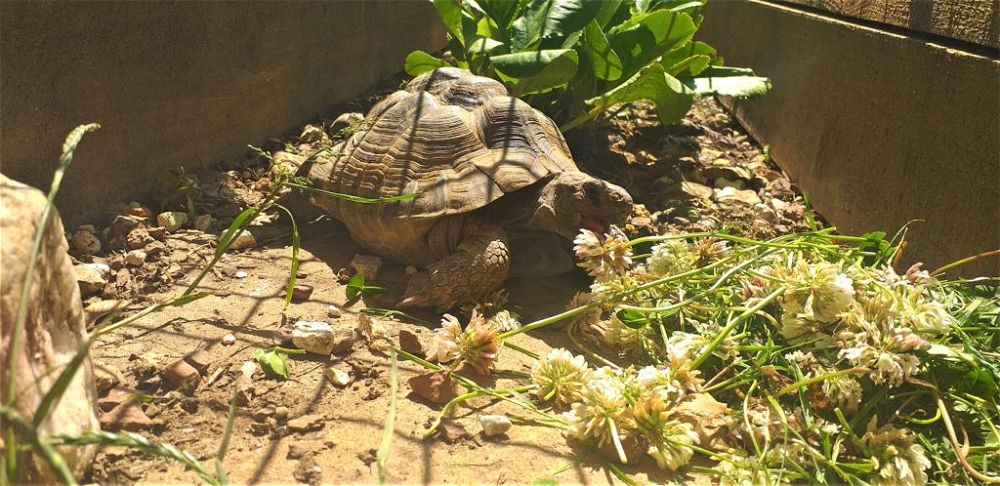
I think I’ll use this planter to grow some tasty tortoise food for Alberto. A mix of campanula, sedum and clovers would grow well in here.
You can use this process to line wooden planters of any size. The one I’ve lined today is 60 by 40 cms, but I have also lined an 8 metre by 2 metre raised bed with a mixture of compost bags and rubble bags.
That was 4 years ago and it’s still going strong. Environmentalists report plastic can take up to 450 years to break down, so your wooden liner will go the distance.
Don’t be afraid to have a go, your planter does not need to look perfect!
READ NEXT: How to Build a Wooden Planter Box Out of Decking
Why Should You Line Your Wooden Planters With Plastic?
Wooden planters of any size need a waterproof lining to help prolong the life of the wood.
Wood is a natural material that rots, breaking down into fibres and eventually into compost that replenishes our soil.
It’s a natural process that will occur unless you take steps to preserve your wood.
Wooden planter boxes are really at risk of rot because they have constant contact with wet soil and lots of water from your hosepipe.
The best way to protect a wooden planter box is with a plastic sheet liner that creates a barrier between the wet soil and the wood.
But remember! The planter must have drainage holes or roots will rot in the consistently wet soil.
Where to Go Next…
Firstly, be sure to check out our planters section for lots of great inspiriation.
Also, if you want some great ideas of what to put in your planters, head over to our plants section for helpful growing guides and advice!
