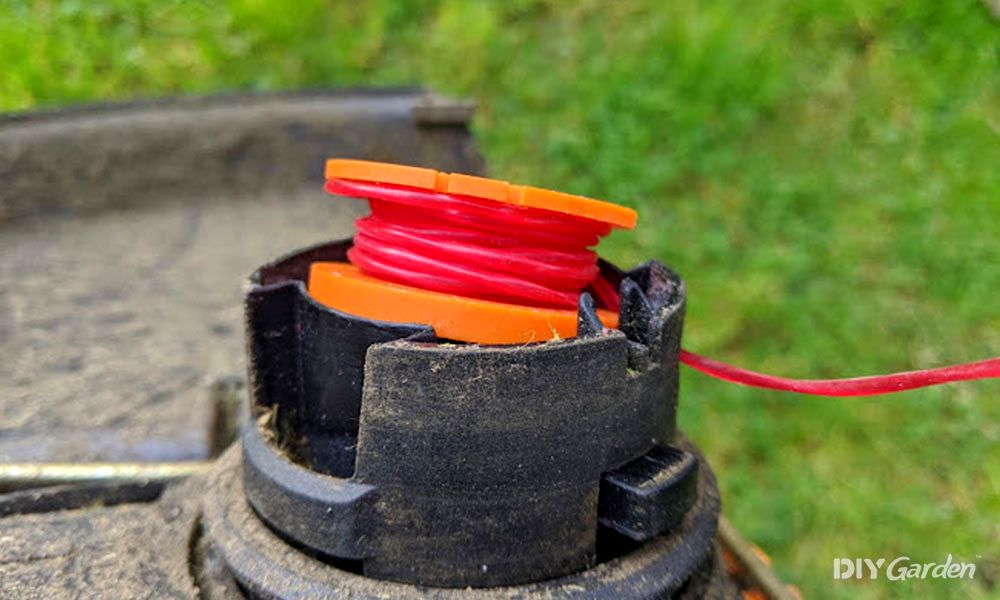
How to Replace and Fit a Strimmer Wire
Also known as the line or cable, the wire is what your strimmer uses to cut. Most strimmers come with a full reel of line already in place, but once this runs out, you’ll need to replace it. Here’s how:
1. Purchase The Correct Wire
There are so many different strimmer wires out there, but only a handful will work in your strimmer. Length and width is what you need to check – your instruction manual should tell you this, or have a look at your strimmer manufacturer’s website if you don’t have your manual to hand.
2. Make Sure That The Engine is Cool
If you’ve just used your strimmer, give it time to cool down before replacing its wire. Make sure that you’ve also disconnected it from its electricity supply, or removed the battery on a cordless strimmer. This will save you from accidentally turning it on.
3. Remove The Cap
In order to access your strimmer’s spool, you’ll need to remove the cap on the strimmer head. How you do this depends on the strimmer that you have, but it usually involves unscrewing the cap or pressing certain buttons.
Once you’ve done this, you should be able to see the spool.
4. Remove Any Old Wire
Take off any old wire that may still be on the spool. Wear gloves when doing this, as the line can be sharp.
5. Insert The New Wire
Now that your spool is empty, look for its starter hole – some strimmers have one, while others have two. You’ll need to insert the tip of your new strimmer wire into this hole, before winding the strimmer around the wire. Most strimmers will have arrows printed onto its spool to show you which way the wire should be wound.
As you do this, keep inserting the wire into the attached eyelets or holes and keep it as tight as possible. This will help to prevent your strimmer from jamming once you’re using it.
Once you have about 6 inches of wire left, place this into the spool’s retainer to hold it in place. Then, replace the cap over the spool, put the strimmer’s battery back in, and get strimming!
